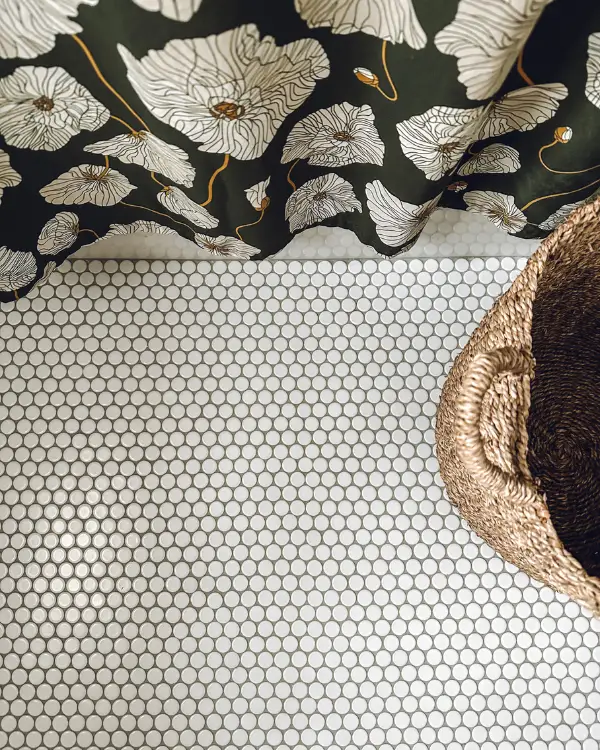
12 Tips for Installing a Penny Tile Floor
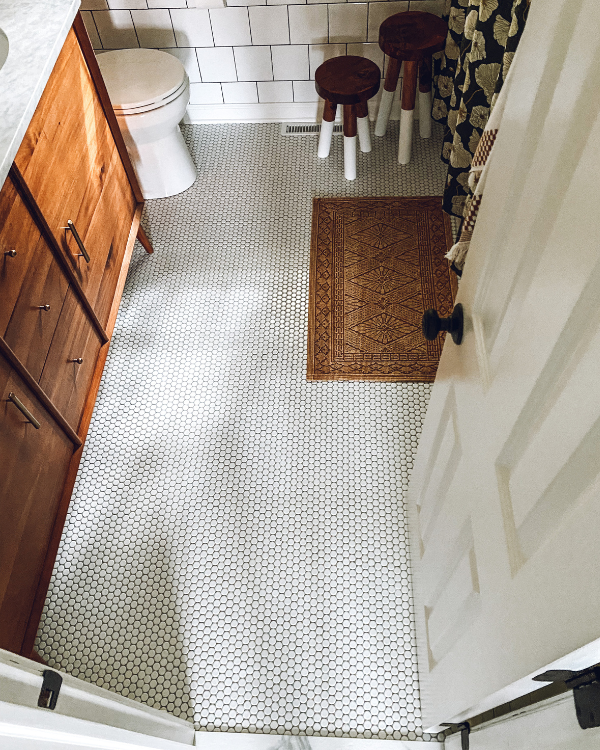
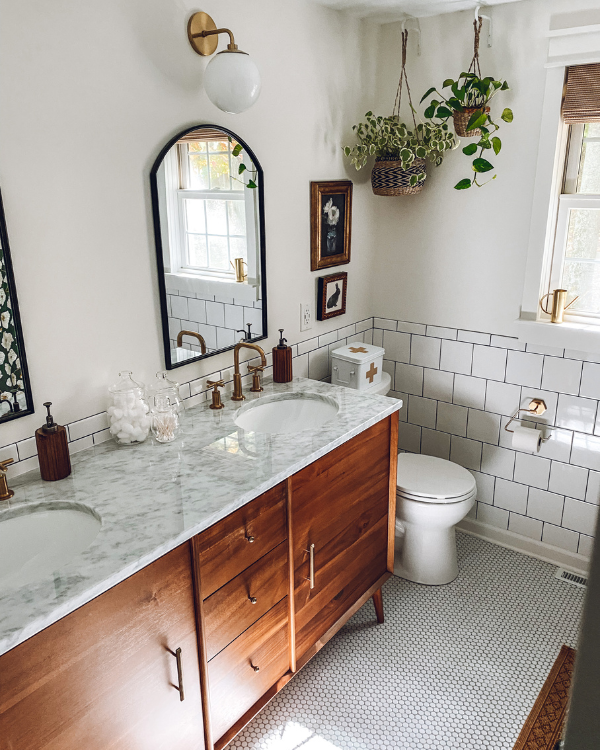
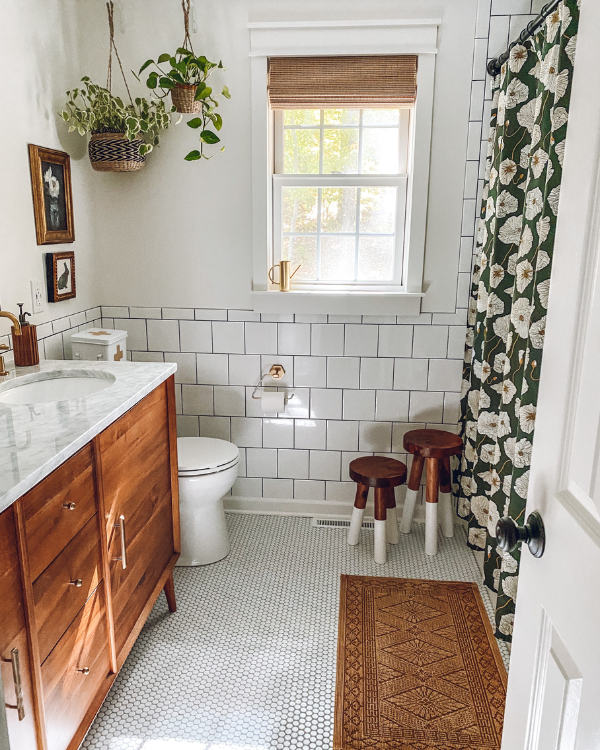
This post is part of a series of posts describing the processes that went into our entire bathroom remodel. For this one I will go into detail about our tips for installing penny tile. I decided to go with the classic and timeless look of white penny tiles for the floor, and I love how it turned out. Penny tile is unique from other tiles in several ways, so here are 12 tips for installing a penny tile floor. If you’re planning on installing penny tile yourself, you’re going to want to read this first!
To read about this entire bathroom remodel go here.
(This post contains affiliate links. This means I receive a small compensation at no cost to you. For example, as an Amazon Associate I earn from qualifying purchases. You can read more about it here. Thank you for your support!)
1. Make sure the floor is nice and flat.
Because of water damage, this bathroom remodel involved ripping out the existing floor down to the joists. So when rebuilding the floor we could really make sure it was nice and flat.
If the floor isn’t flat and you try to put penny tile down on it, penny tile isn’t very forgiving. You will be able to see the imperfections and ridges.
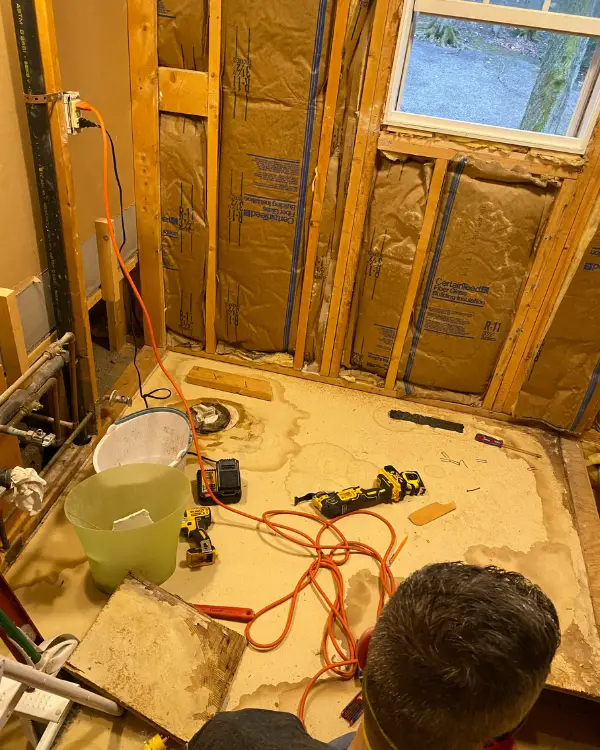

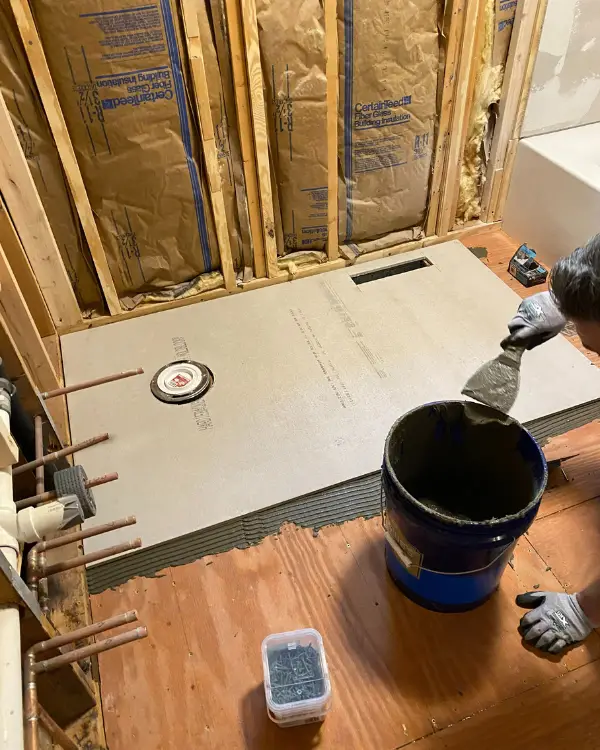
For us this meant making sure the taped joints between the cement board were very flat. You can read about the cement board installation here. In addition, make sure you waterproof it if it’s a bathroom floor.
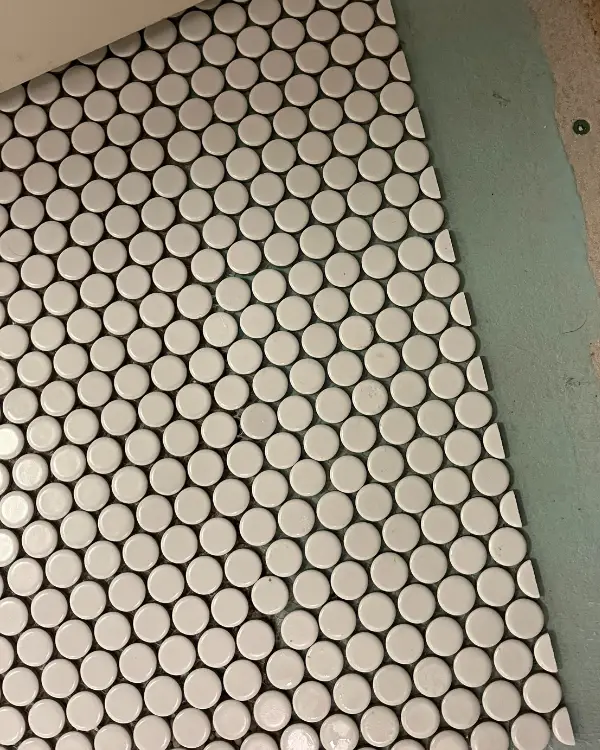
2. Save the baseboards for last, and leave a gap at the bottom of the wall to run the tiles into.
This saves you from having to cut the edge of the penny tiles, which isn’t the easiest and at least is an extra task you’d be saving yourself from.
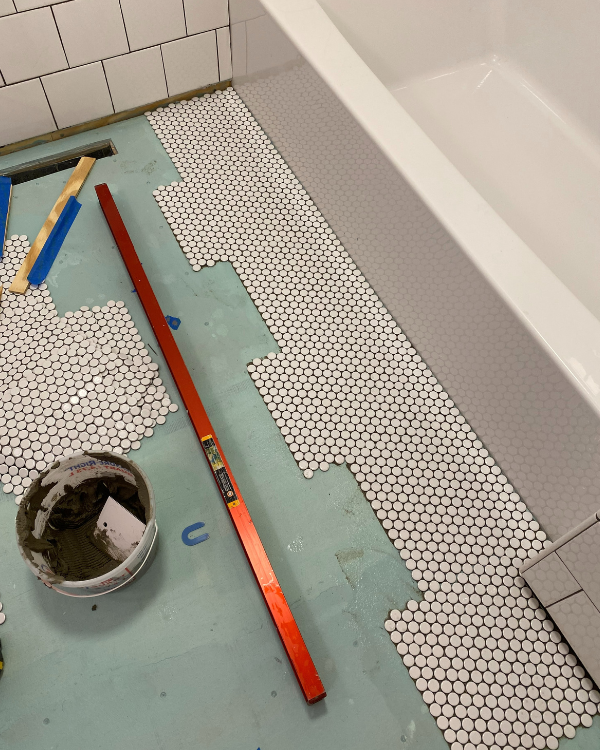
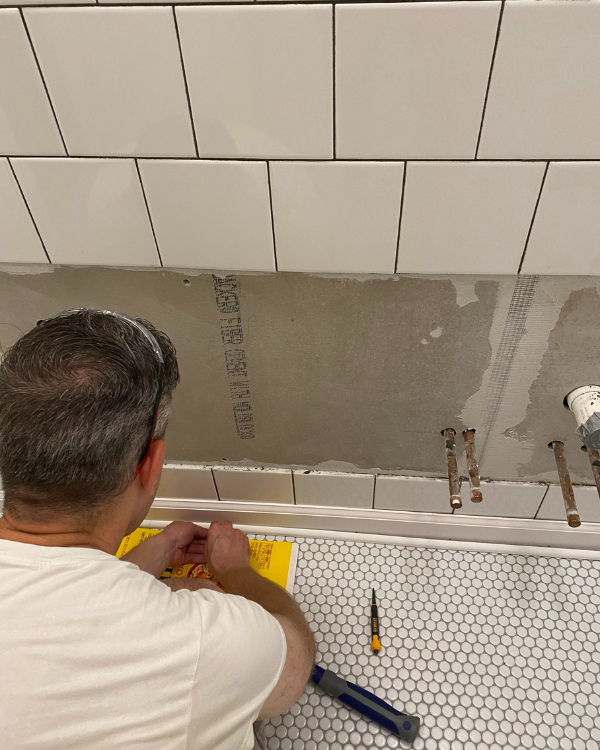
3. Have a nice straight edge to start from, like the tub.
An exposed edge like this is a good starting point and guide. You don’t want to end at such a visible edge like this. You want to start there to make sure it’s straight and looks great.
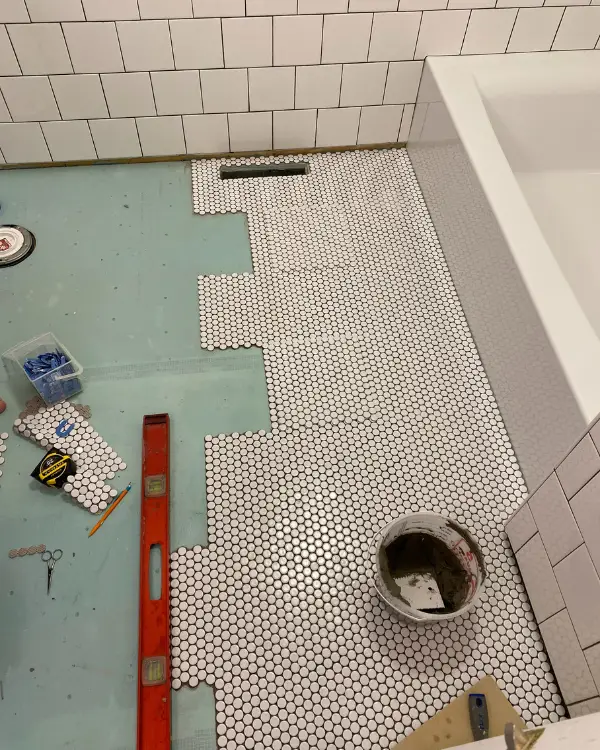
4. Stagger the sheets of tiles.
Staggering the sheets of tiles instead of lining them up in straight lines reduces the chance to be able to see all the seams of the sheets when it’s finished. You want all the penny tiles to flow seamlessly together!
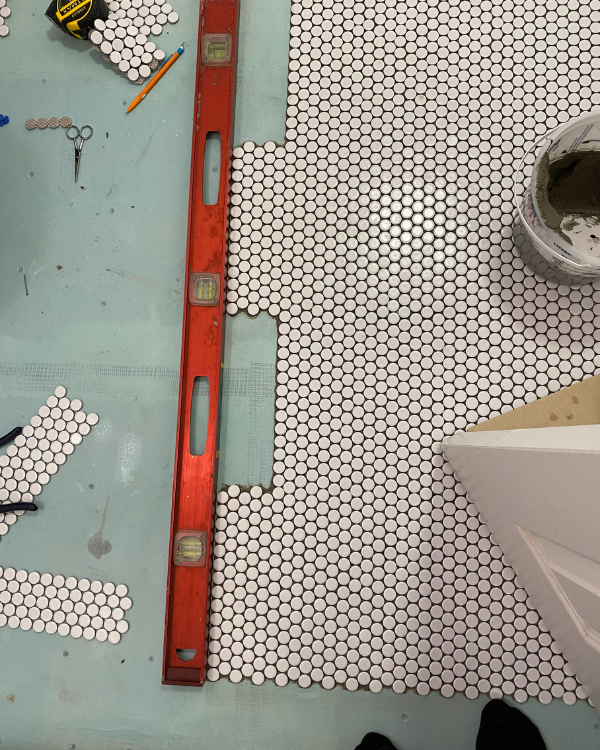
5. Stand back and check as you go that the “flowers” are all lining up evenly.
Part of laying the tile down evenly is simply eyeballing it. The “flowers” help your eyes have something to follow. Simply move tiles into place.
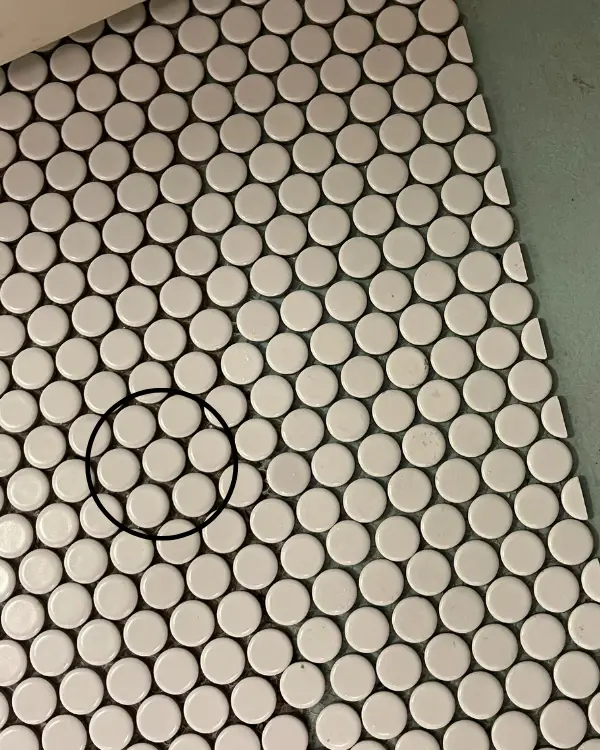
6. Trim any excess netting around the edges of the sheets of tile with scissors to ensure the tiles will lay flat when the sheets meet.
7. Use a straight edge, like a level, to align the staggered tiles as you go.
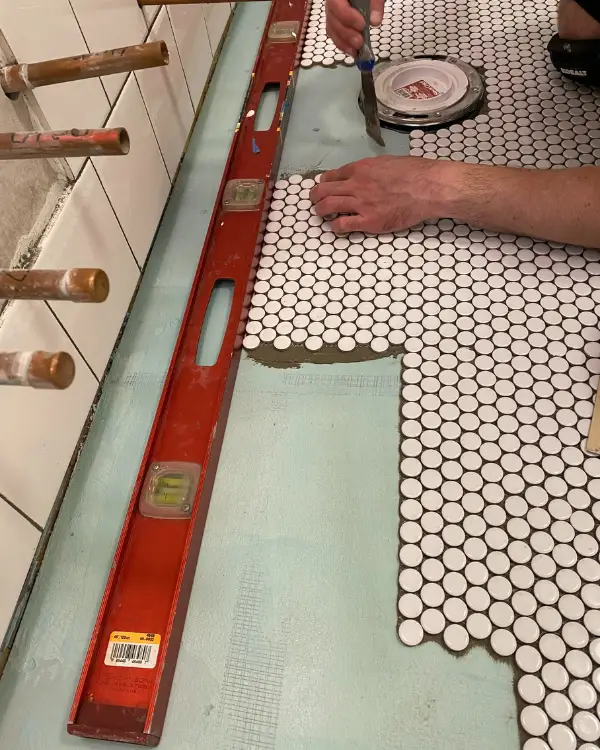
8. Use a V-notch trowel with smaller notches for spreading the mortar.
With penny tiles there are lots of spaces for the mortar to come through, and you want to prevent that as much as possible. Otherwise you will be chipping out more excess mortar afterwards. A smaller notched trowel helps you to use less mortar!
9. Before moving onto the next sheet of tiles, use a putty knife to scrape off excess mortar from previous sheet for a smooth surface.
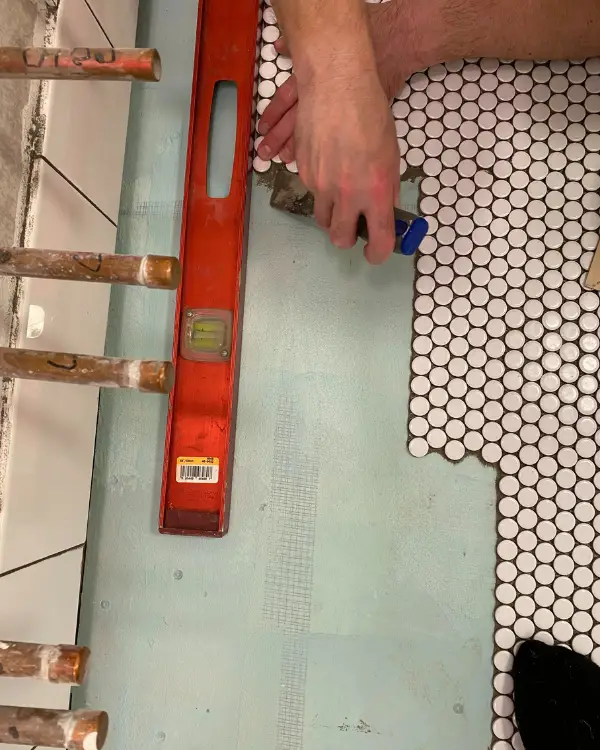
When you are all done if there is any extra mortar that comes through the tile, you can carefully us a nail (or other pointy object) to pick out the pieces.
10. Use a mortar that is a similar color to the grout.
Speaking of trying to prevent the mortar from coming through the spaces, it is also recommended to use a mortar color that is similar to the grout color so that it is harder to see when it does.
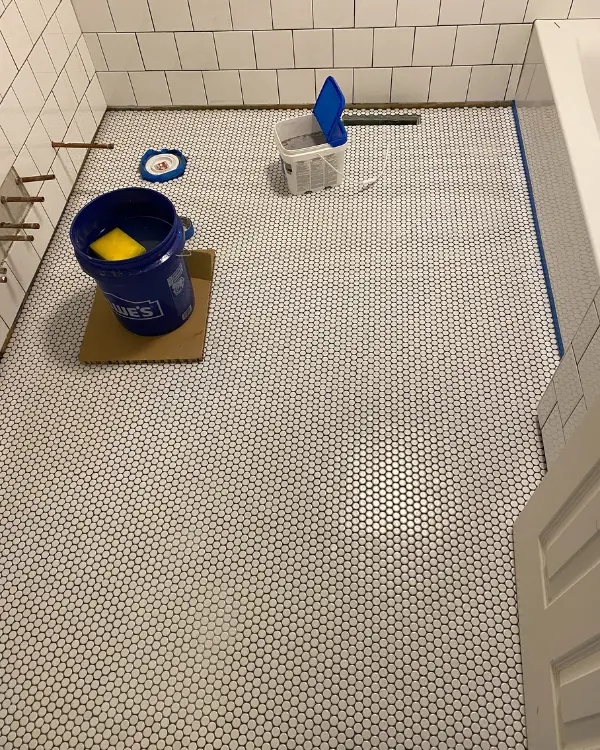
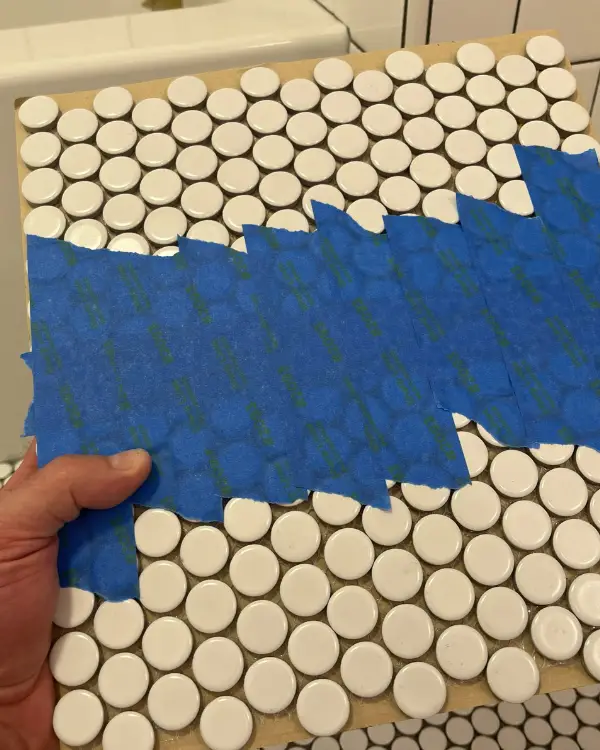
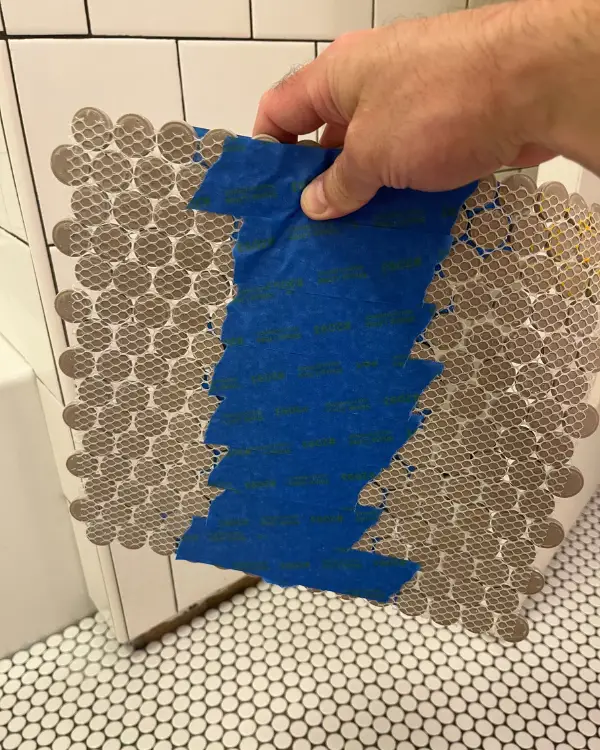
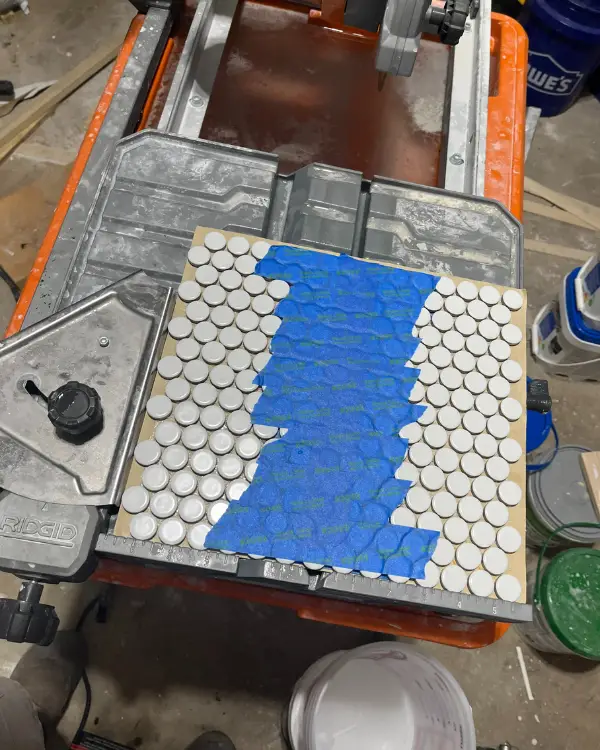
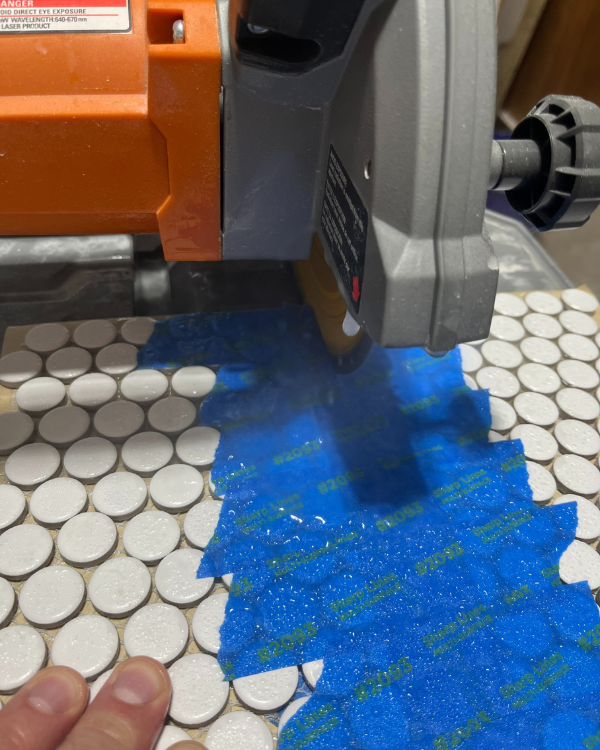
11. When making cuts, use tape to hold the tiles in place.
Tape it in a way that you end up cutting through the tape. This allows for a clean straight line since the penny tiles stay in place because of the tape.
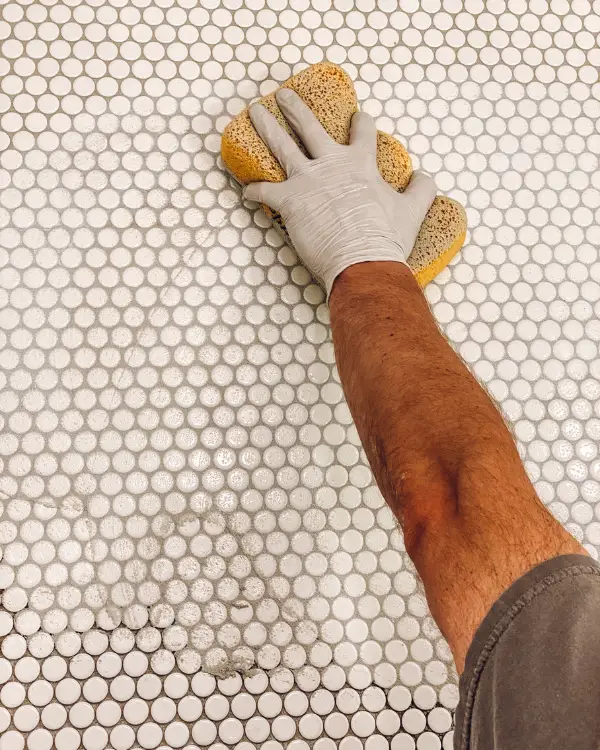
12. Use a sanded grout that doesn’t require sealing.
We highly recommend Mapei Flexcolor CQ (we used the color silver). Sanded grout is more rigid and will resist cracking. You don’t want to skimp on what grout you use, especially on the bathroom floor. Being able to skip the step of sealing when done is great! You also need a lot of grout with penny tiles because of all the spacing. So you will need multiple containers and will want not only a high quality grout but one that has consistent coloring from one container to the next, which the Flexcolor CQ boasts.
The End Result

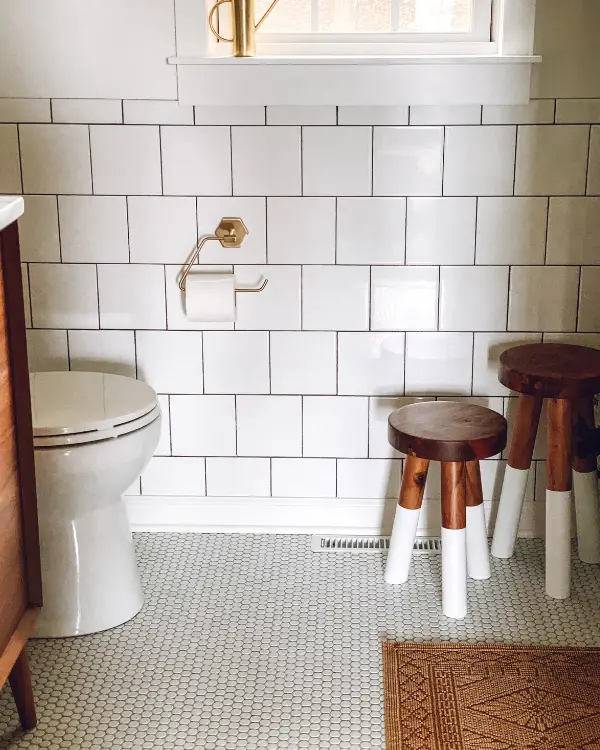
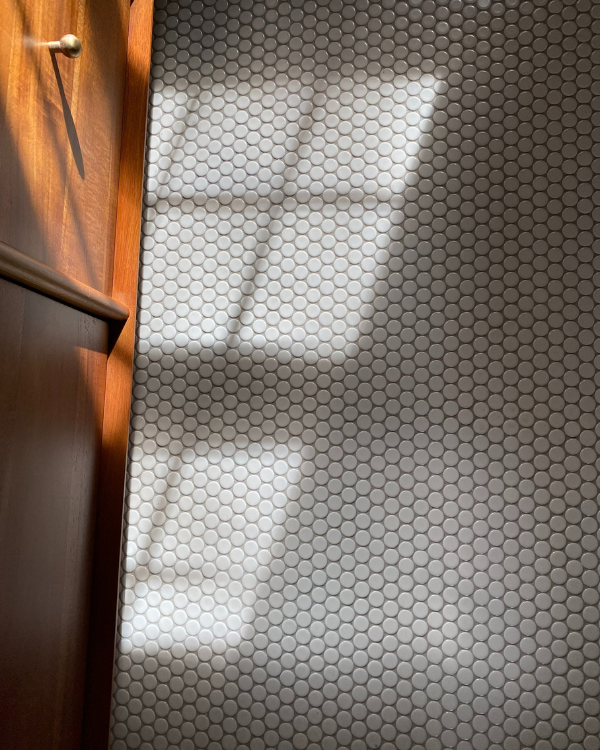
Shop this Post
Pin for Later
Follow along on Instagram


11 Comments
Rachel
I love the penny floor. The whole bathroom is gorgeous.
Liz
Thanks so much!
Anja
What a great article and resource! We will be redoing our downstairs bathroom soon and want to use penny tiles on the floor. I am bookmarking it so we can come back to it!
Liz
I hope you find it helpful! I think you’re going to love the look of penny tiles.
McKenna
Your bathroom is stunning! I love the texture that the penny tile gives to your design without being too gaudy. The green and wood tones are just lovely.
Liz
I really appreciate that, thank you!
Dusty
I so want to do this in my bathroom. Your bathroom looks so pretty!
Liz
I think you can’t go wrong with penny tiles! Thank you!
Rebekah
Great tips! If I ever need to redo my bathroom I’ll be sure to come back to this page for reference.
Jen
Love this! Thank you for all the tips. What color is the grout?
Liz
Thank you! The grout color is silver by Mapei