How to Make an Art Ledge
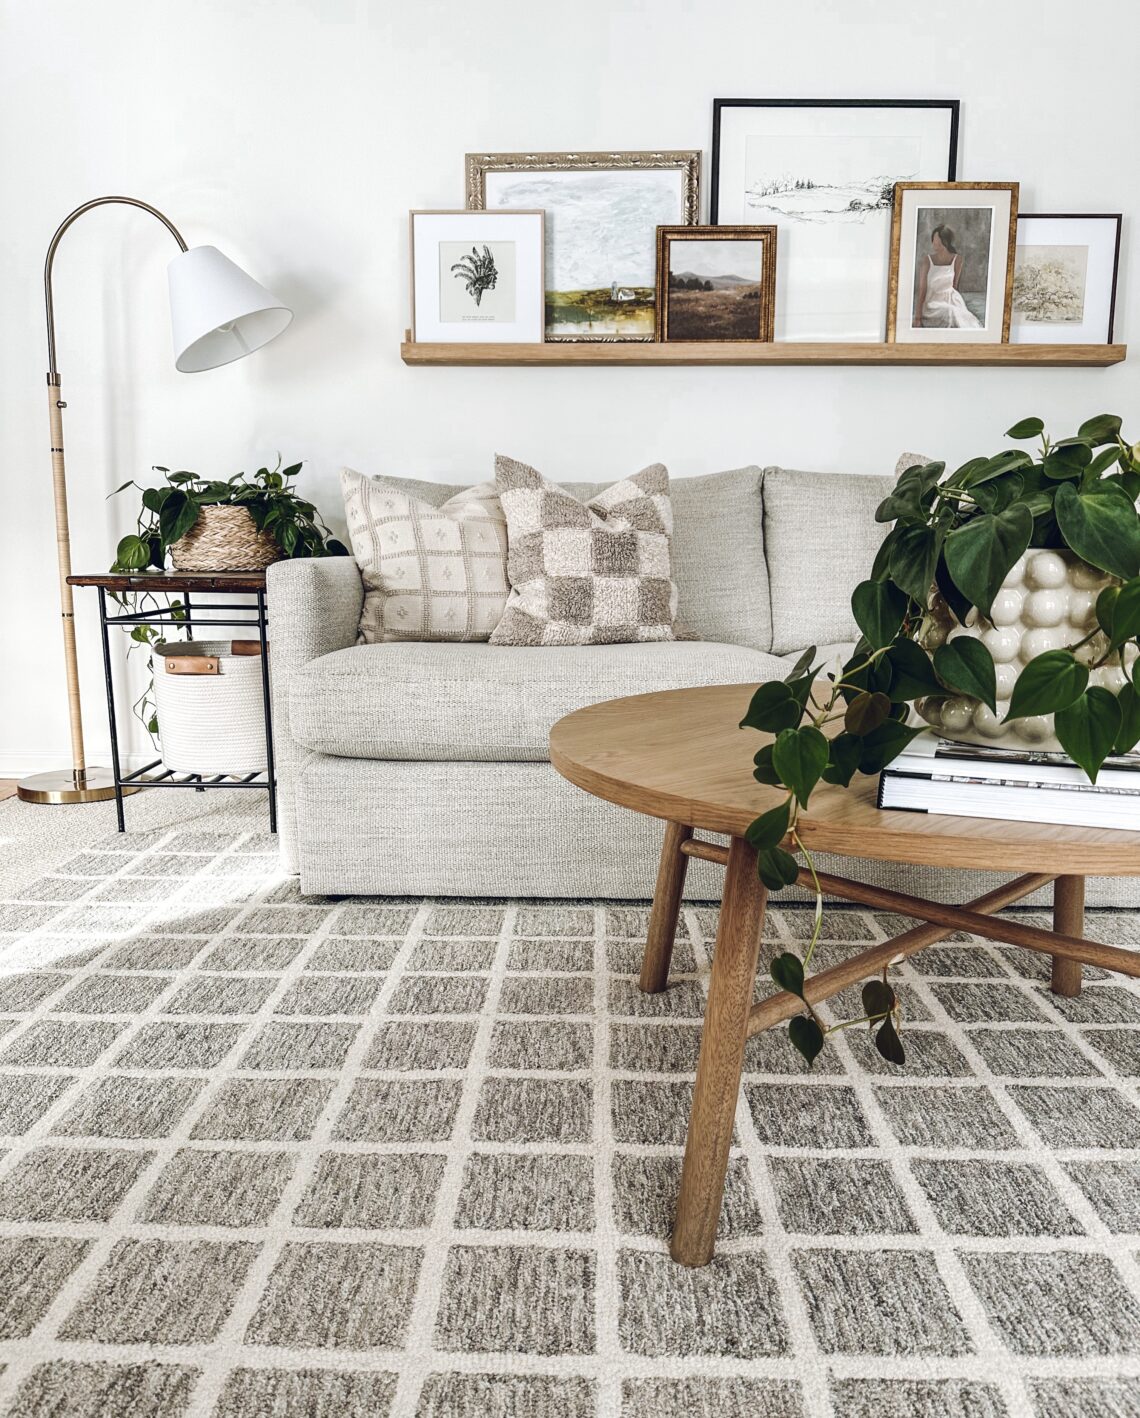
What should I hang above the couch? It’s such a large space to fill, and that can make it hard to find just the right thing. I have discovered what I feel is the perfect answer to the question, “What to hang above the couch?” It’s a DIY art ledge! Follow along to find out how to make an art ledge. It’s quite simple!
(This post contains affiliate links. This means I receive a small compensation at no cost to you. For example, as an Amazon Associate I earn from qualifying purchases. You can read more about it here. Thank you for your support!)
Why an Art Ledge?
1. An art ledge allows you to fill the large space above the couch beautifully and easily!
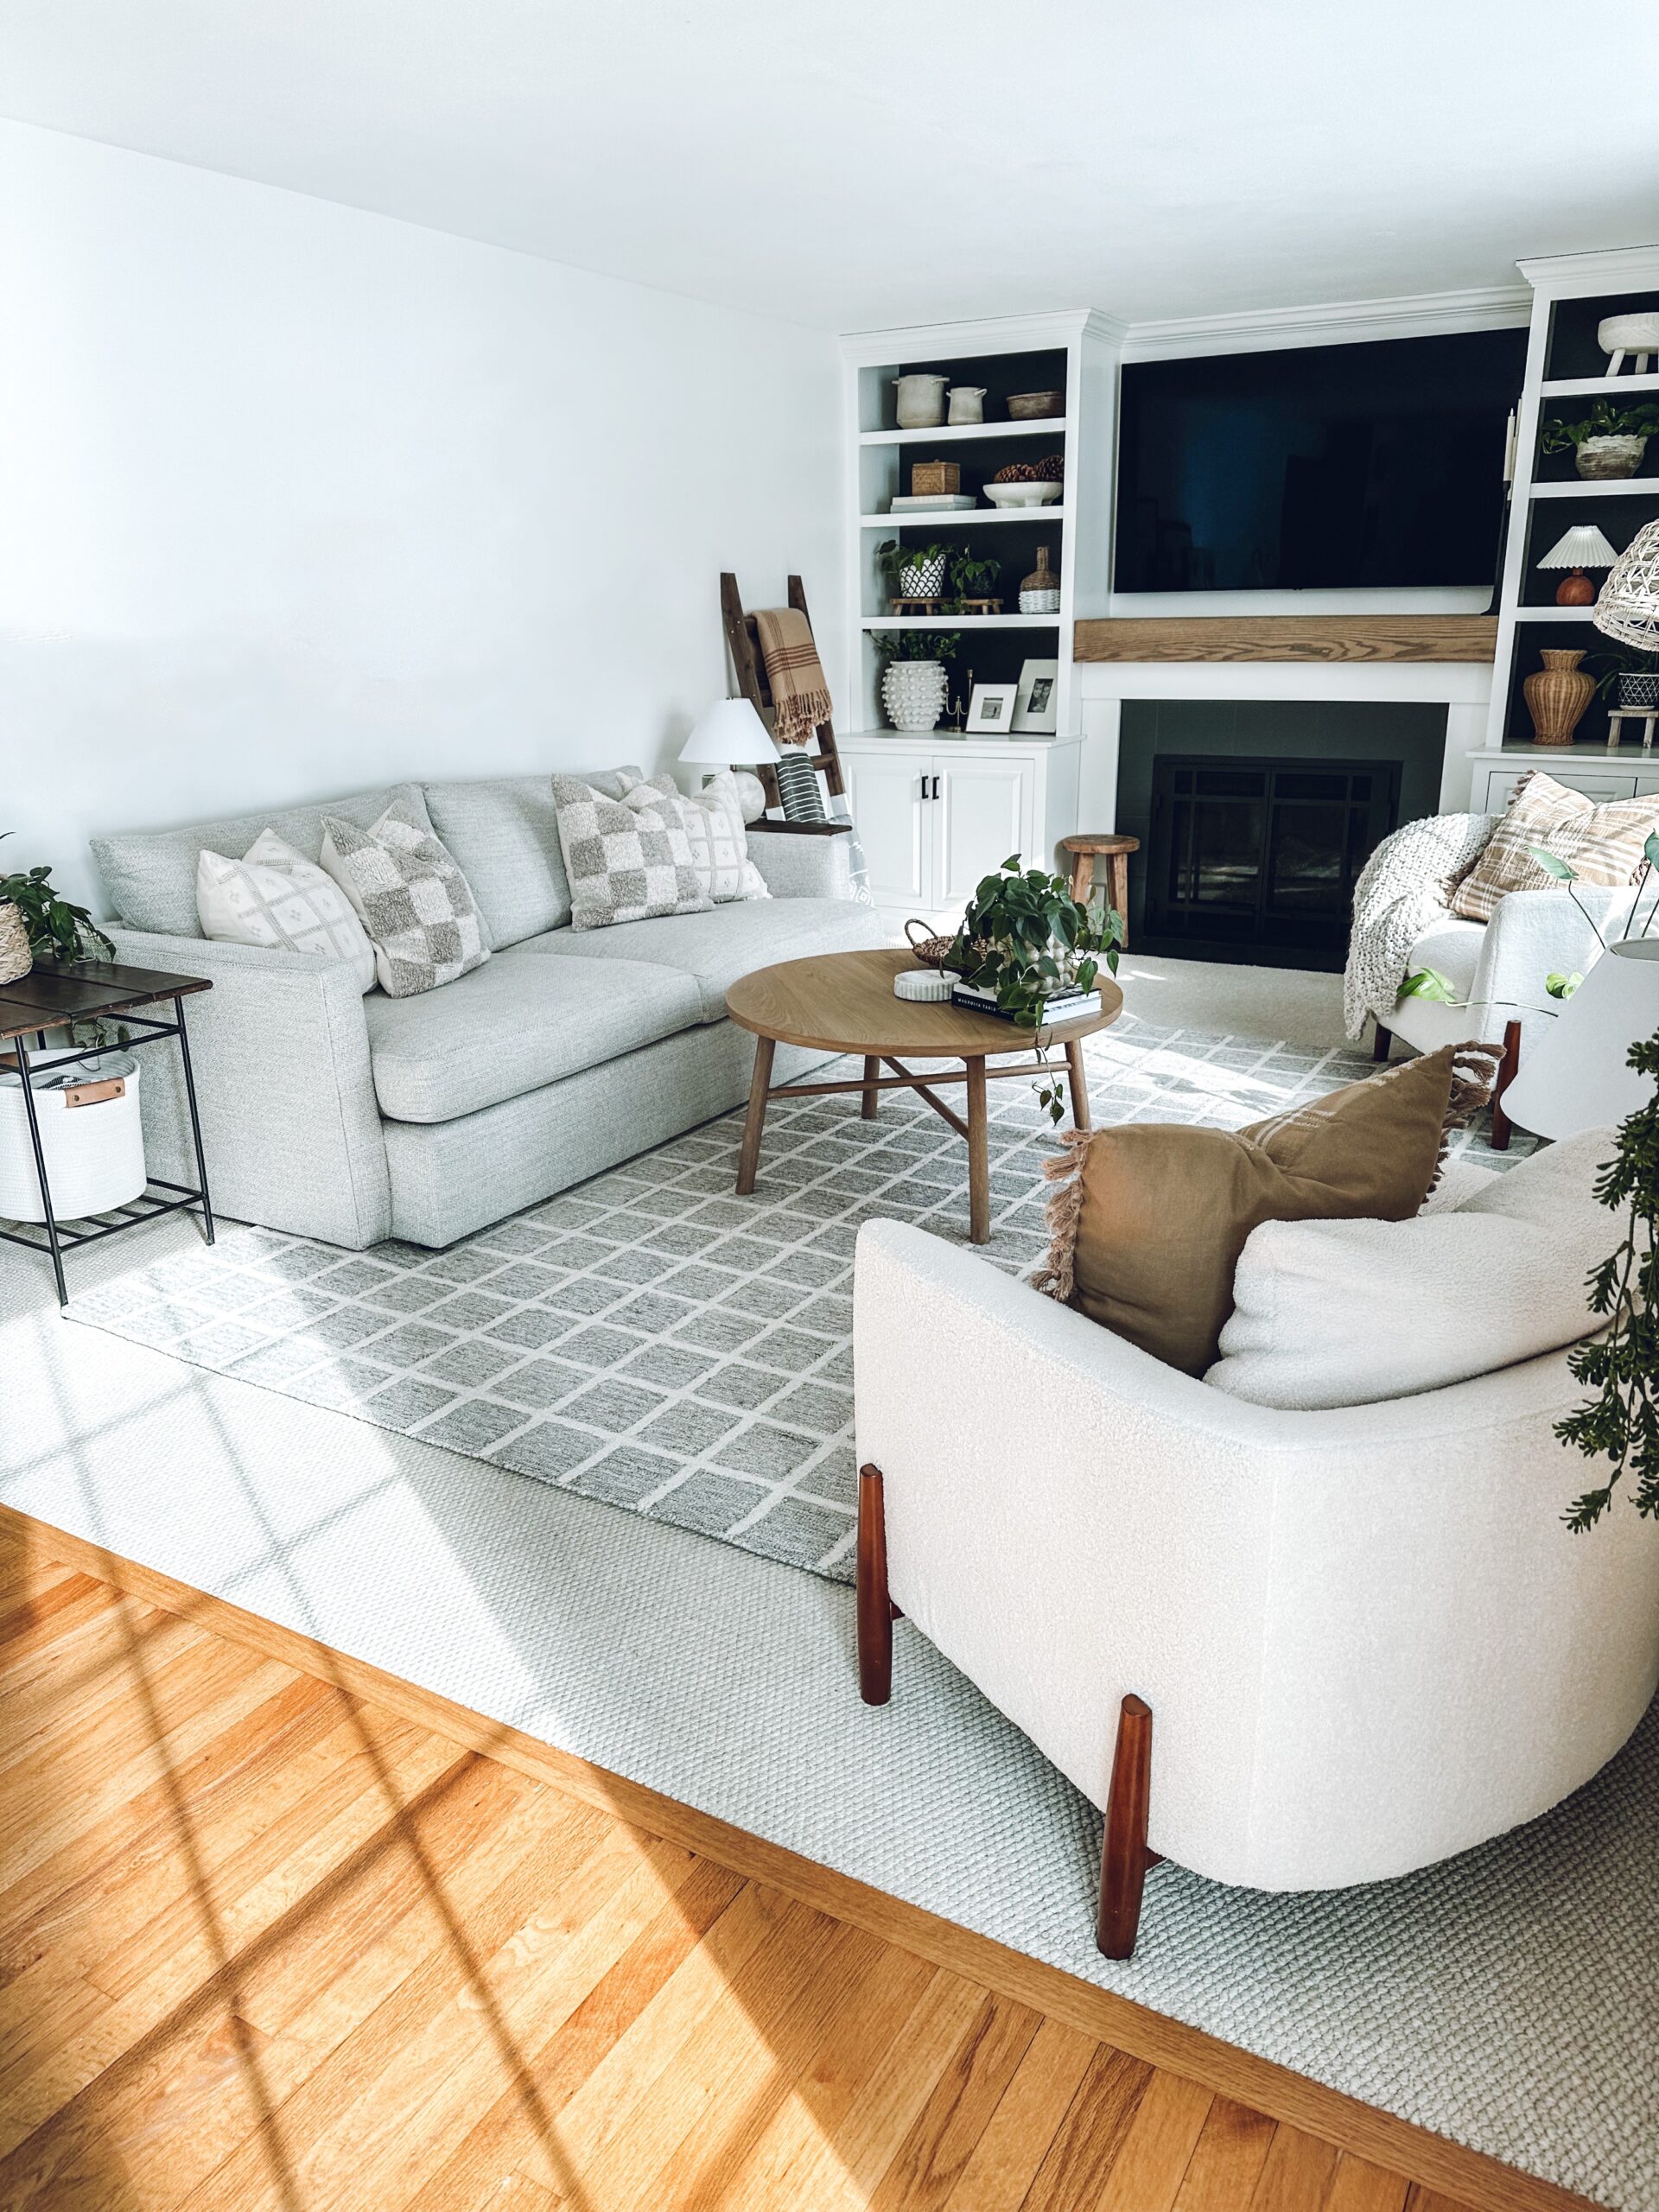
Before:
After:
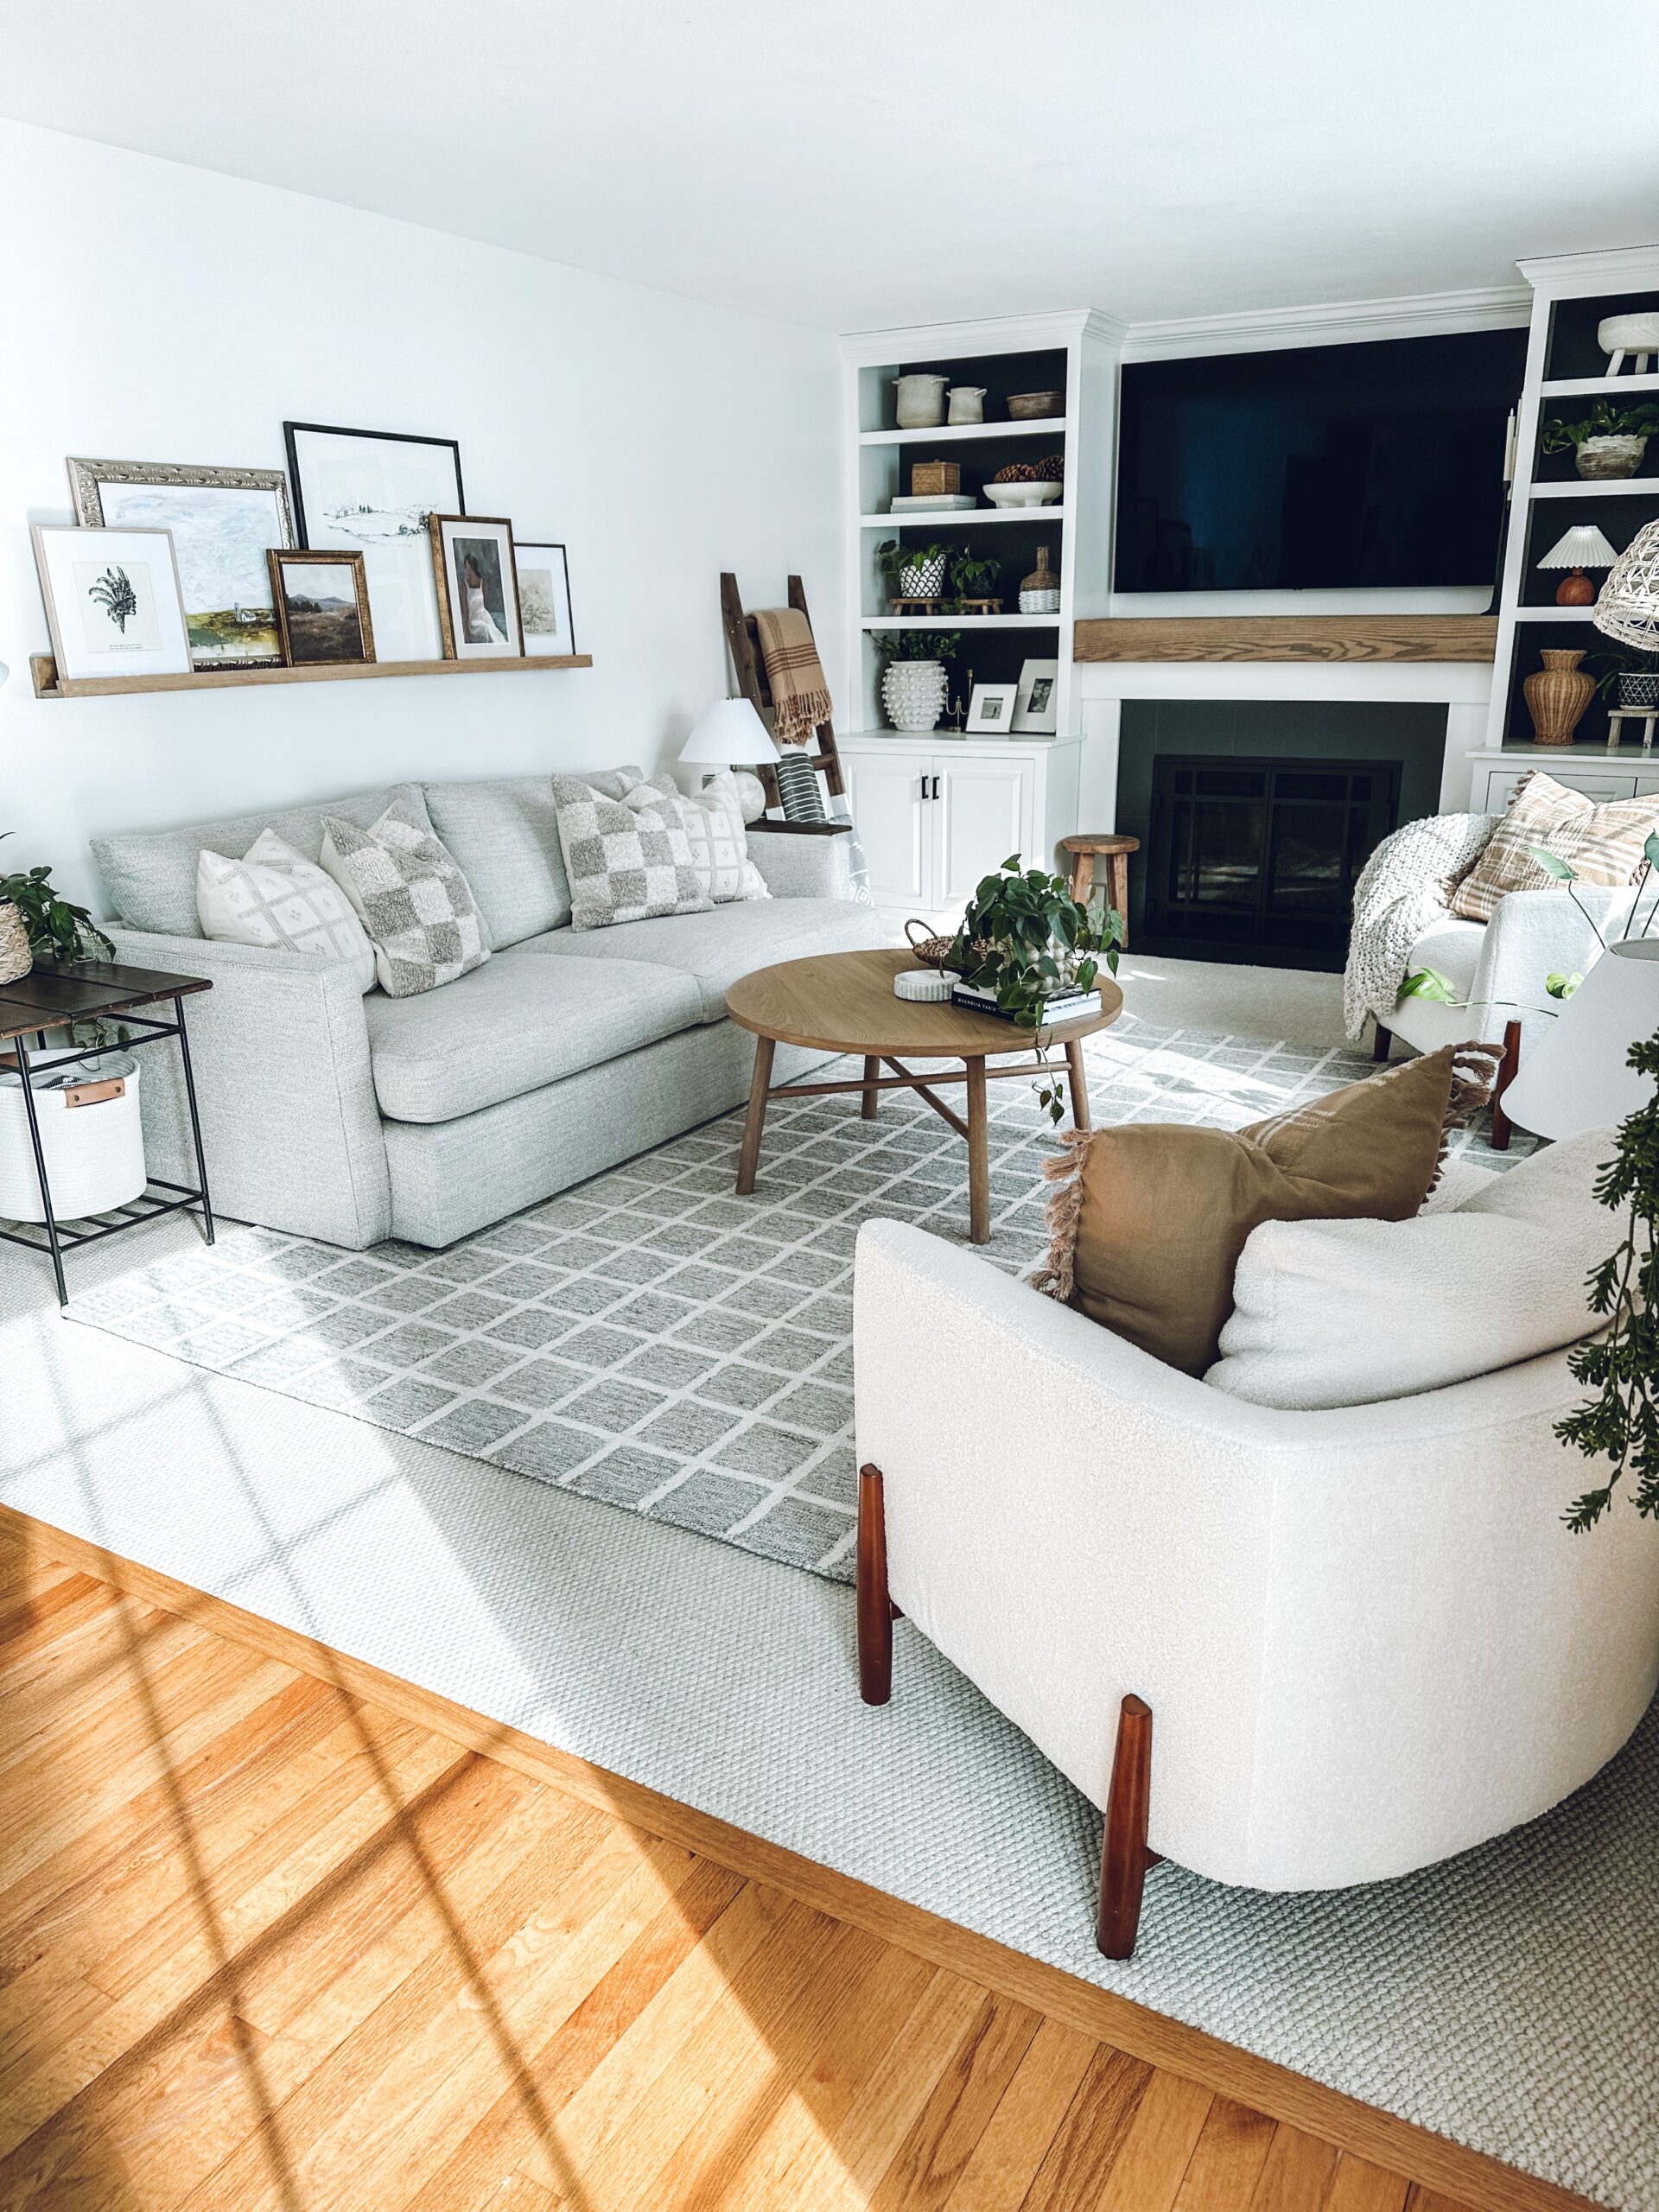
2. An art ledge makes it simple to change out what you put on it. You can change the art and photos according to your mood, style changes or the different seasons and holidays. That is harder to do when you hang a gallery wall, and it’s fun to have the freedom to do so!
See how I decorated the art ledge for Christmas here.
How to Make an Art Ledge
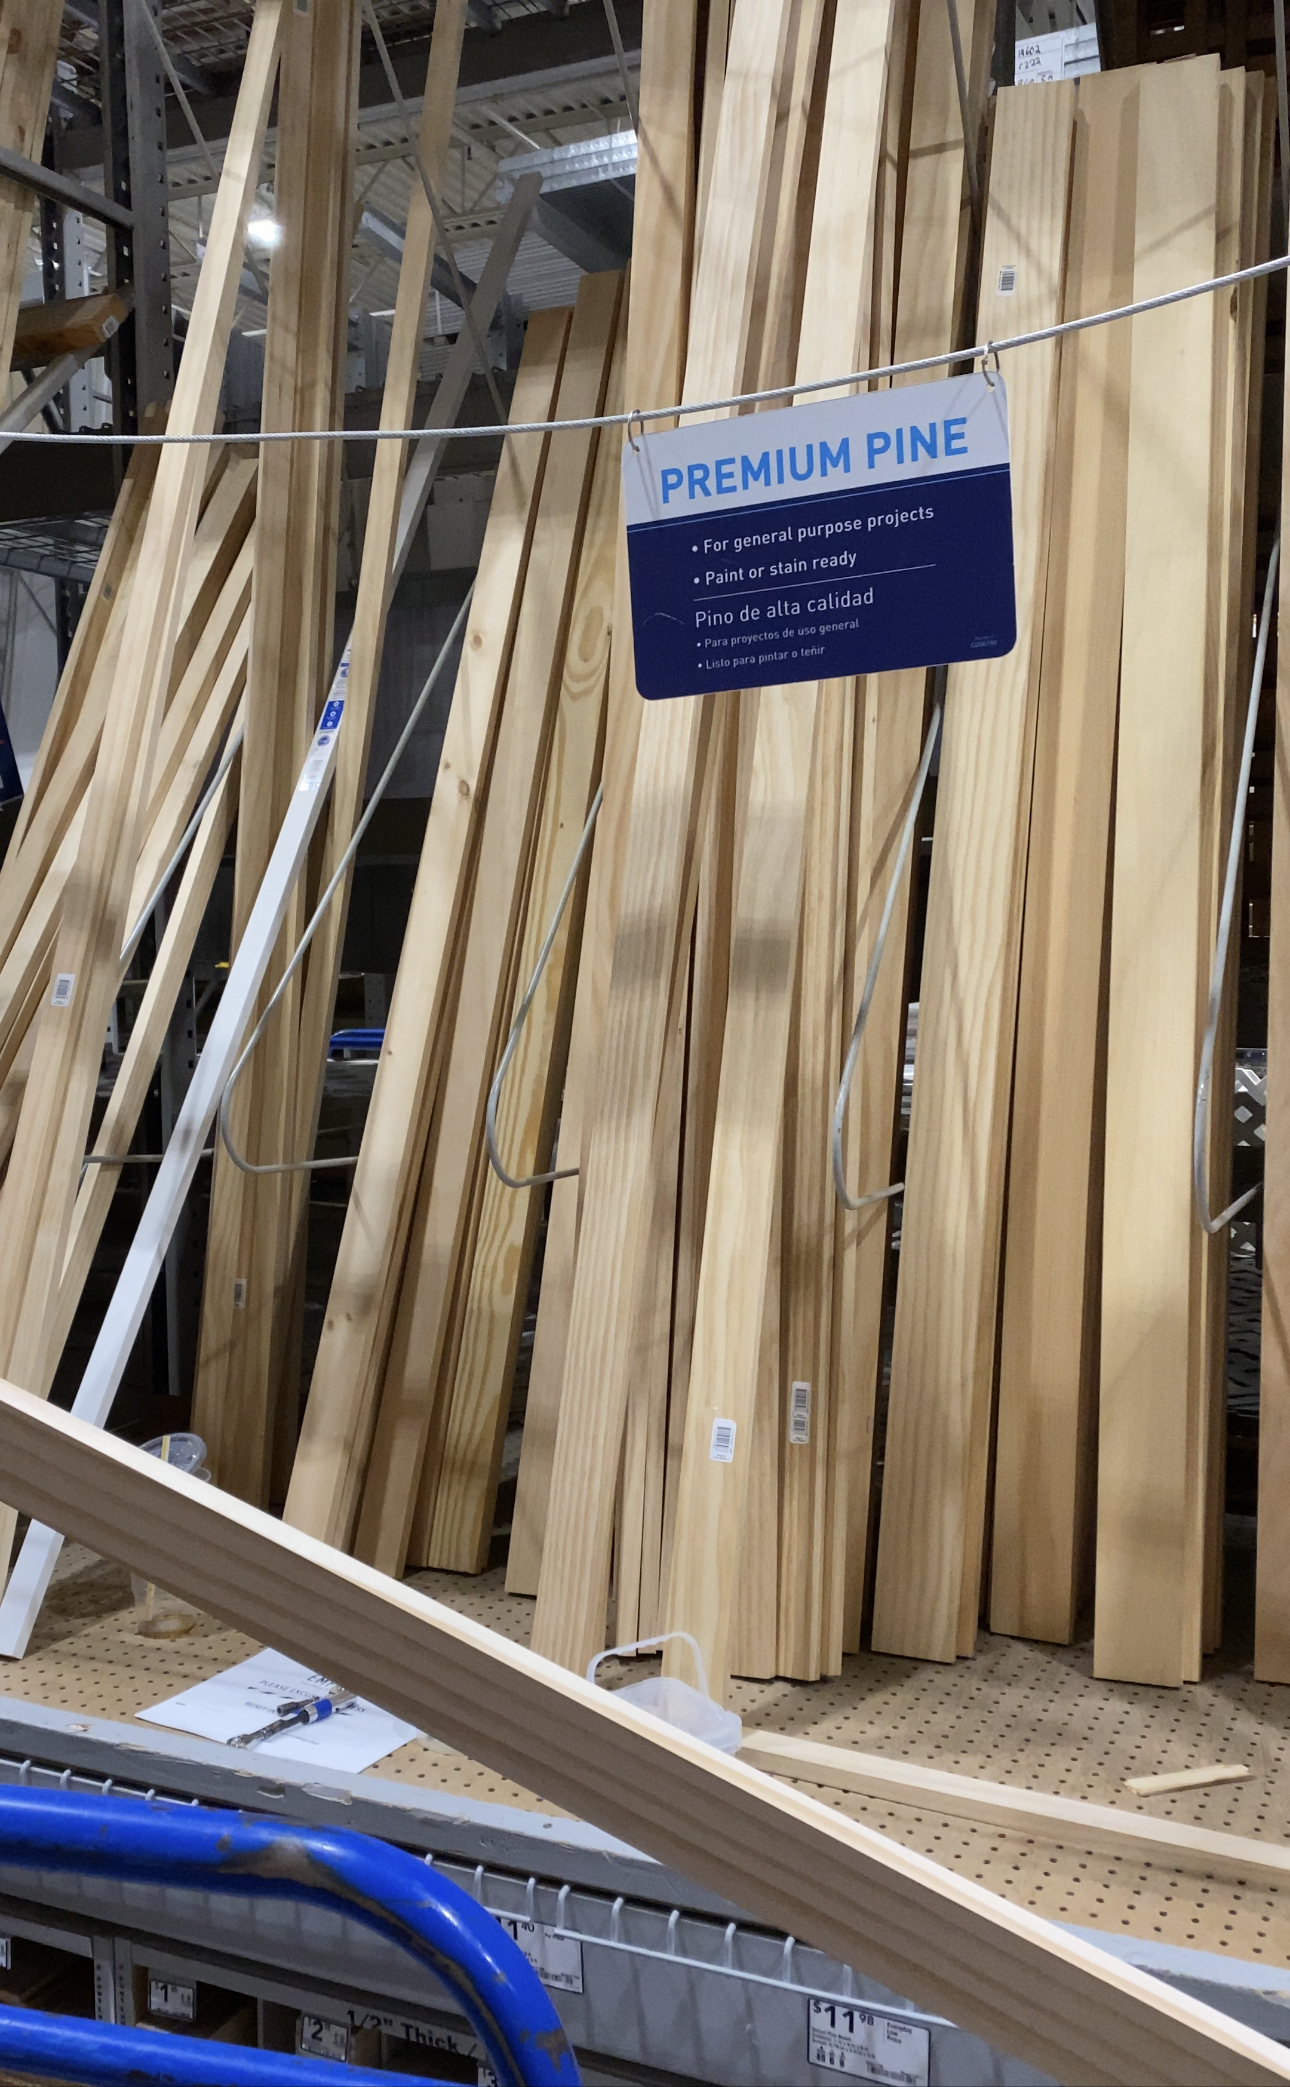
Materials:
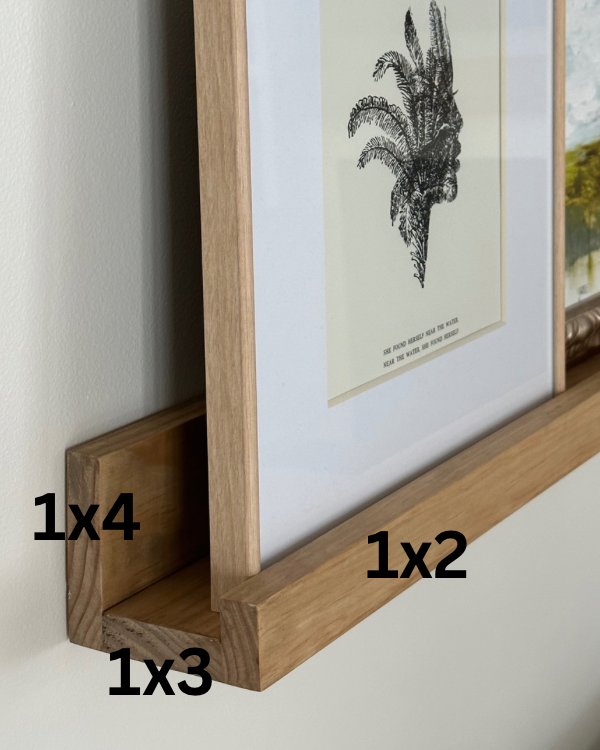
pine boards: 1×4, 1×3 and 1×2 (We used 6 foot boards which ended up being the perfect size for our space! You can have a board cut to the size you may need.)
Gorilla Glue construction adhesive
clamps
3 1/8 inch trim screws
impact driver
sandpaper if needed
stain (We used Minwax water based stain in weathered oak.)
rubber gloves and rag for the staining process
Note: You may want to apply a pre-stain wood conditioner to prevent patchiness. We chose not to use this, and although it turned out great there were some slight patches. You also may want to finish off with a polycrylic clear matte finish, but we chose to leave it as is.
Step 1
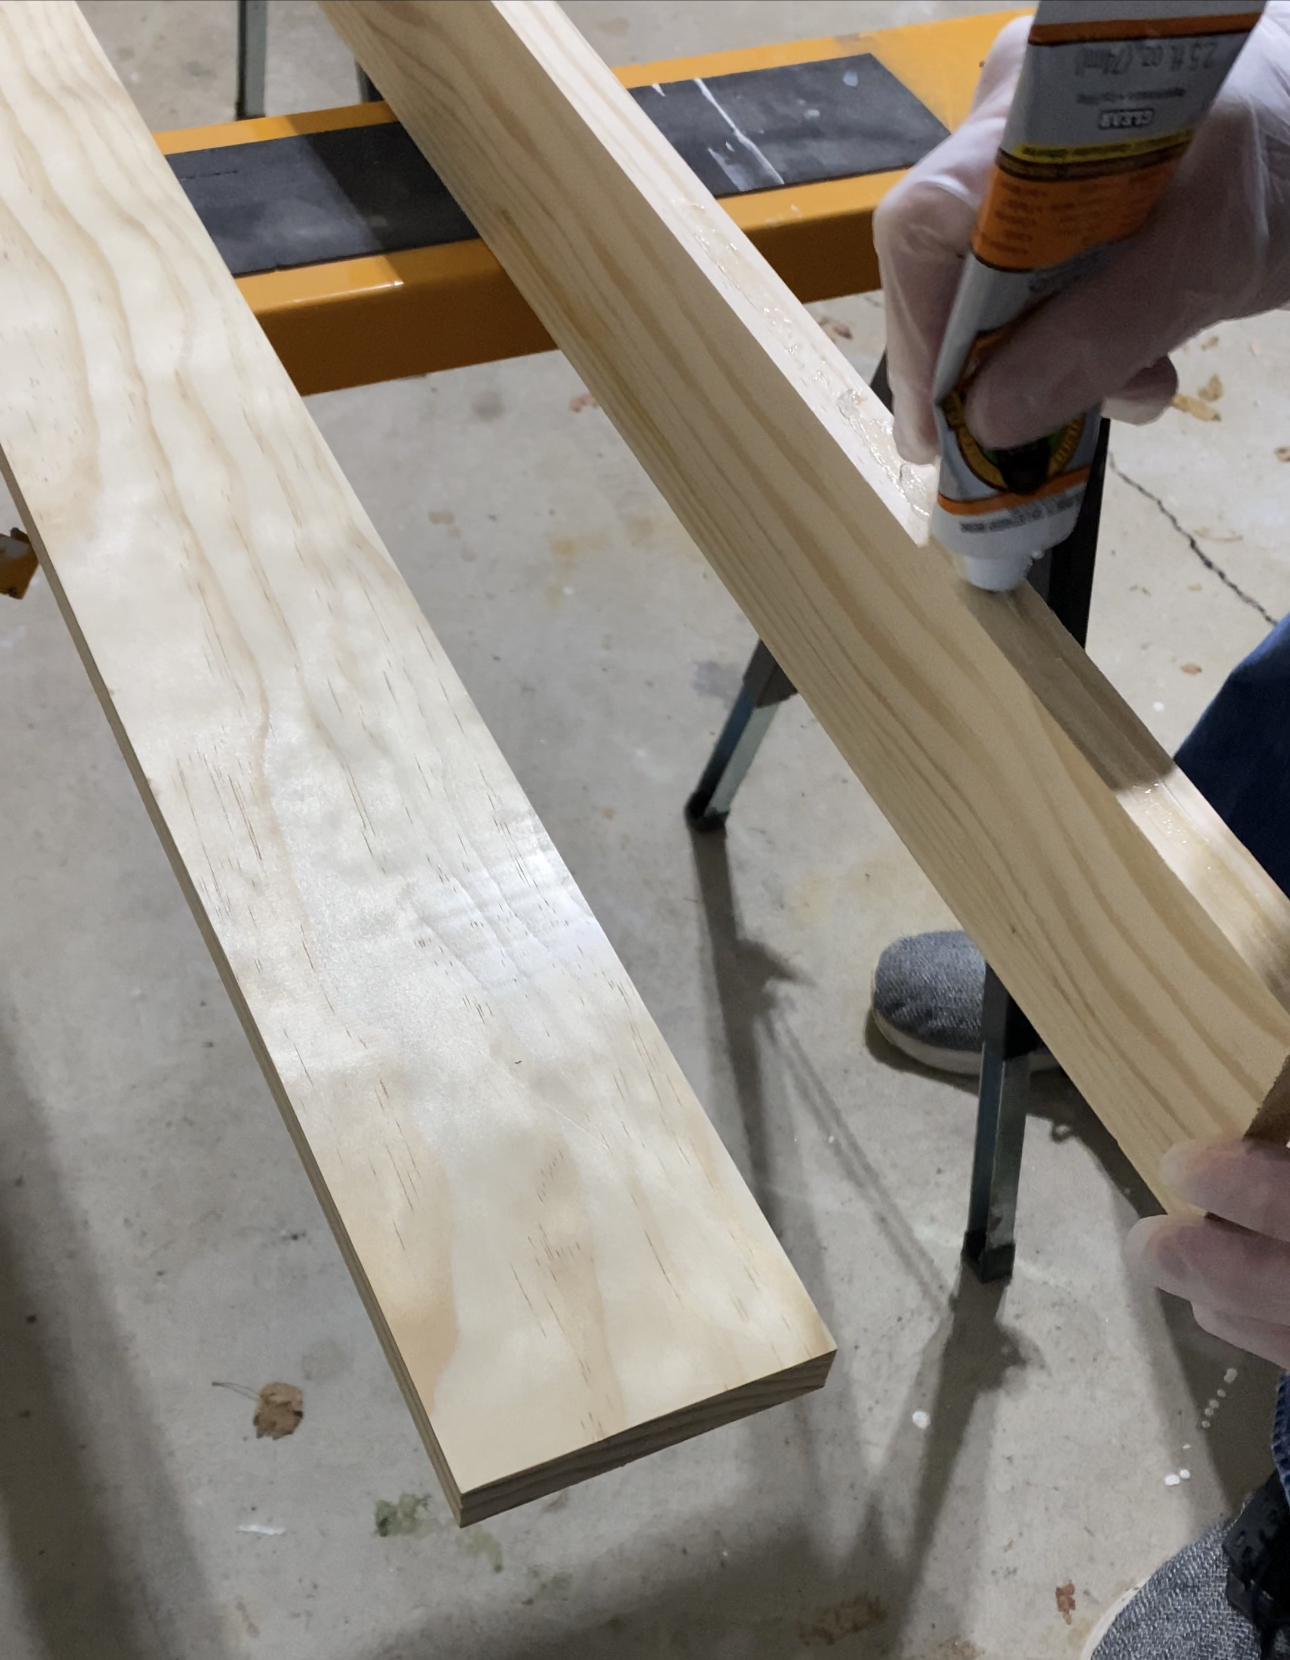
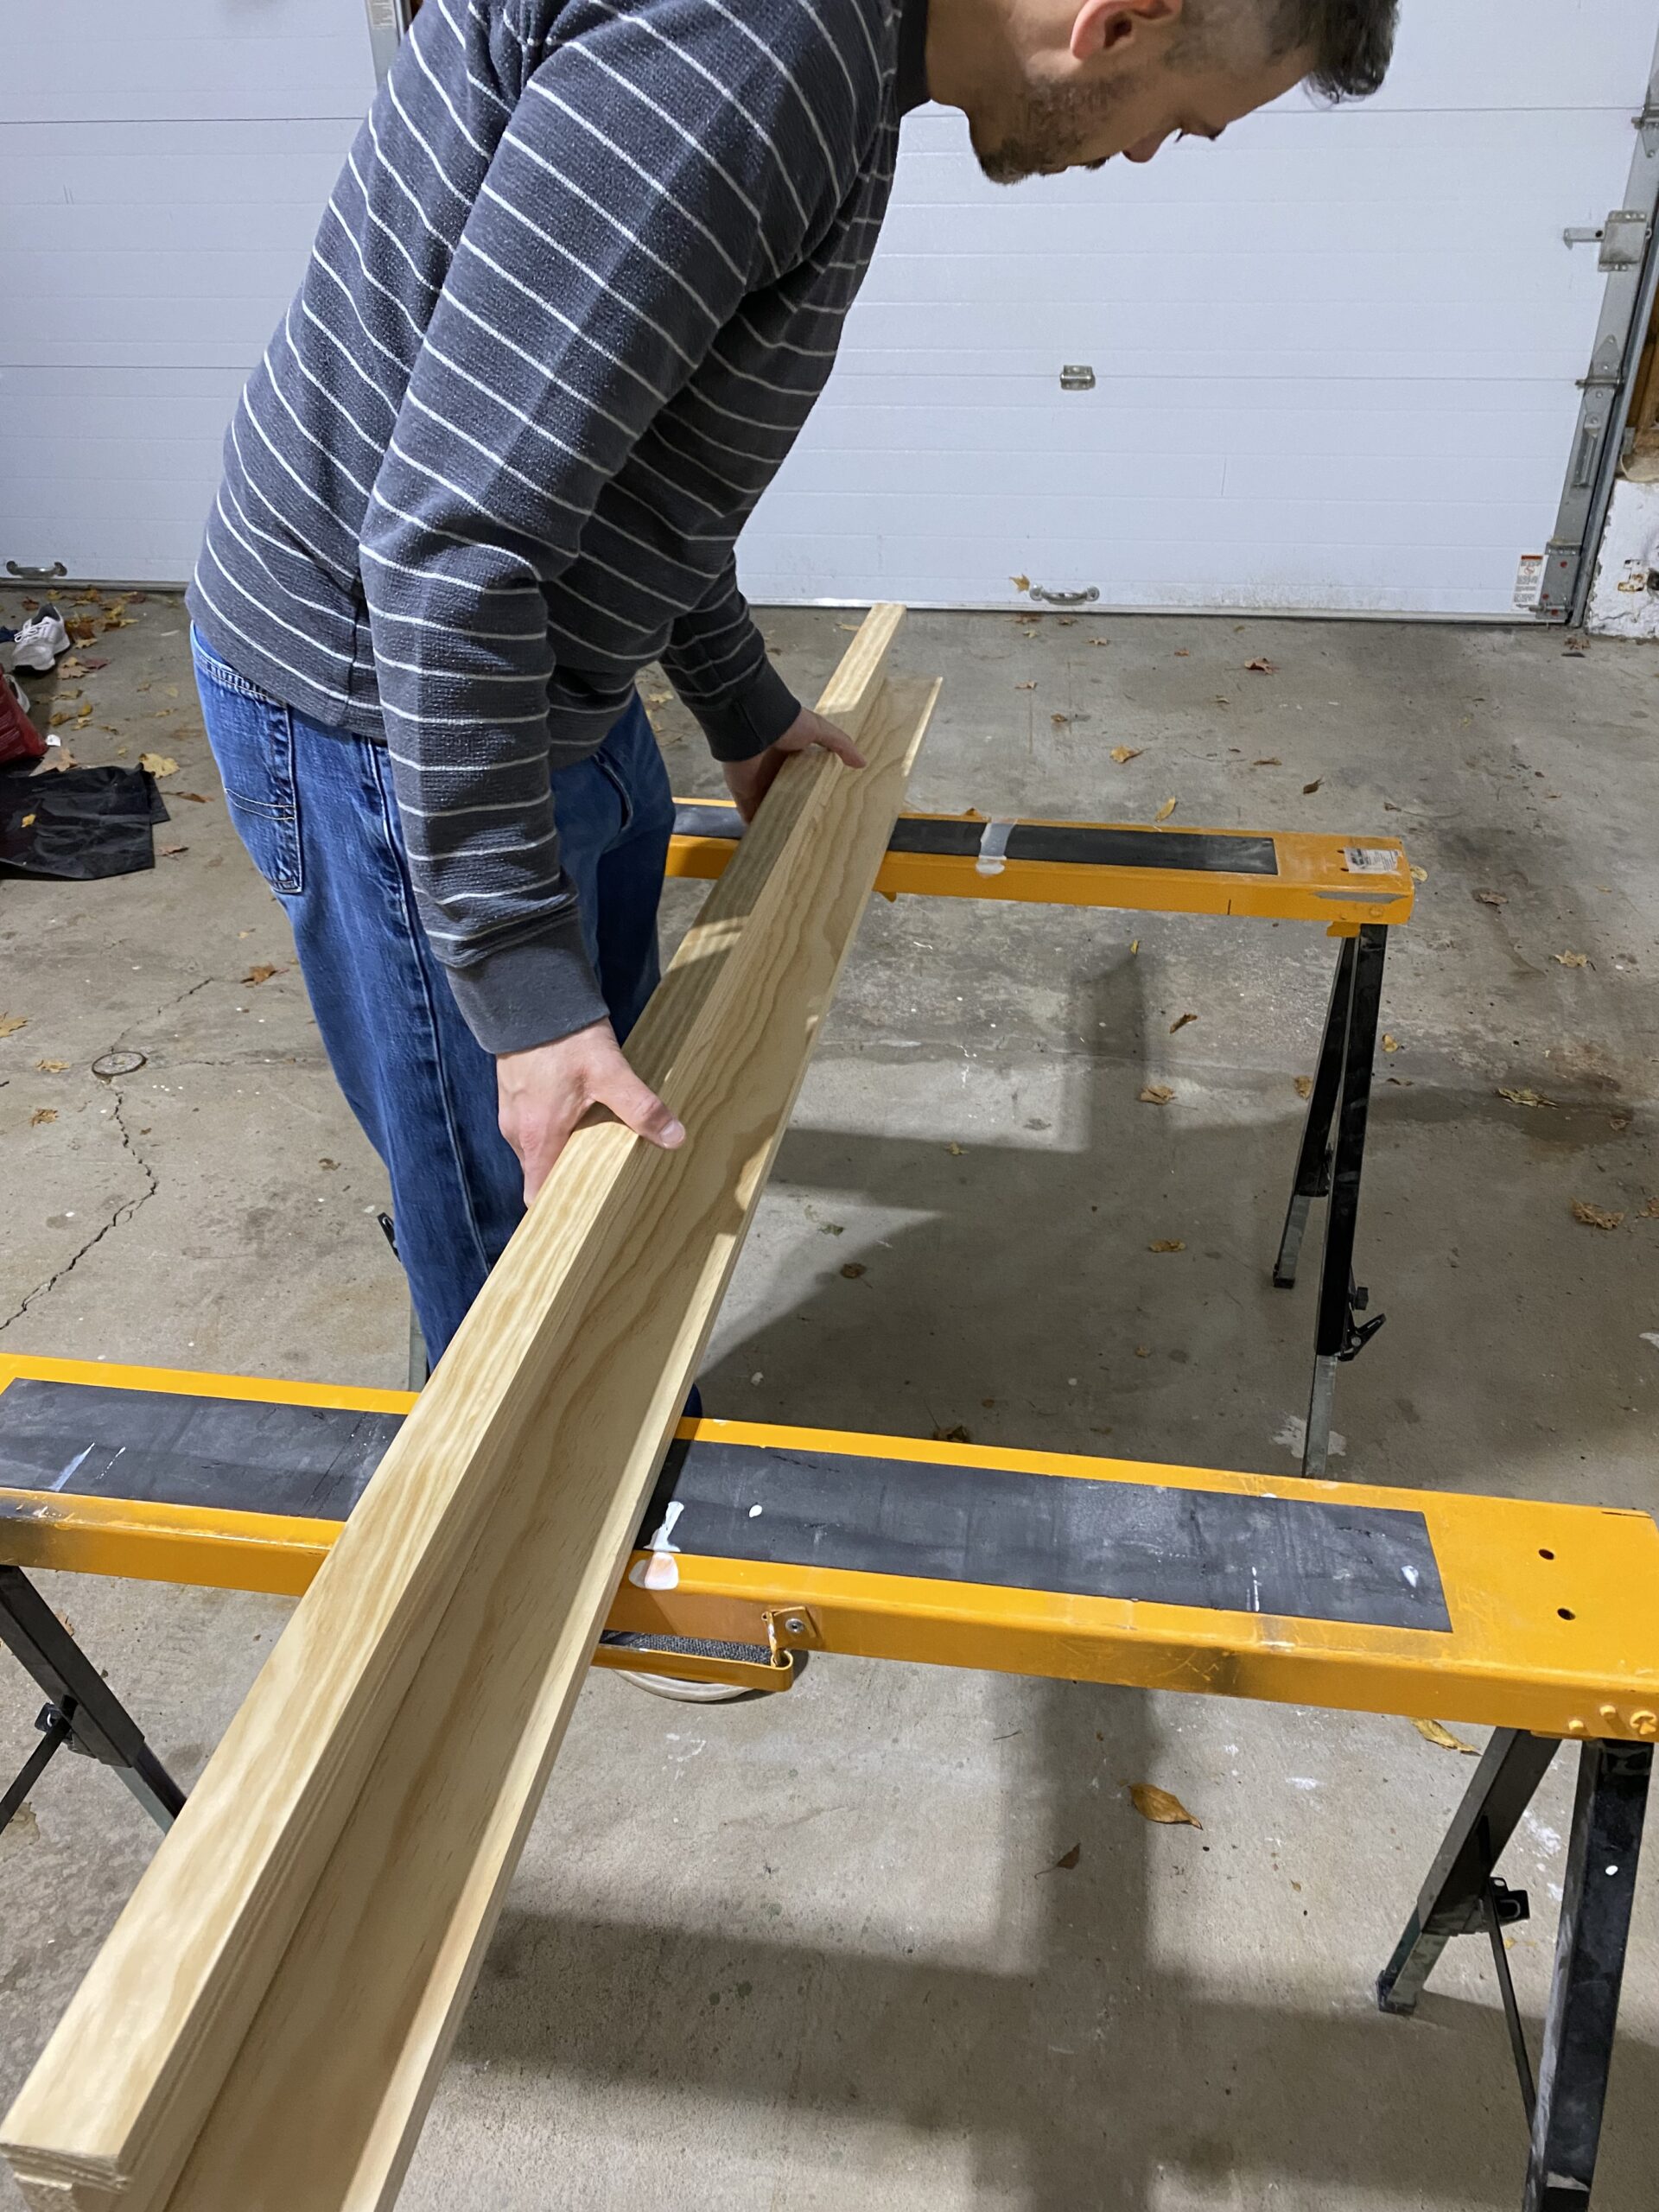
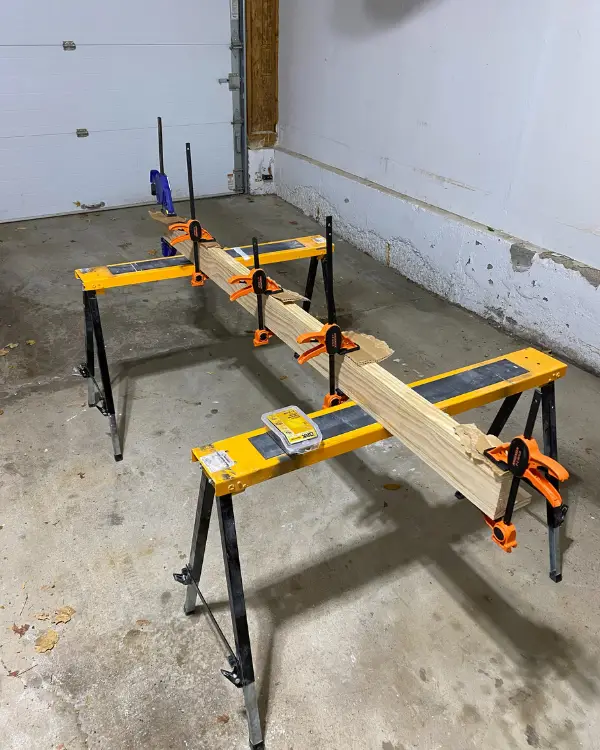
After having measured where you want to hang it and buying the sizes needed, glue the 3 pieces together. Use clamps to keep them together while they dry. Leave it for at least 24 hours, as directed on the glue tube.
Step 2
Once the glue has dried, insert several trim screws through the back of the ledge into the base for extra reinforcement.

Step 3
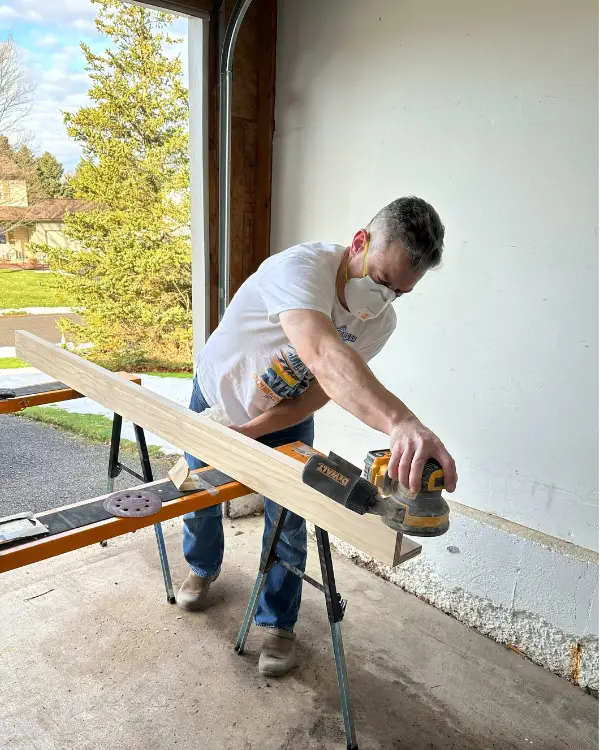
Lightly sand, if needed. After sanding, make sure to wipe it down with a rag to get the dust off.
Step 4
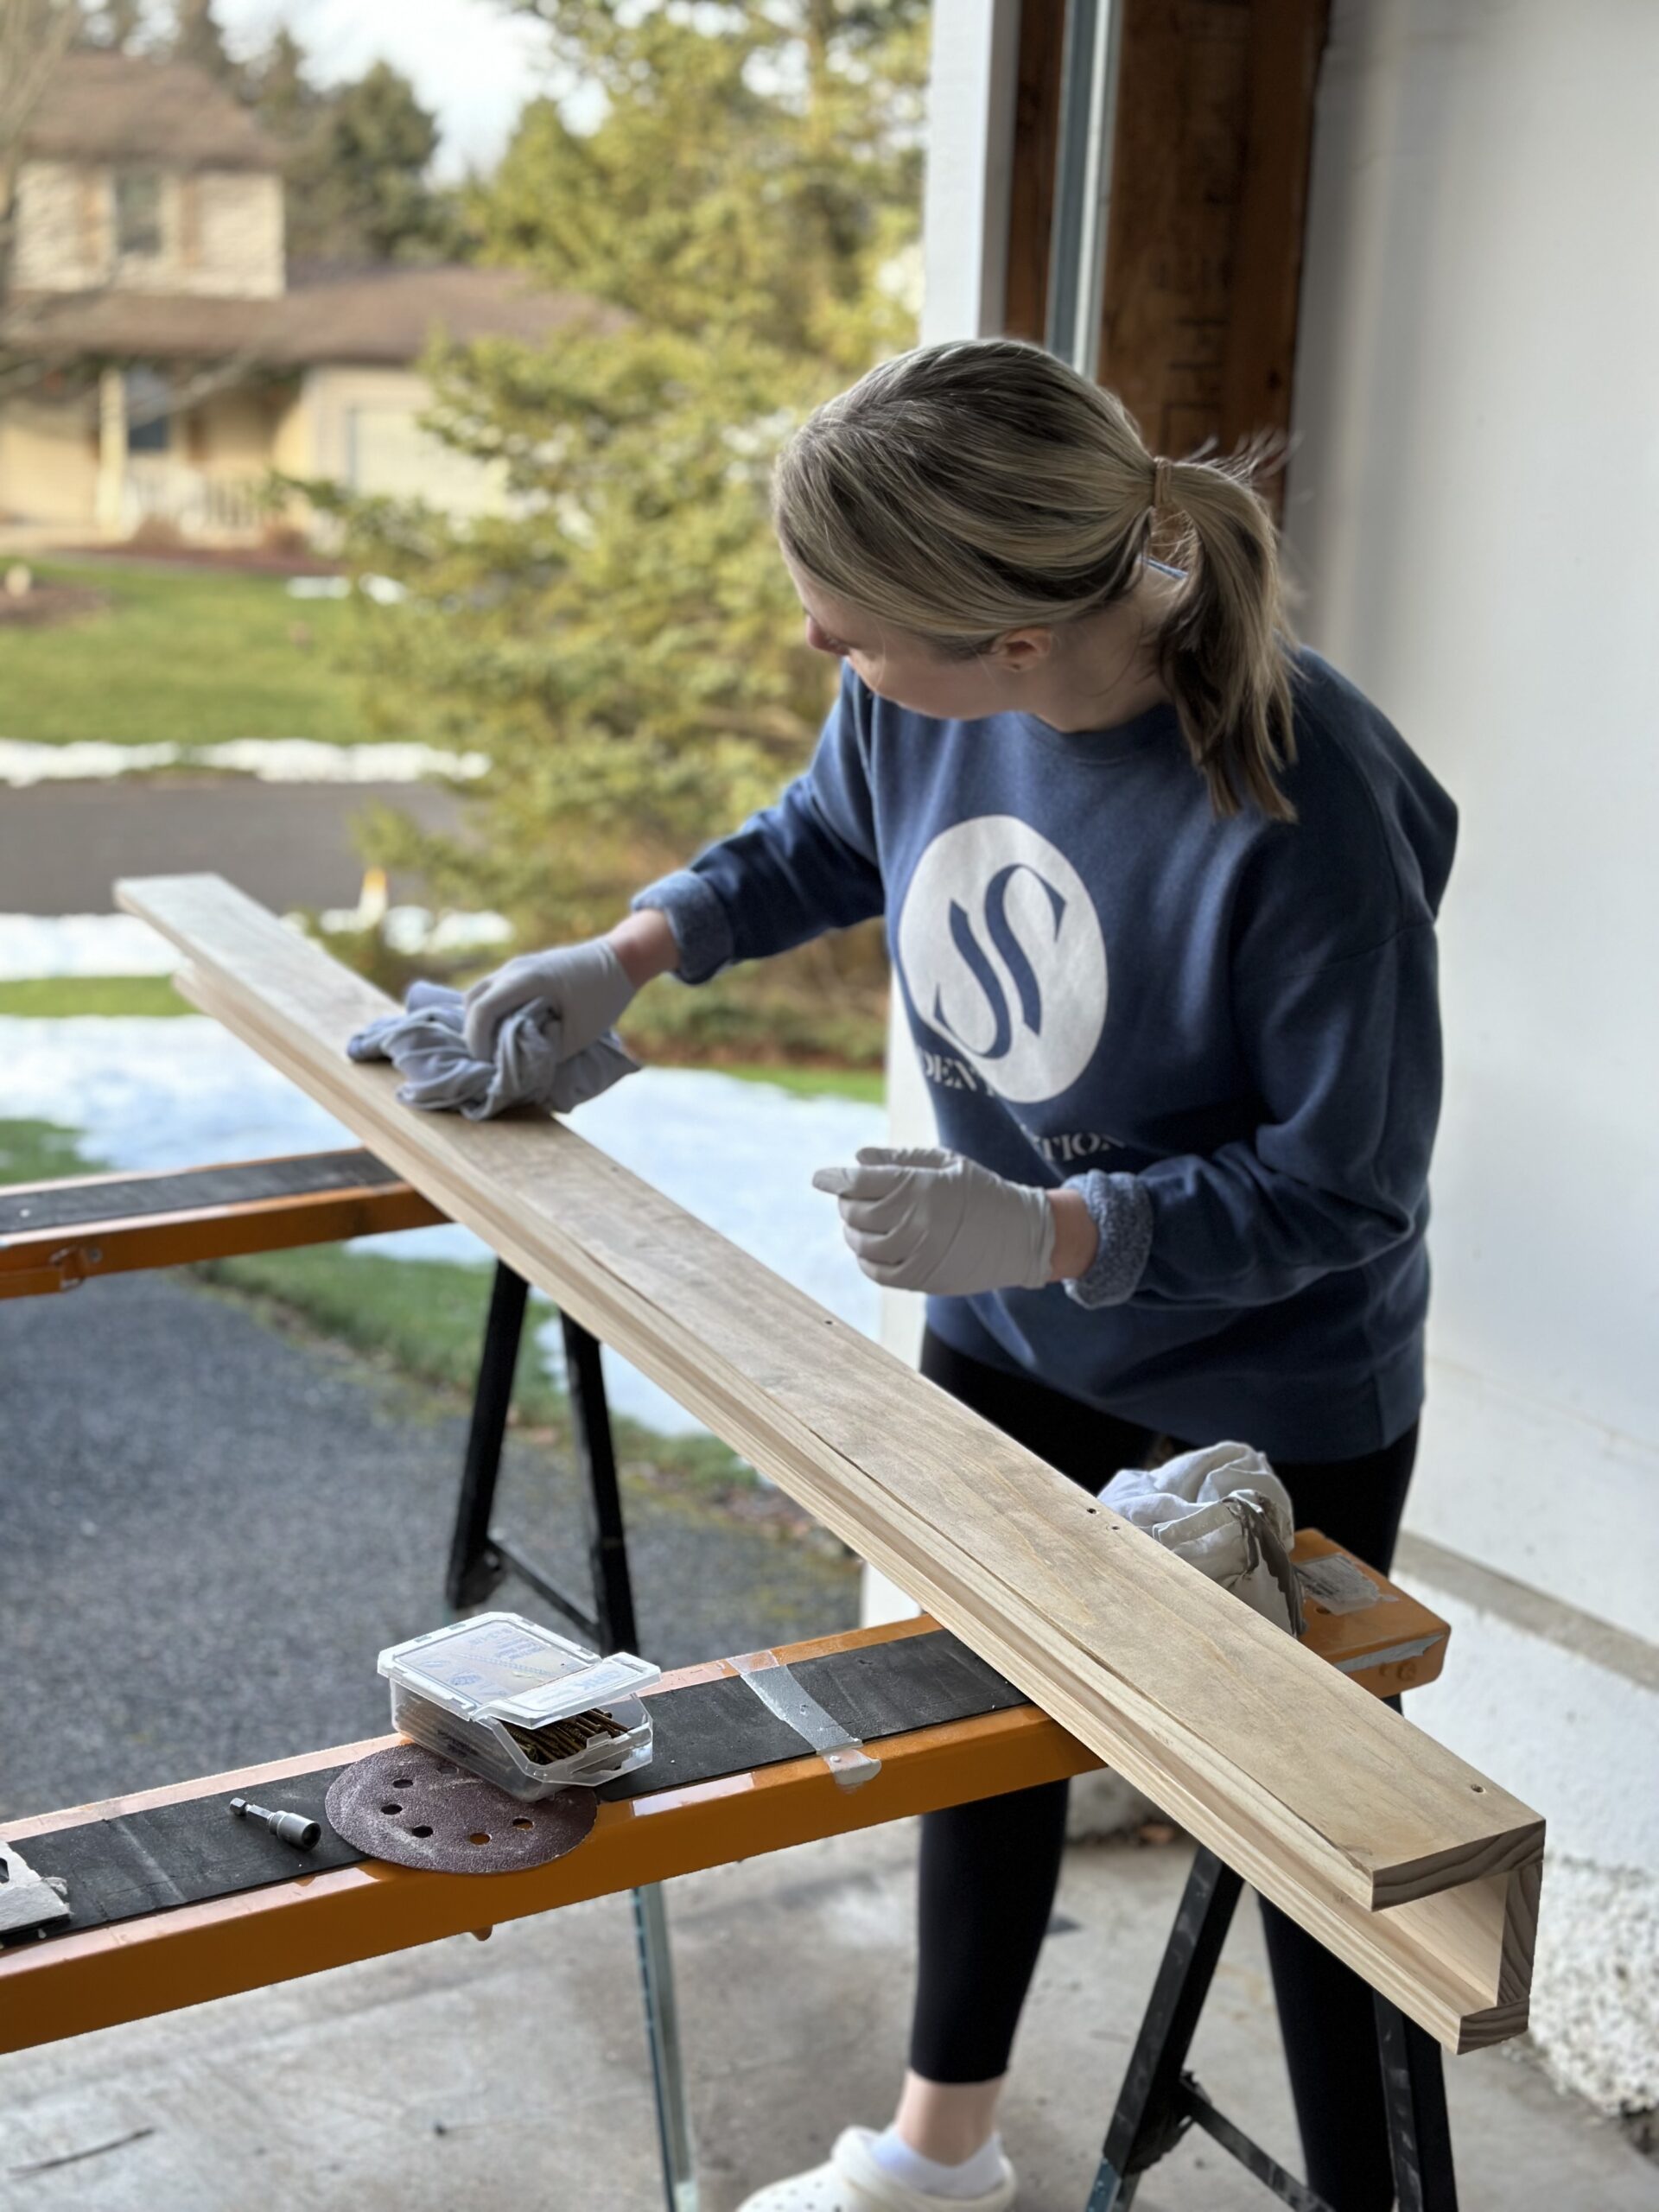
It’s then time to stain (or paint if that’s the look you choose). You may want to start with a wood conditioner before the stain. Wood conditioner helps prevent the stain from going on patchy. I applied and wiped off the stain with a rag. After it is dry (following the directions on the can), you can follow with a coat of polycrylic. We chose to skip that for this project.
Step 5
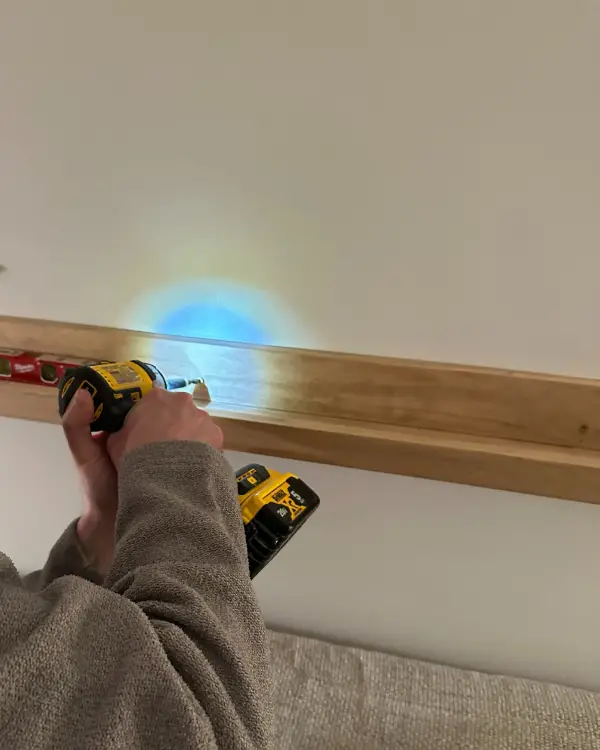
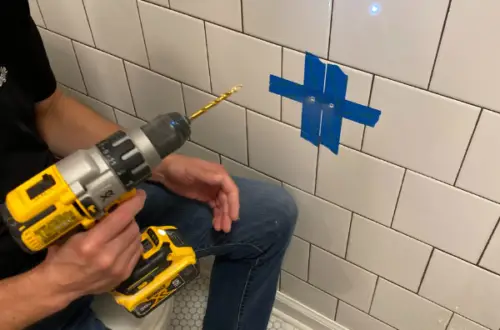
Once it is dry, hang it on the wall by drilling through the back in several spots to secure it. Make sure you hit studs when hanging.
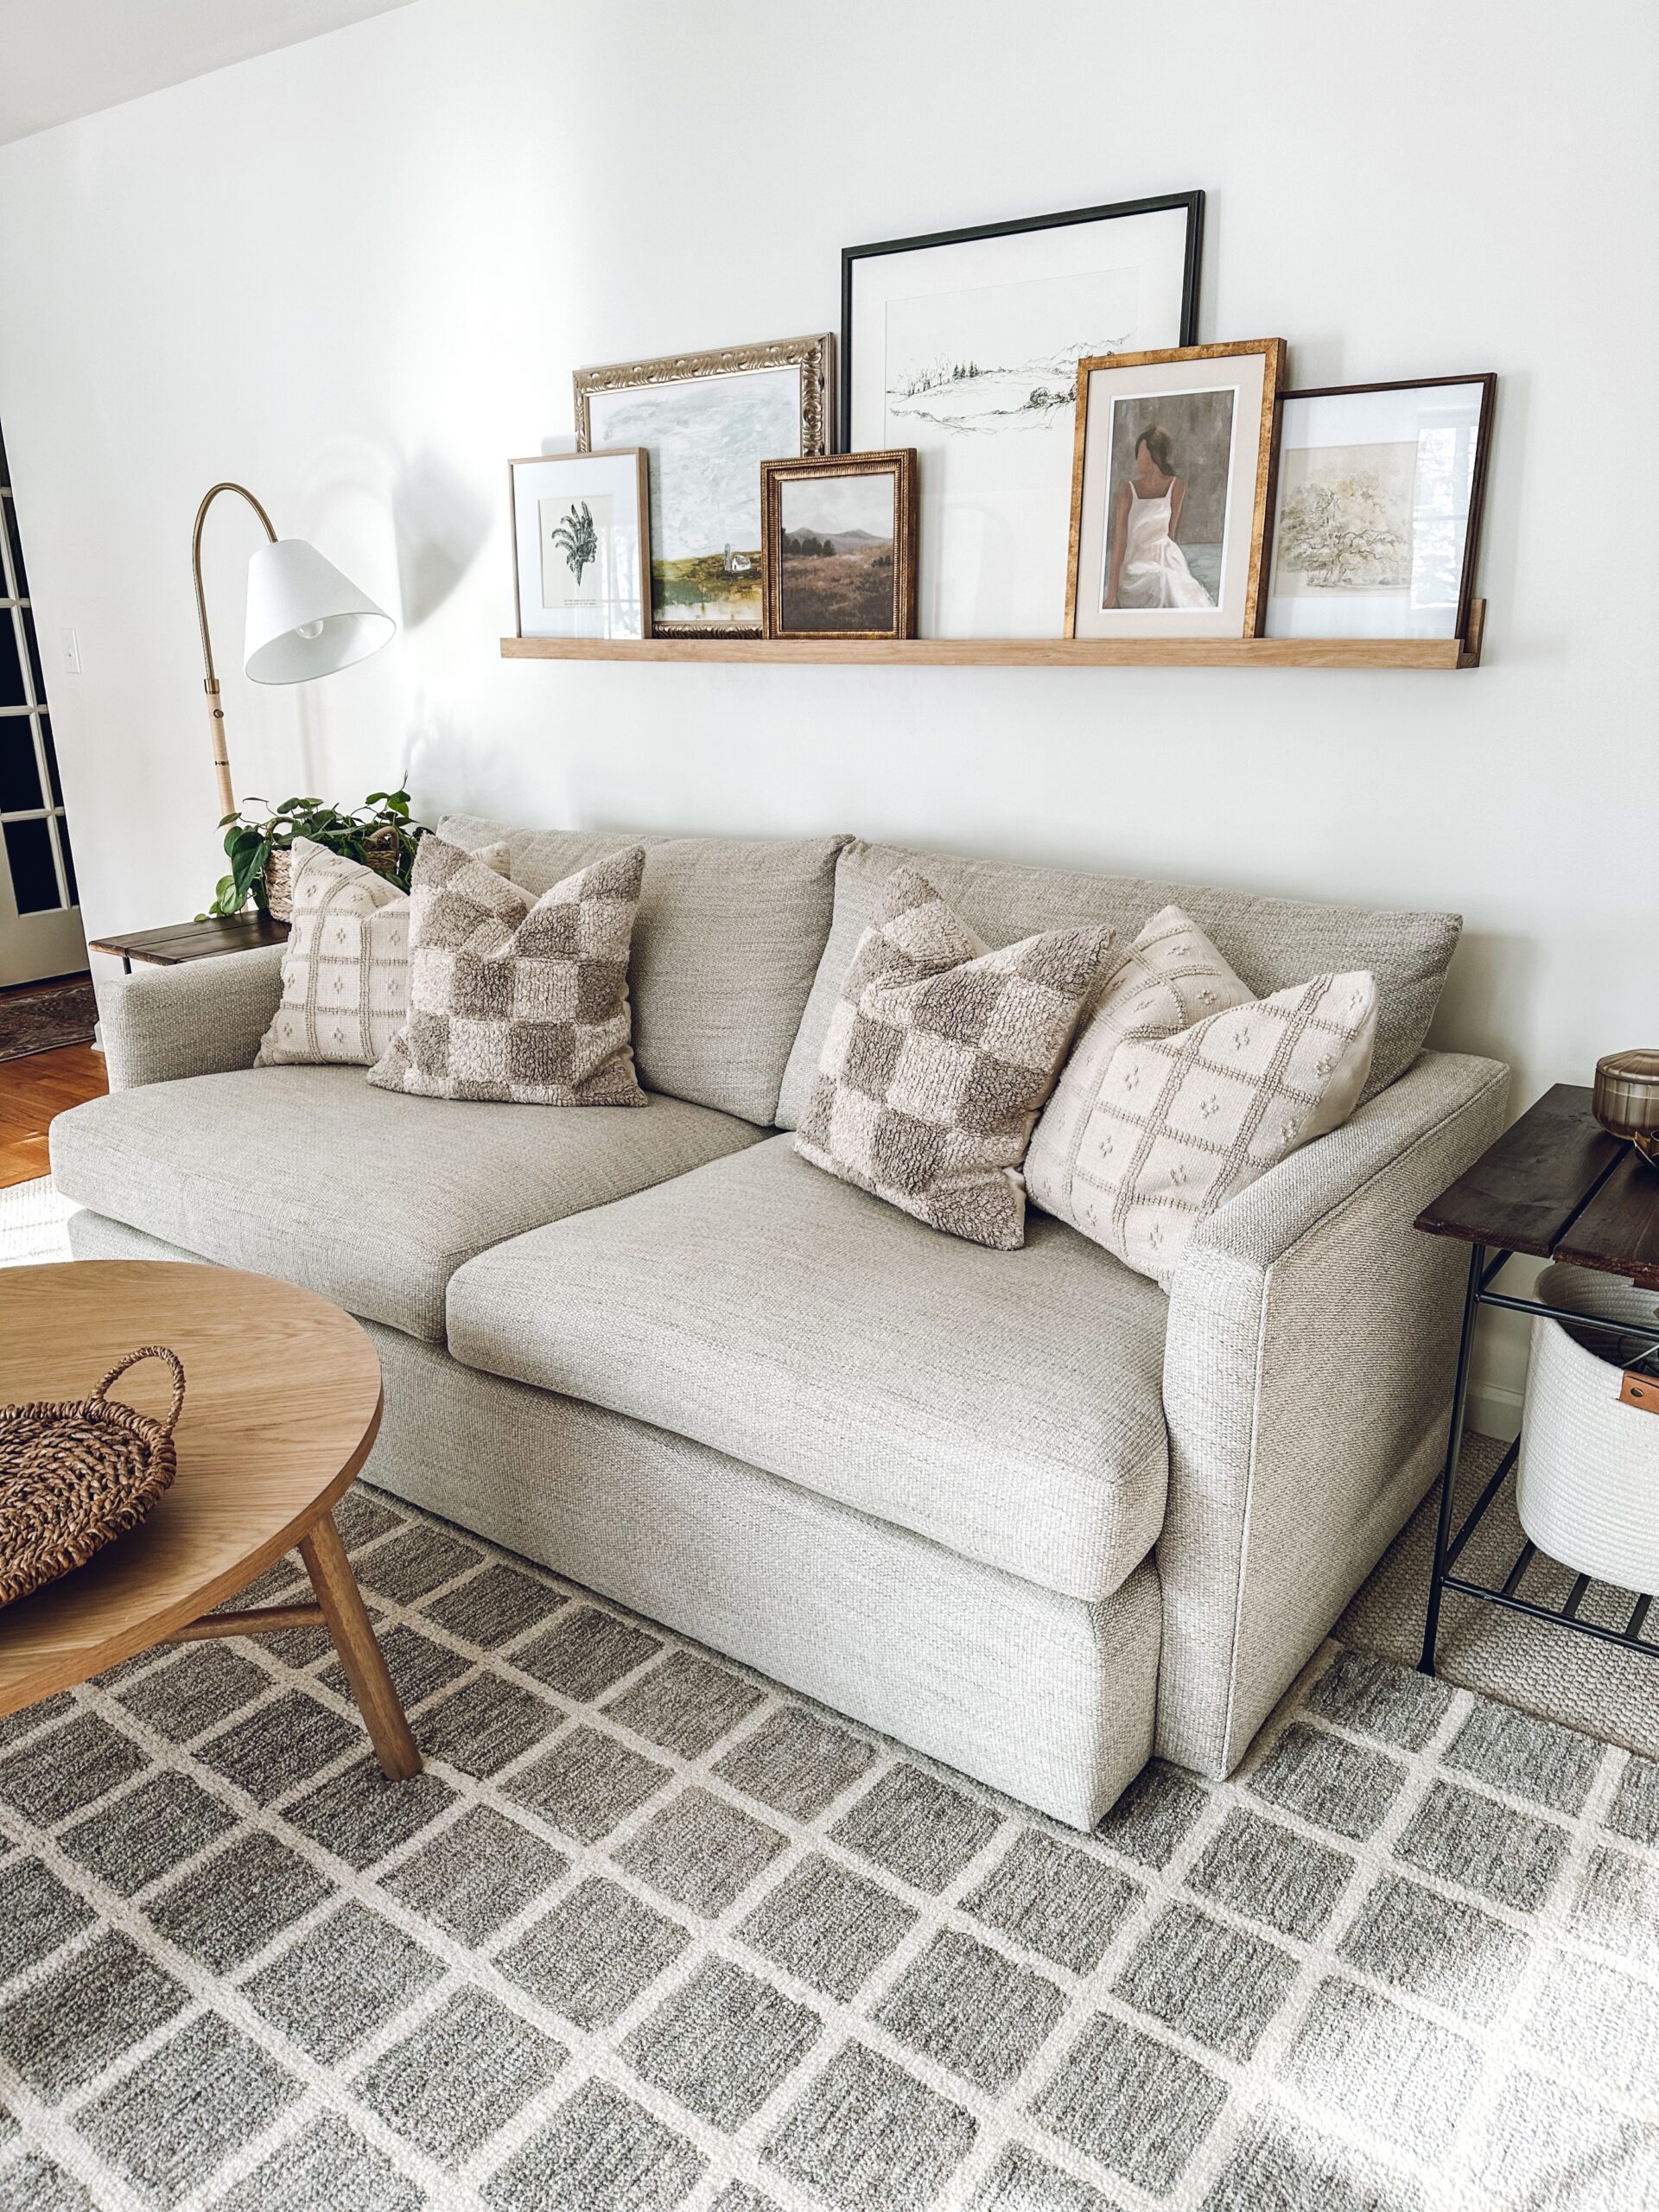
Here’s the Finished Art Ledge Styled
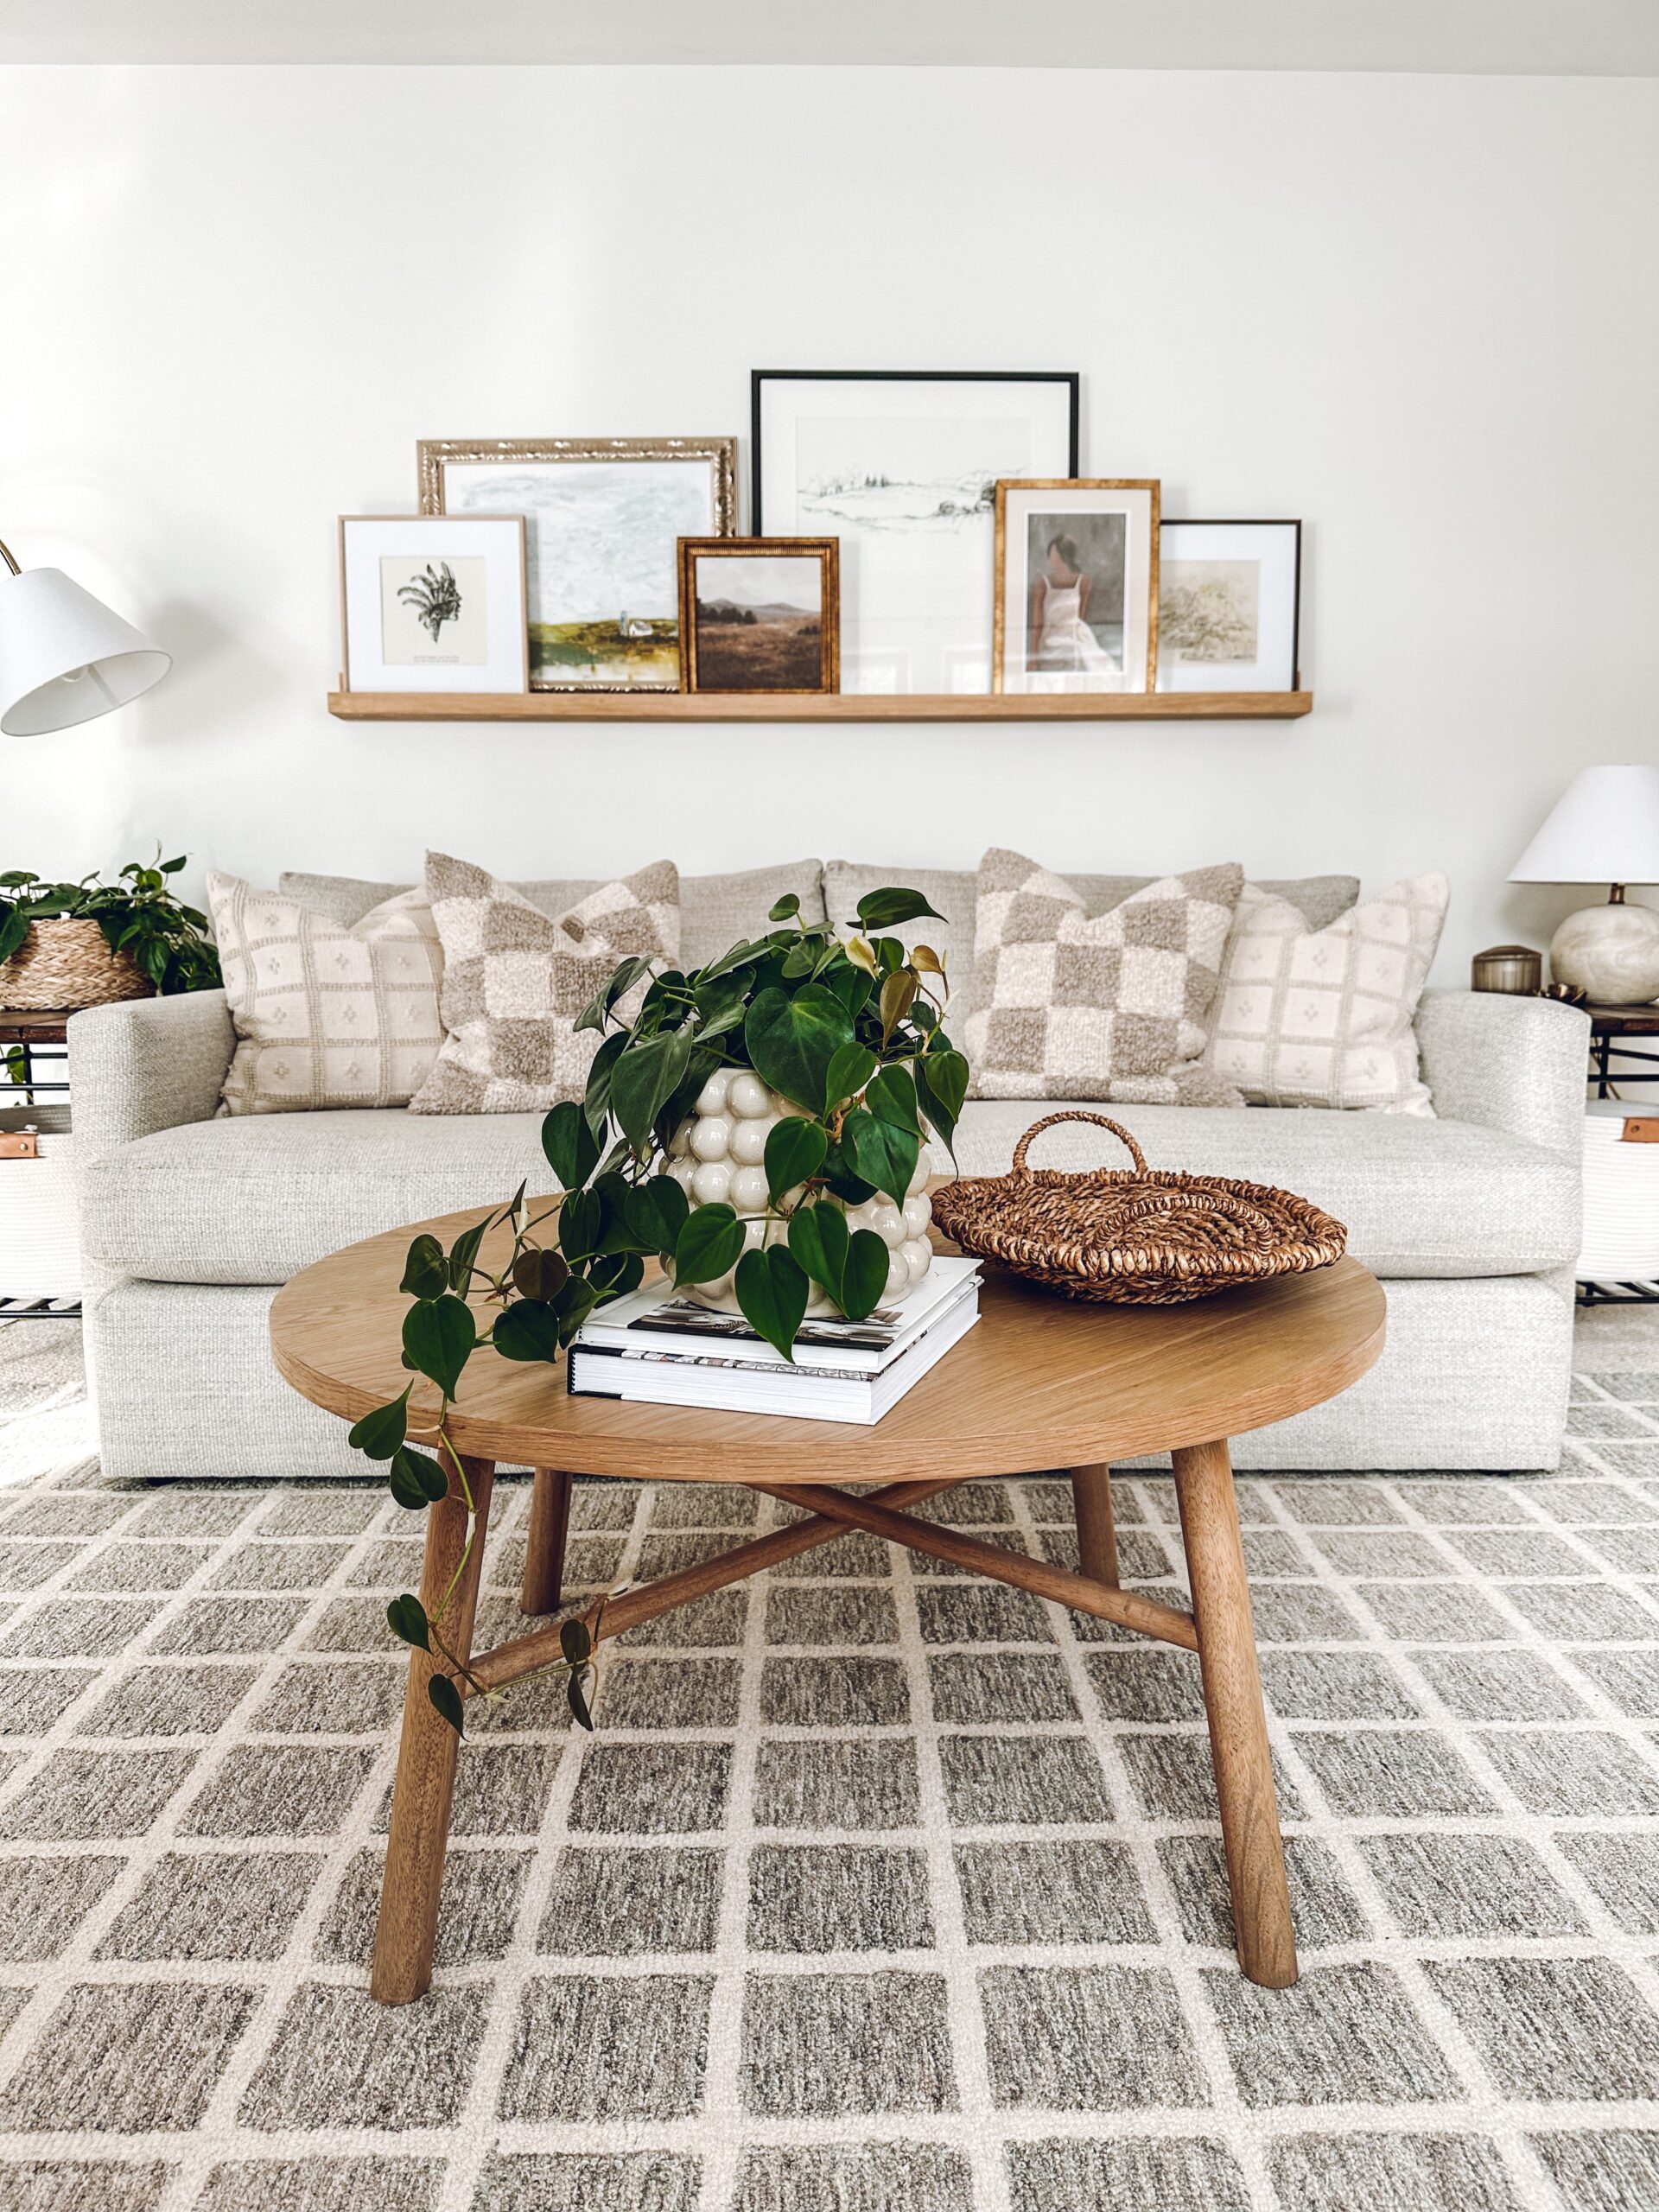
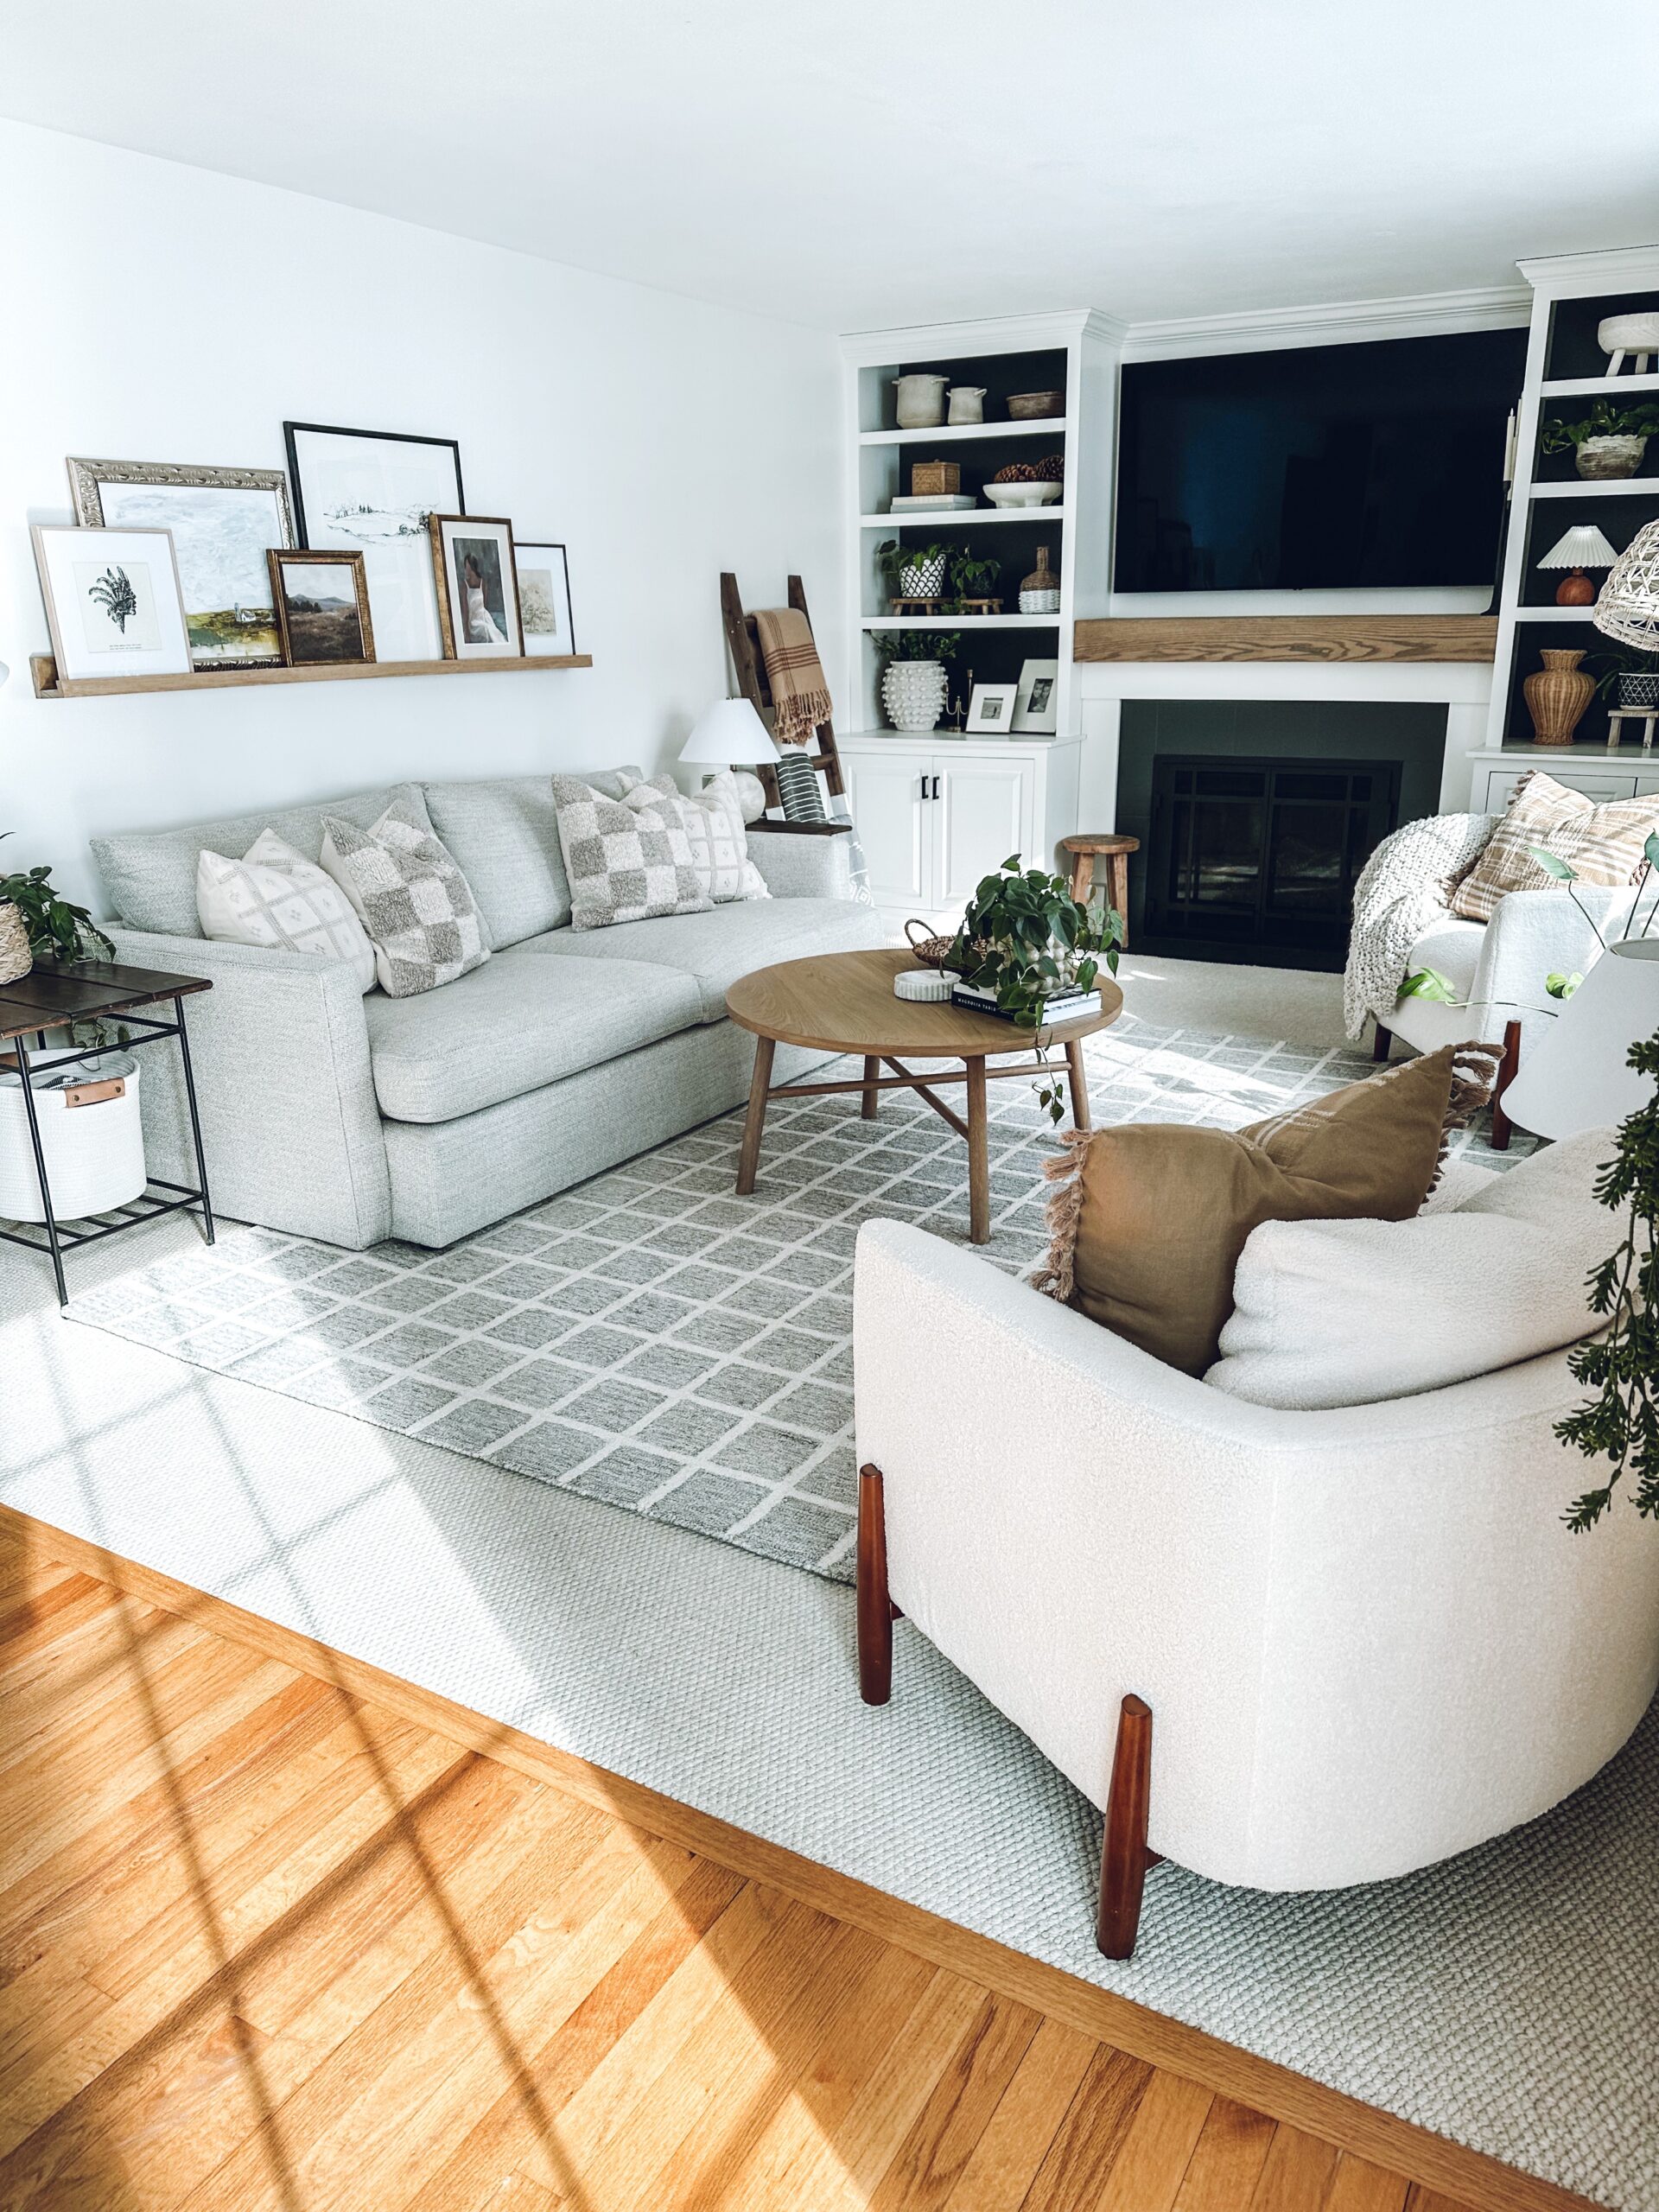
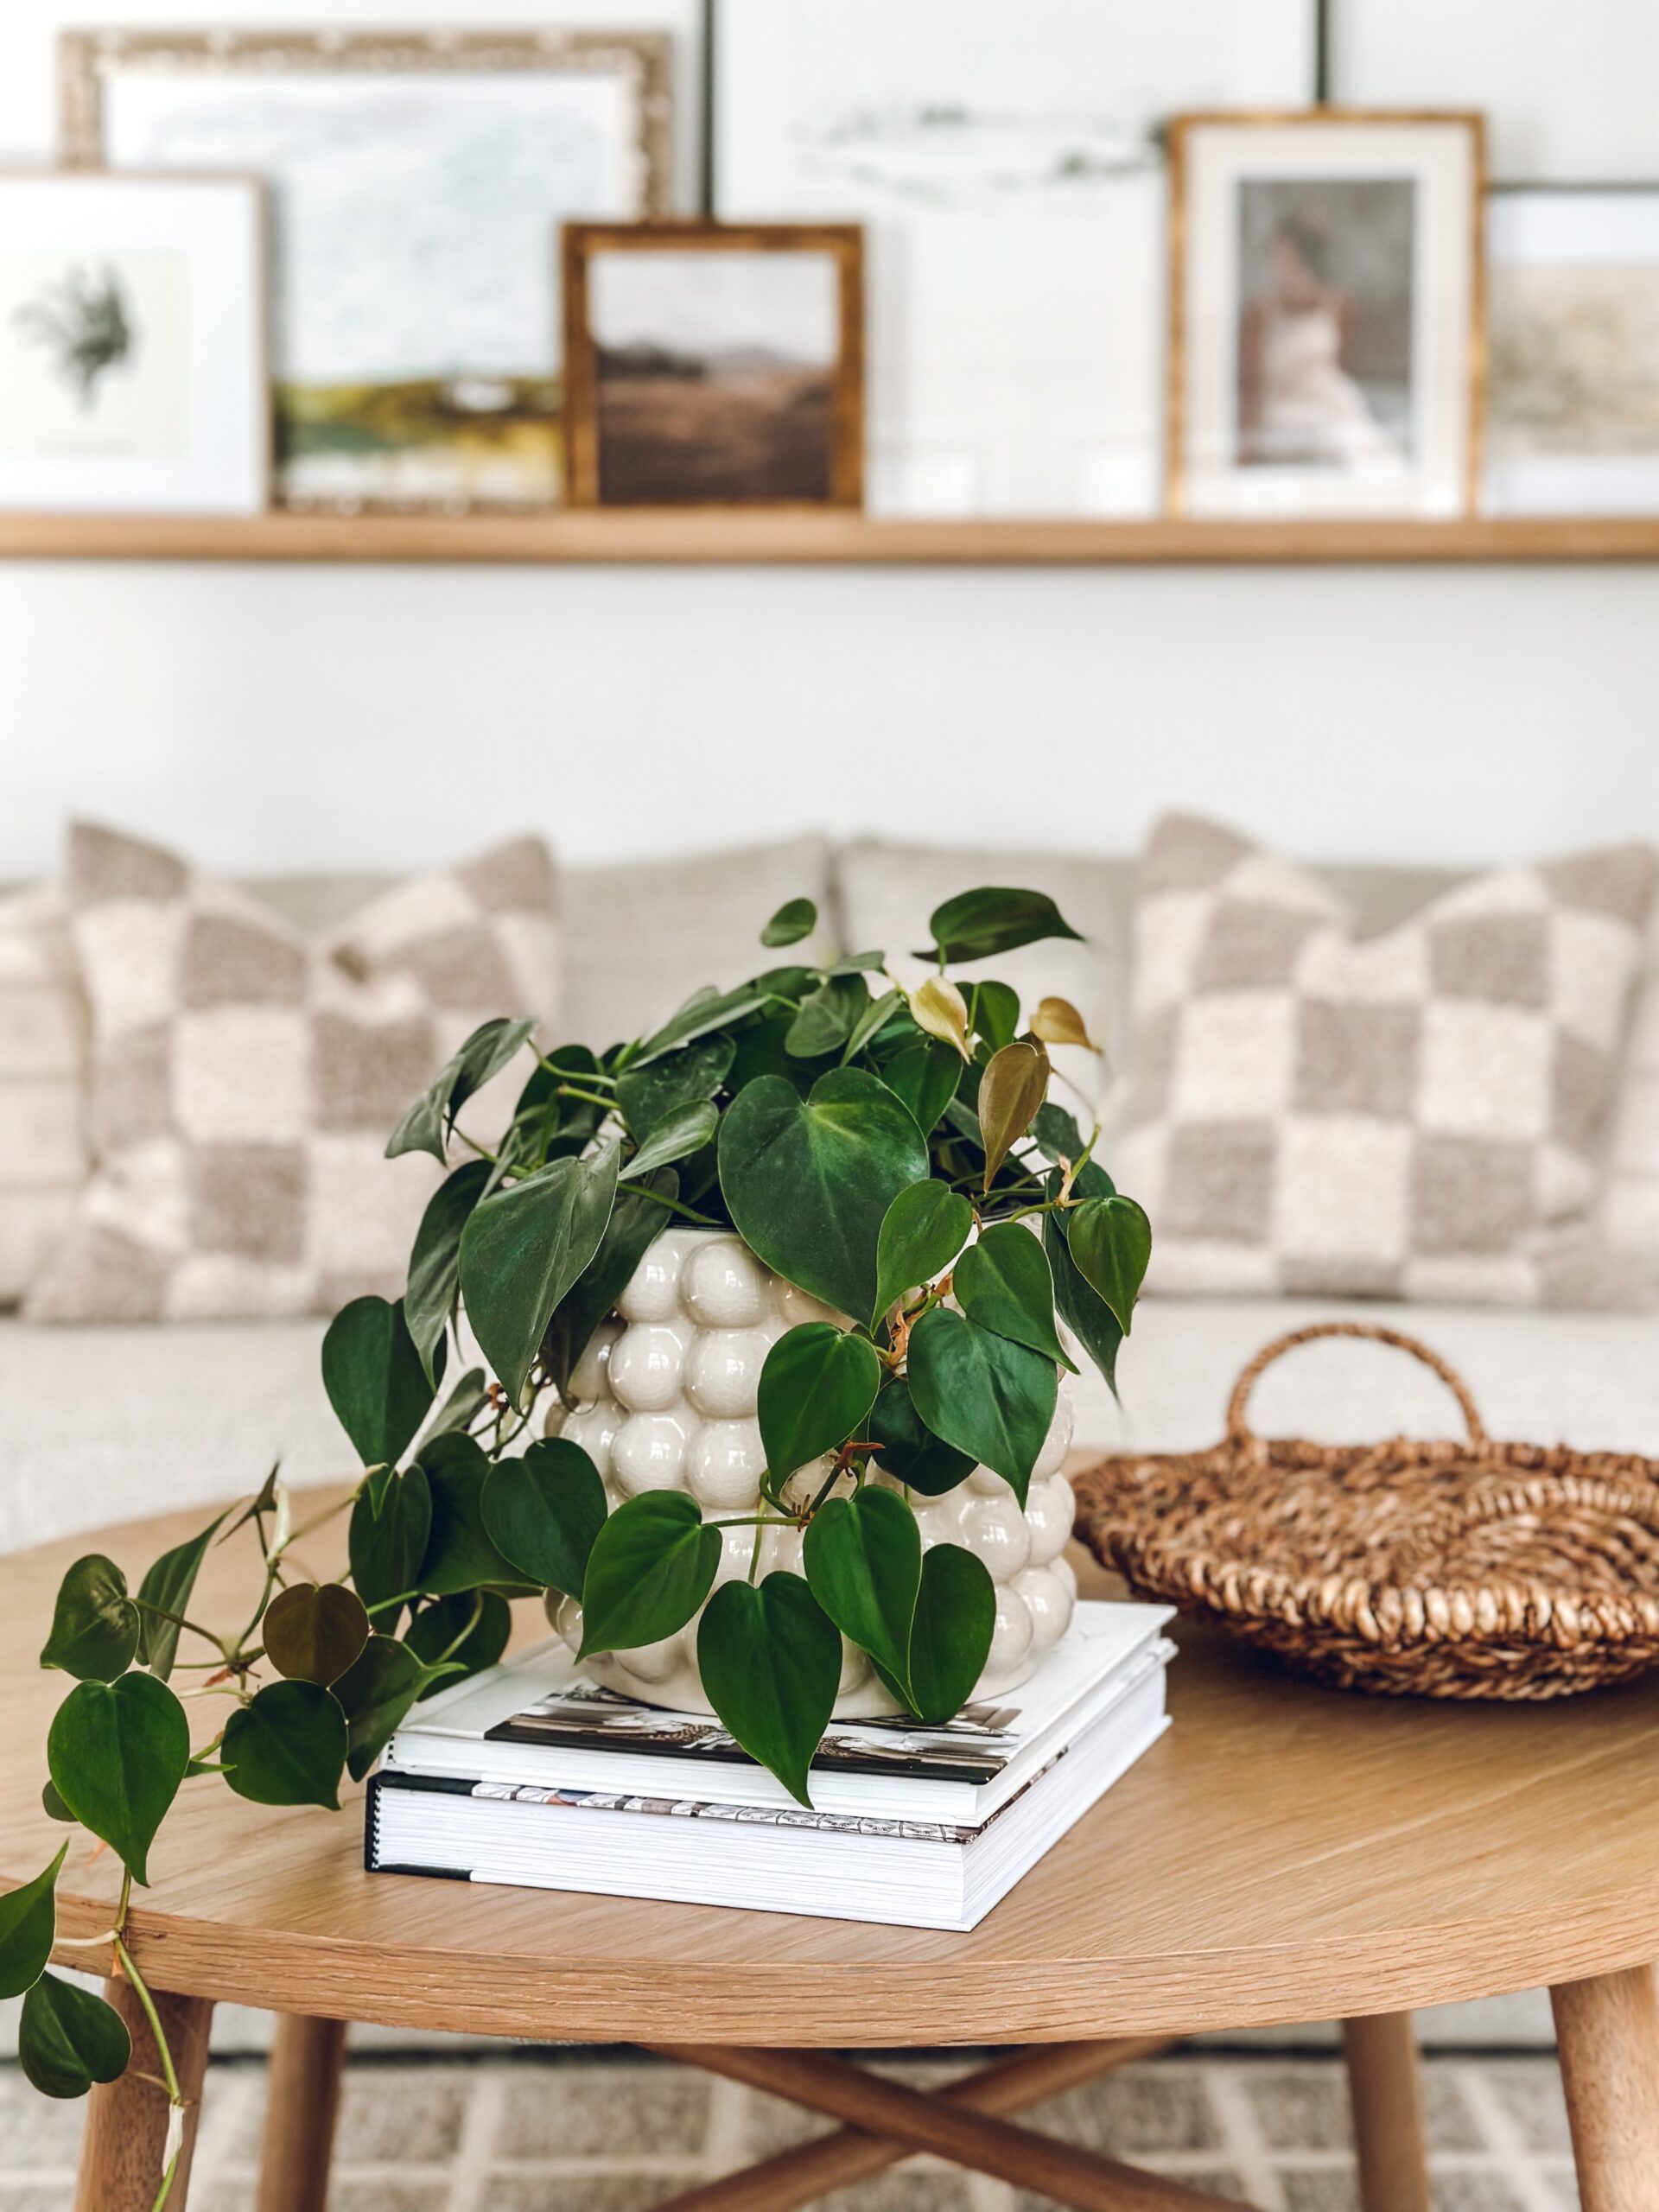
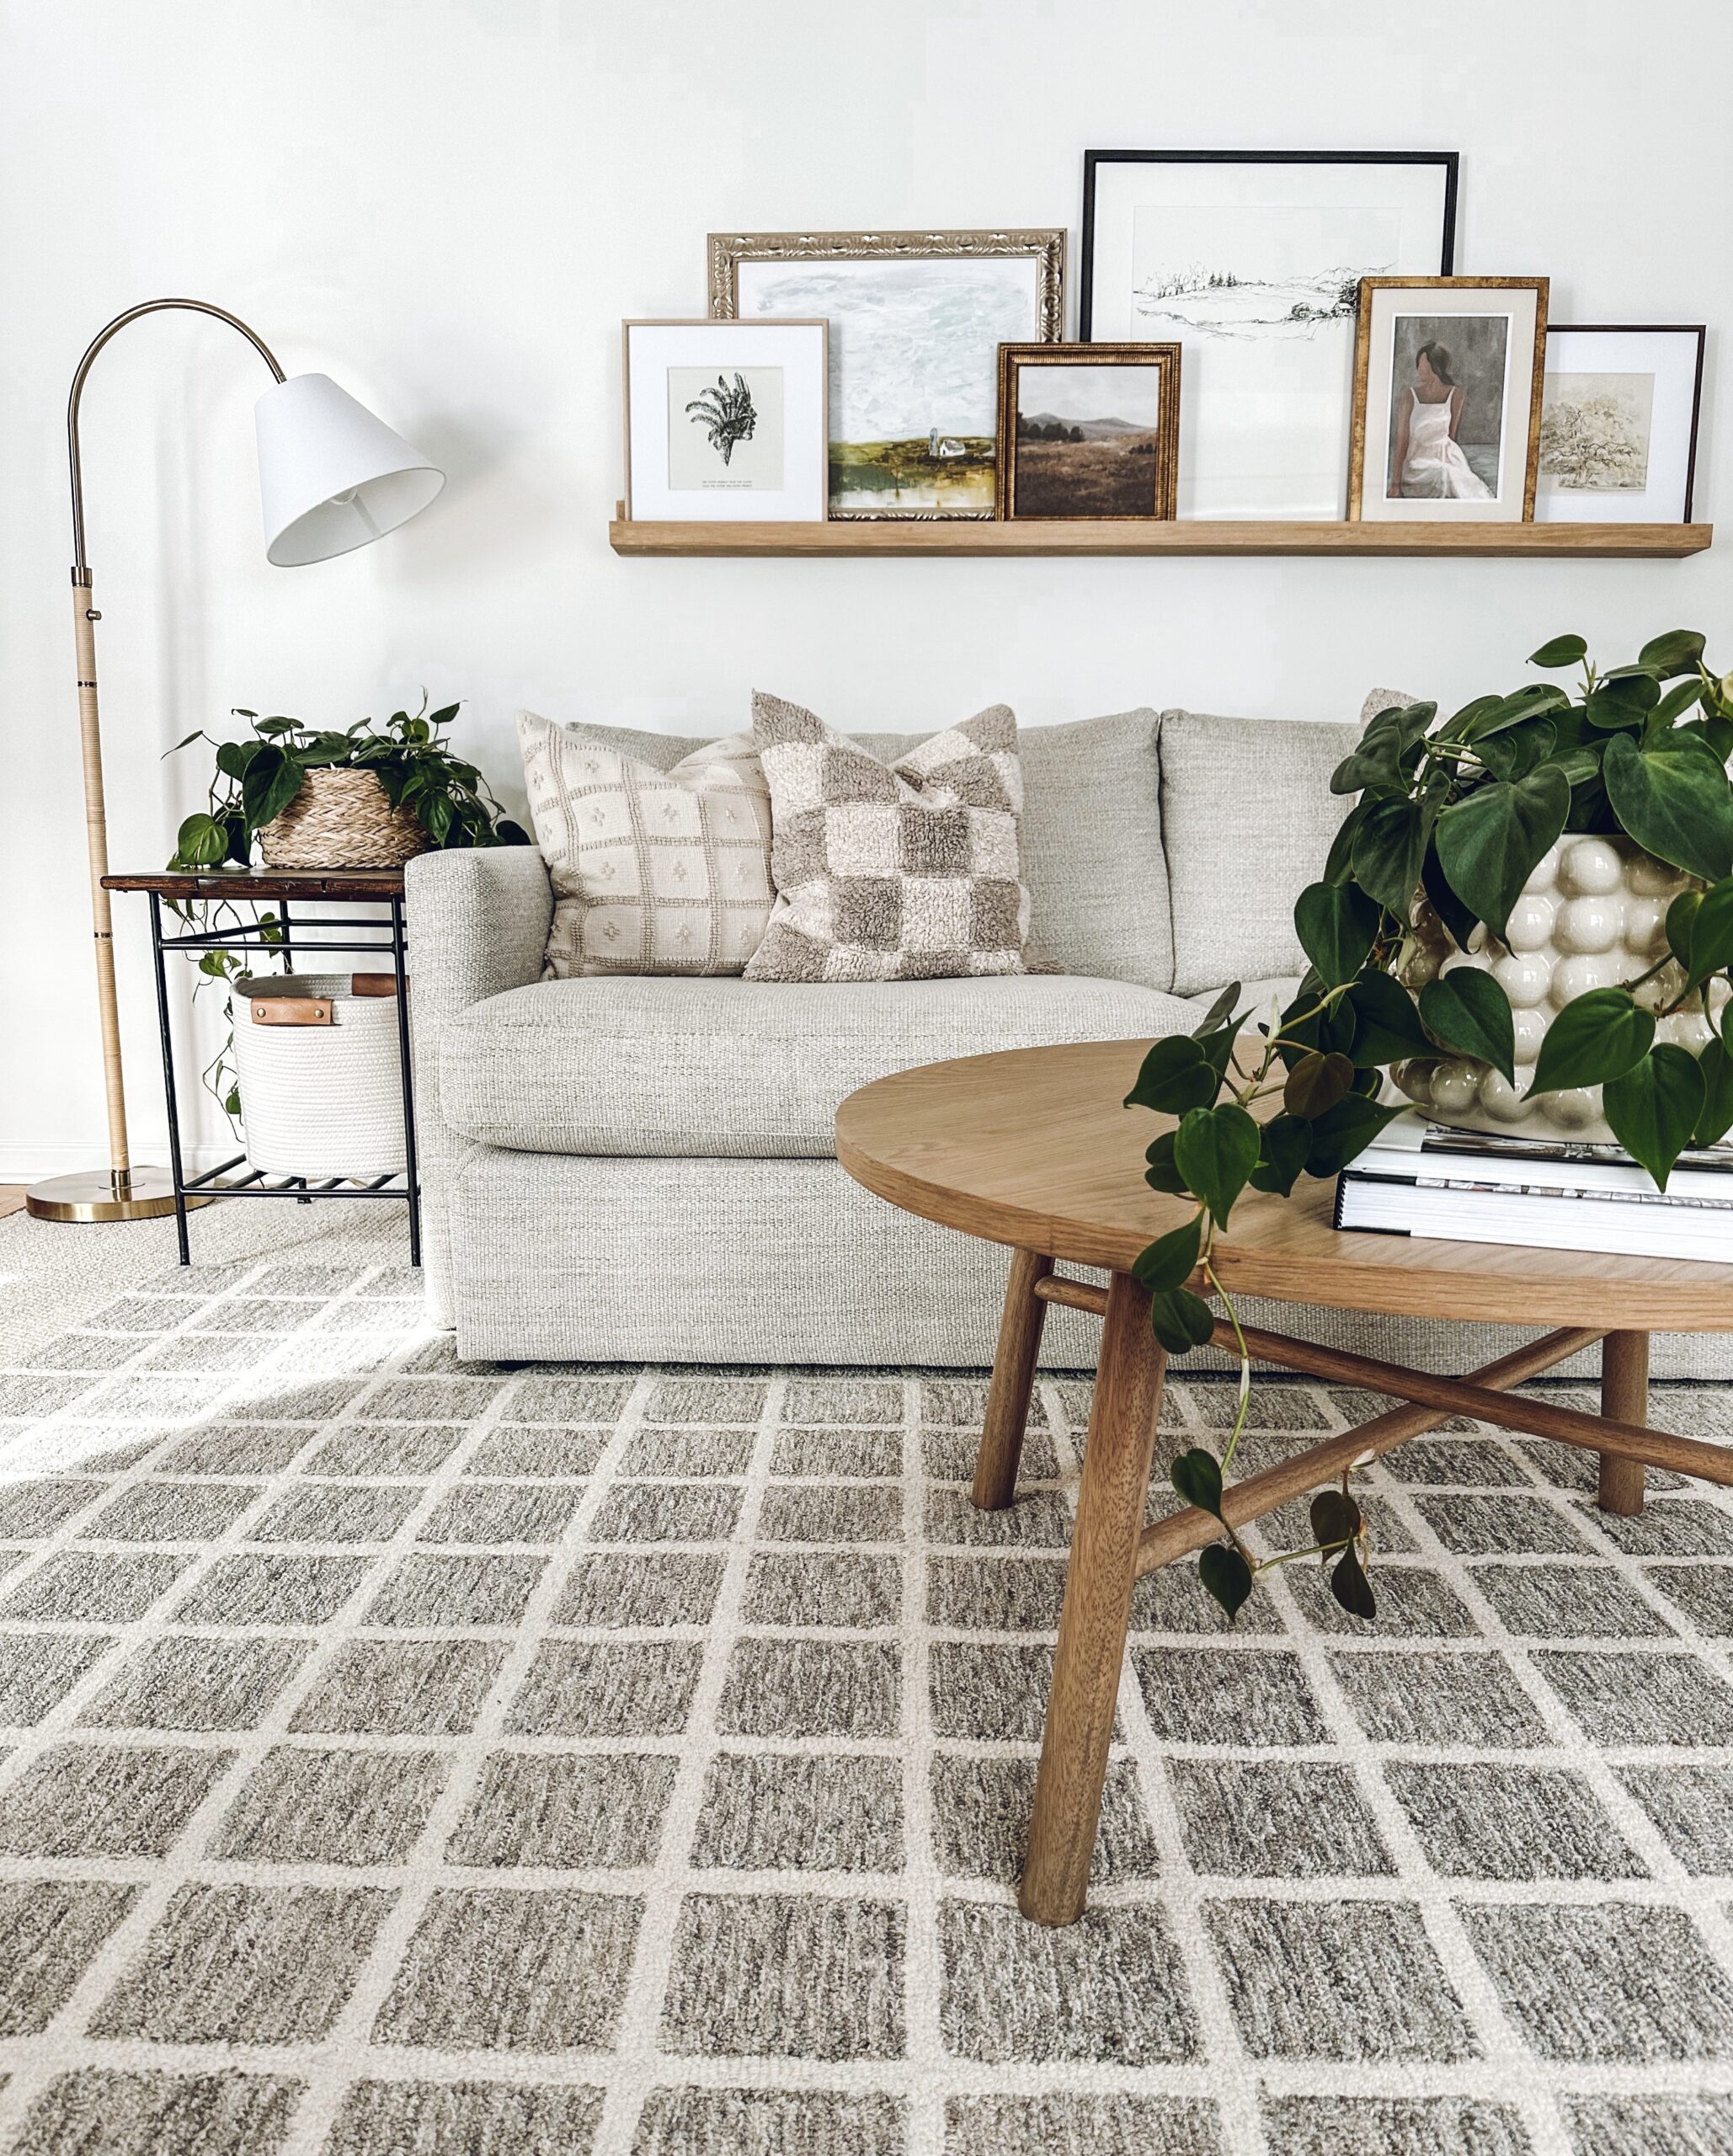
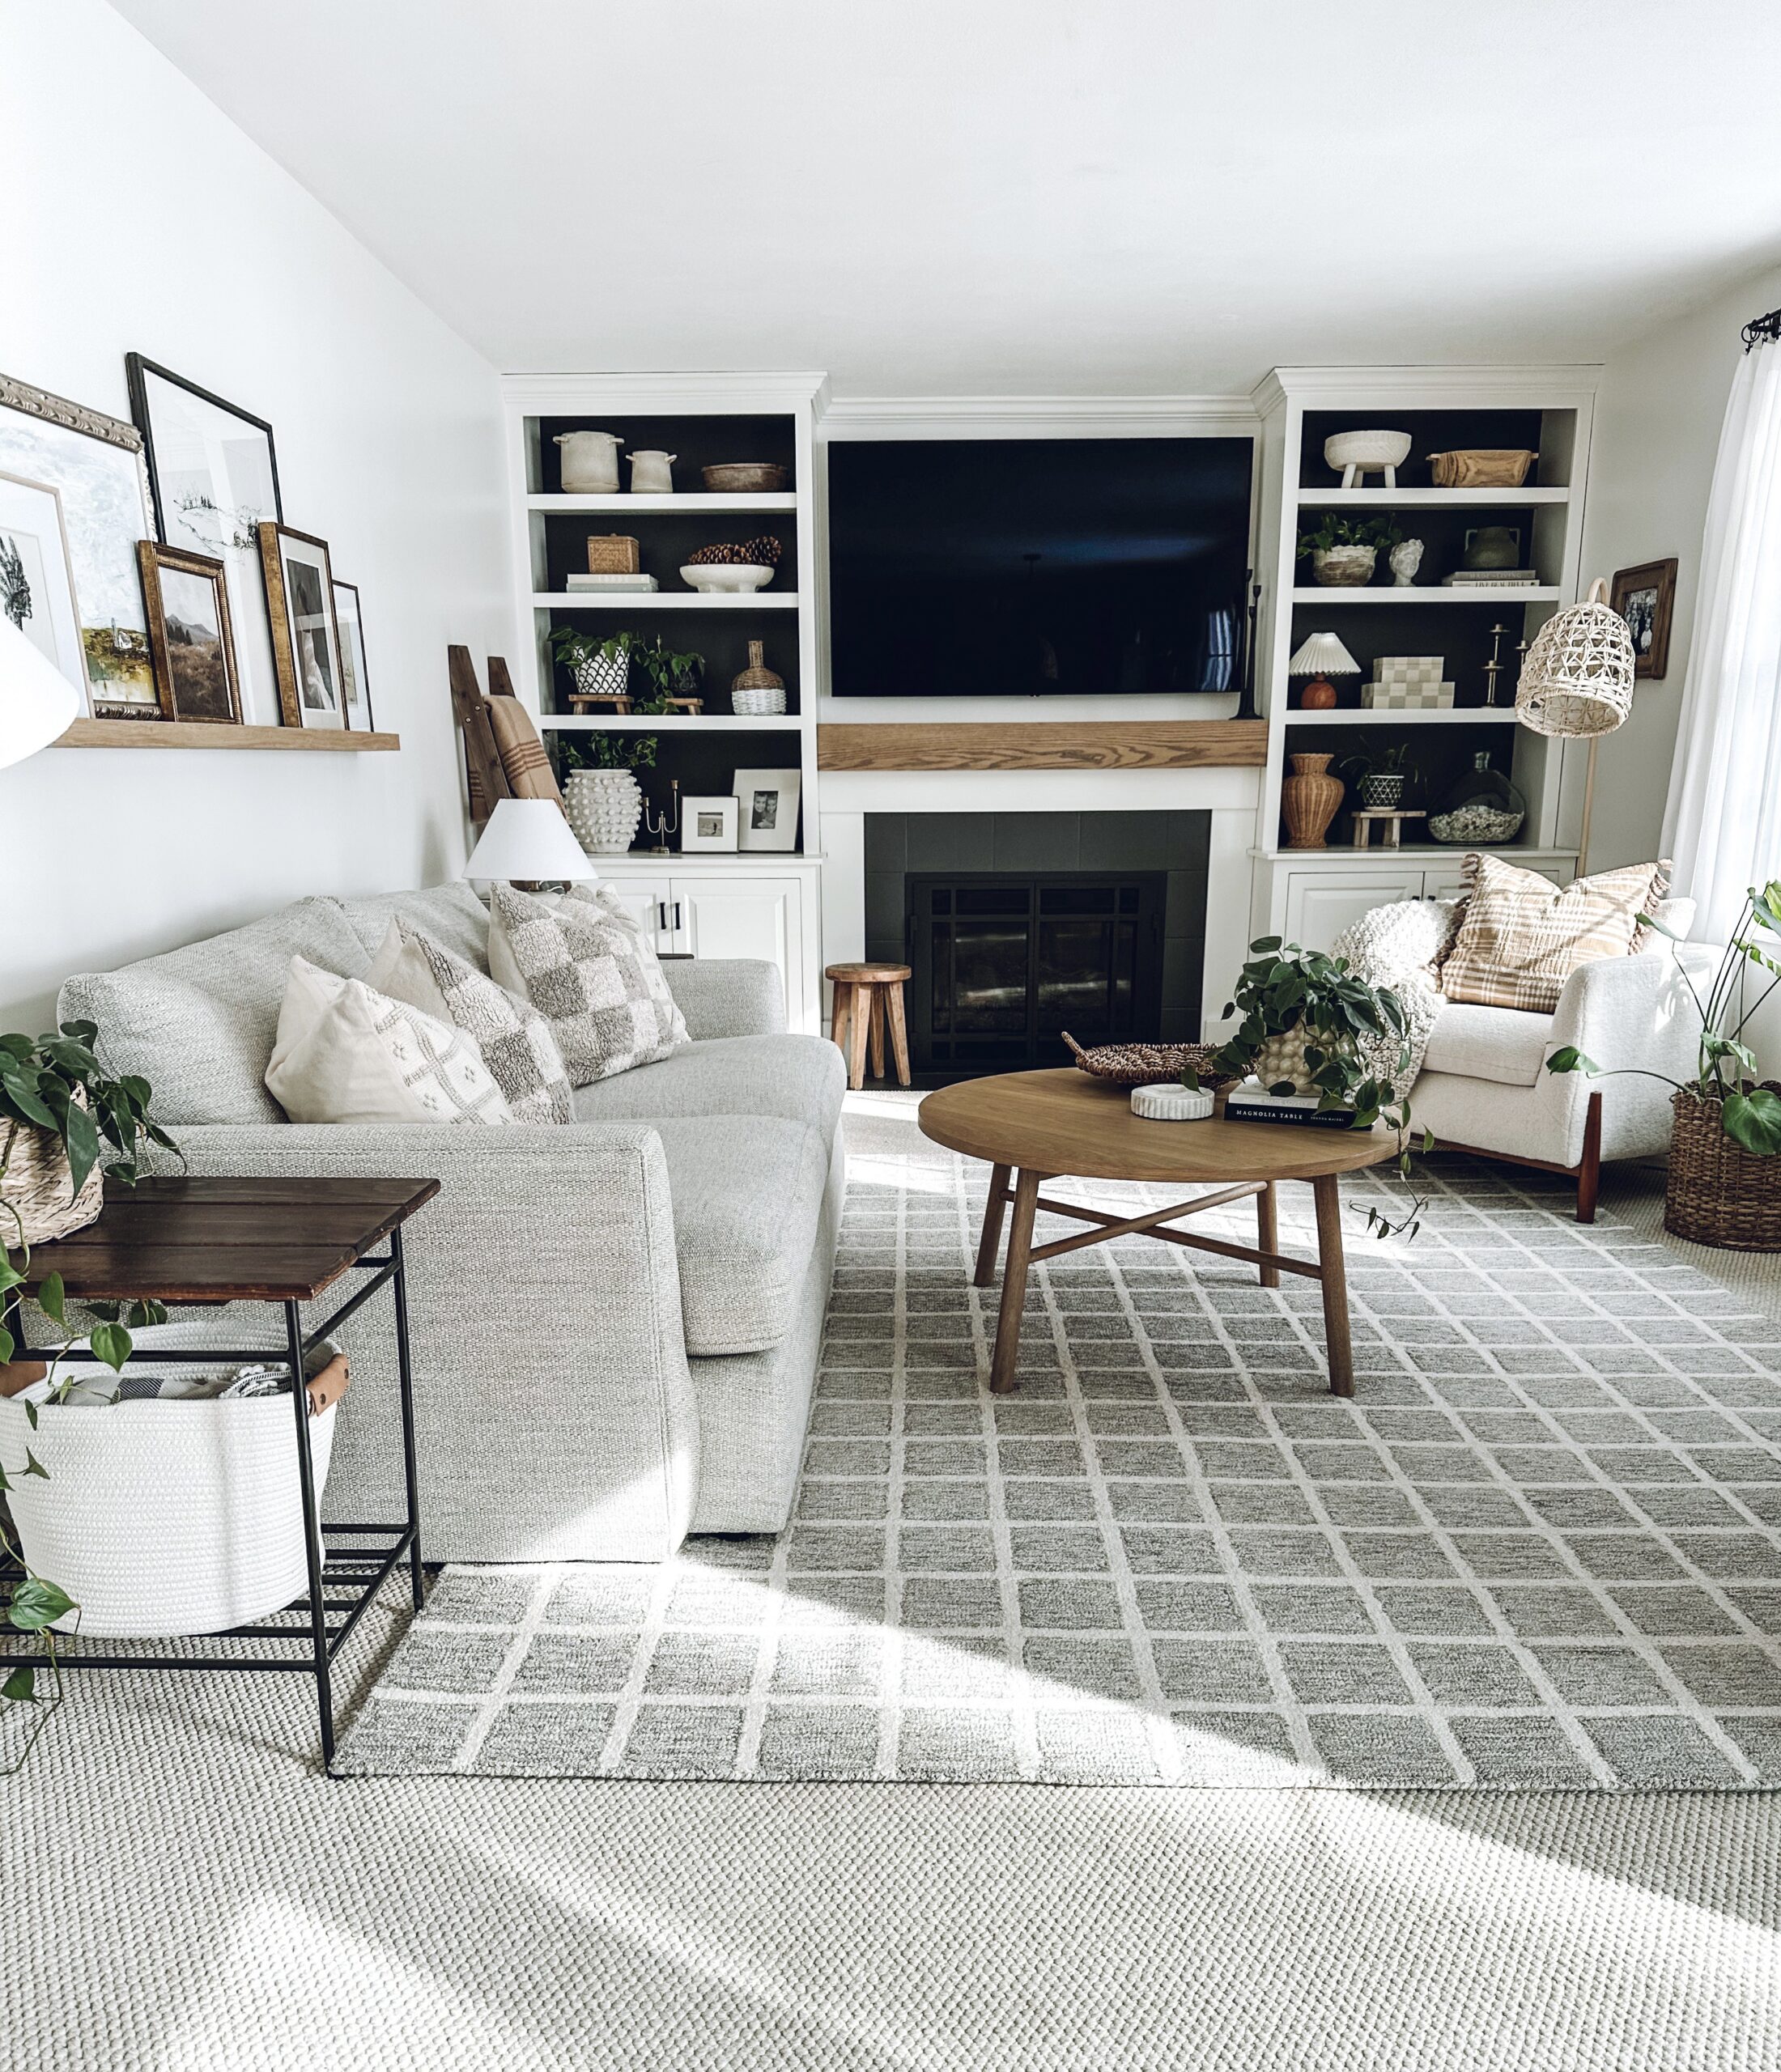
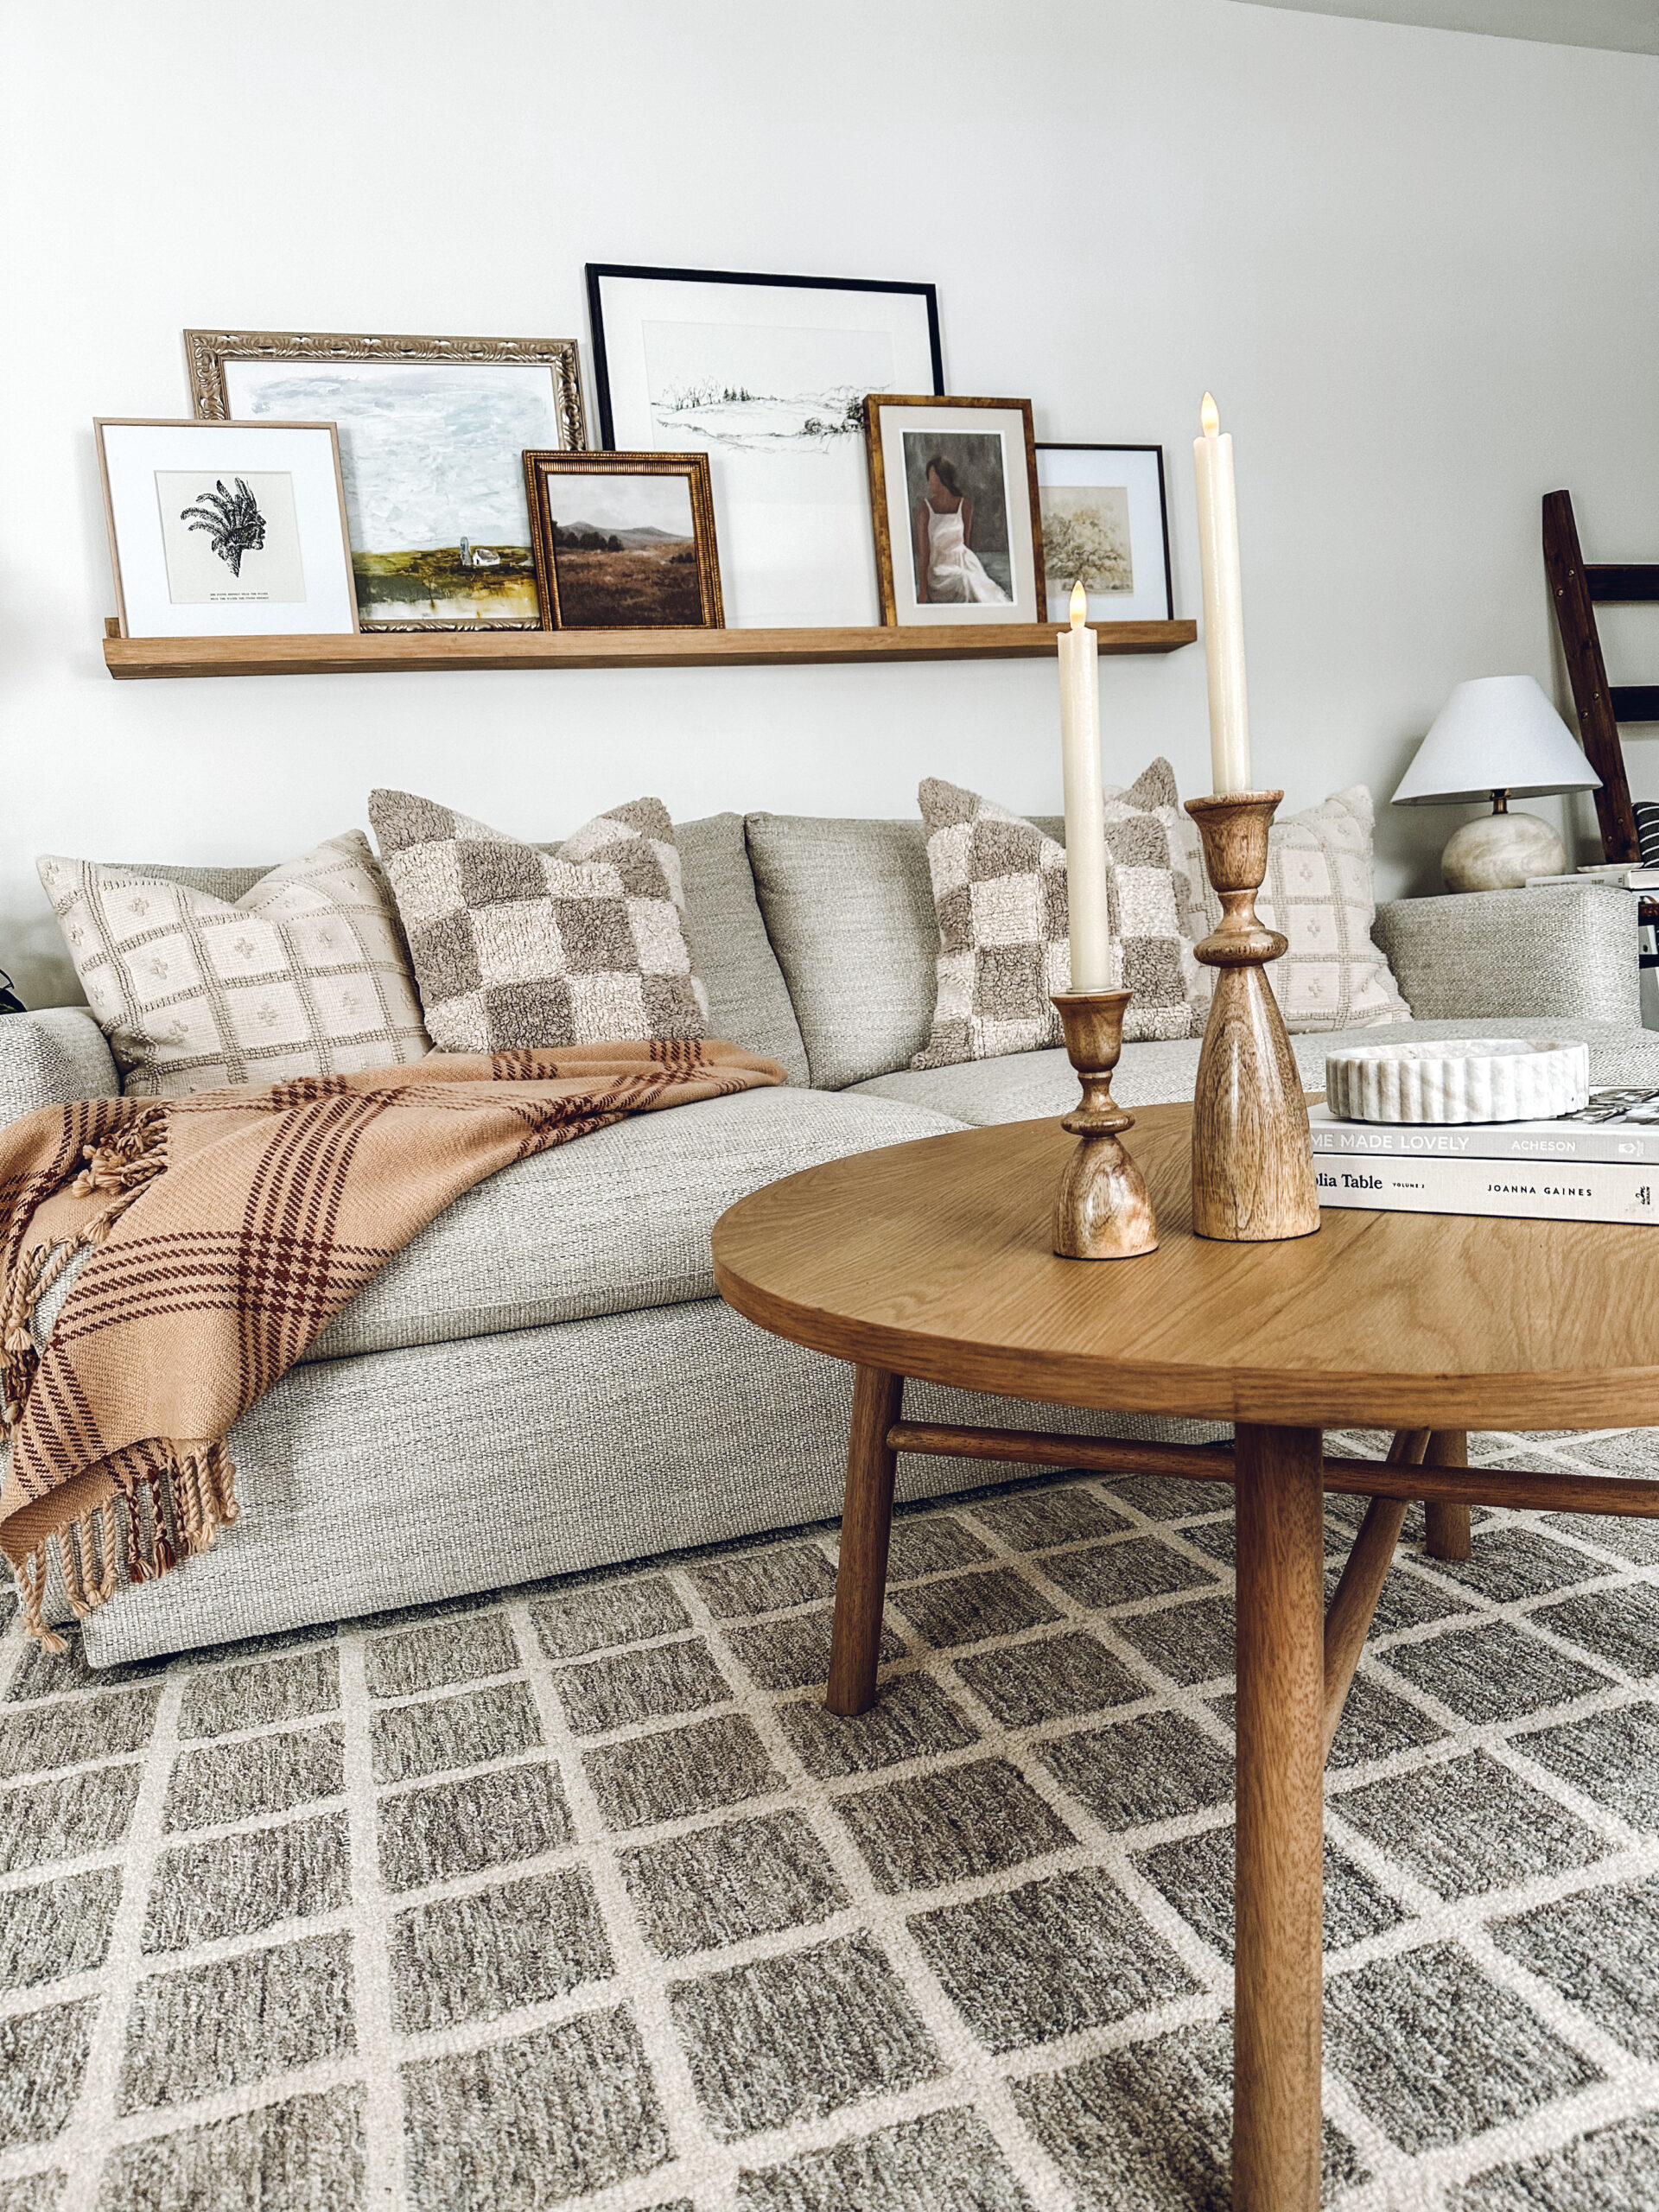
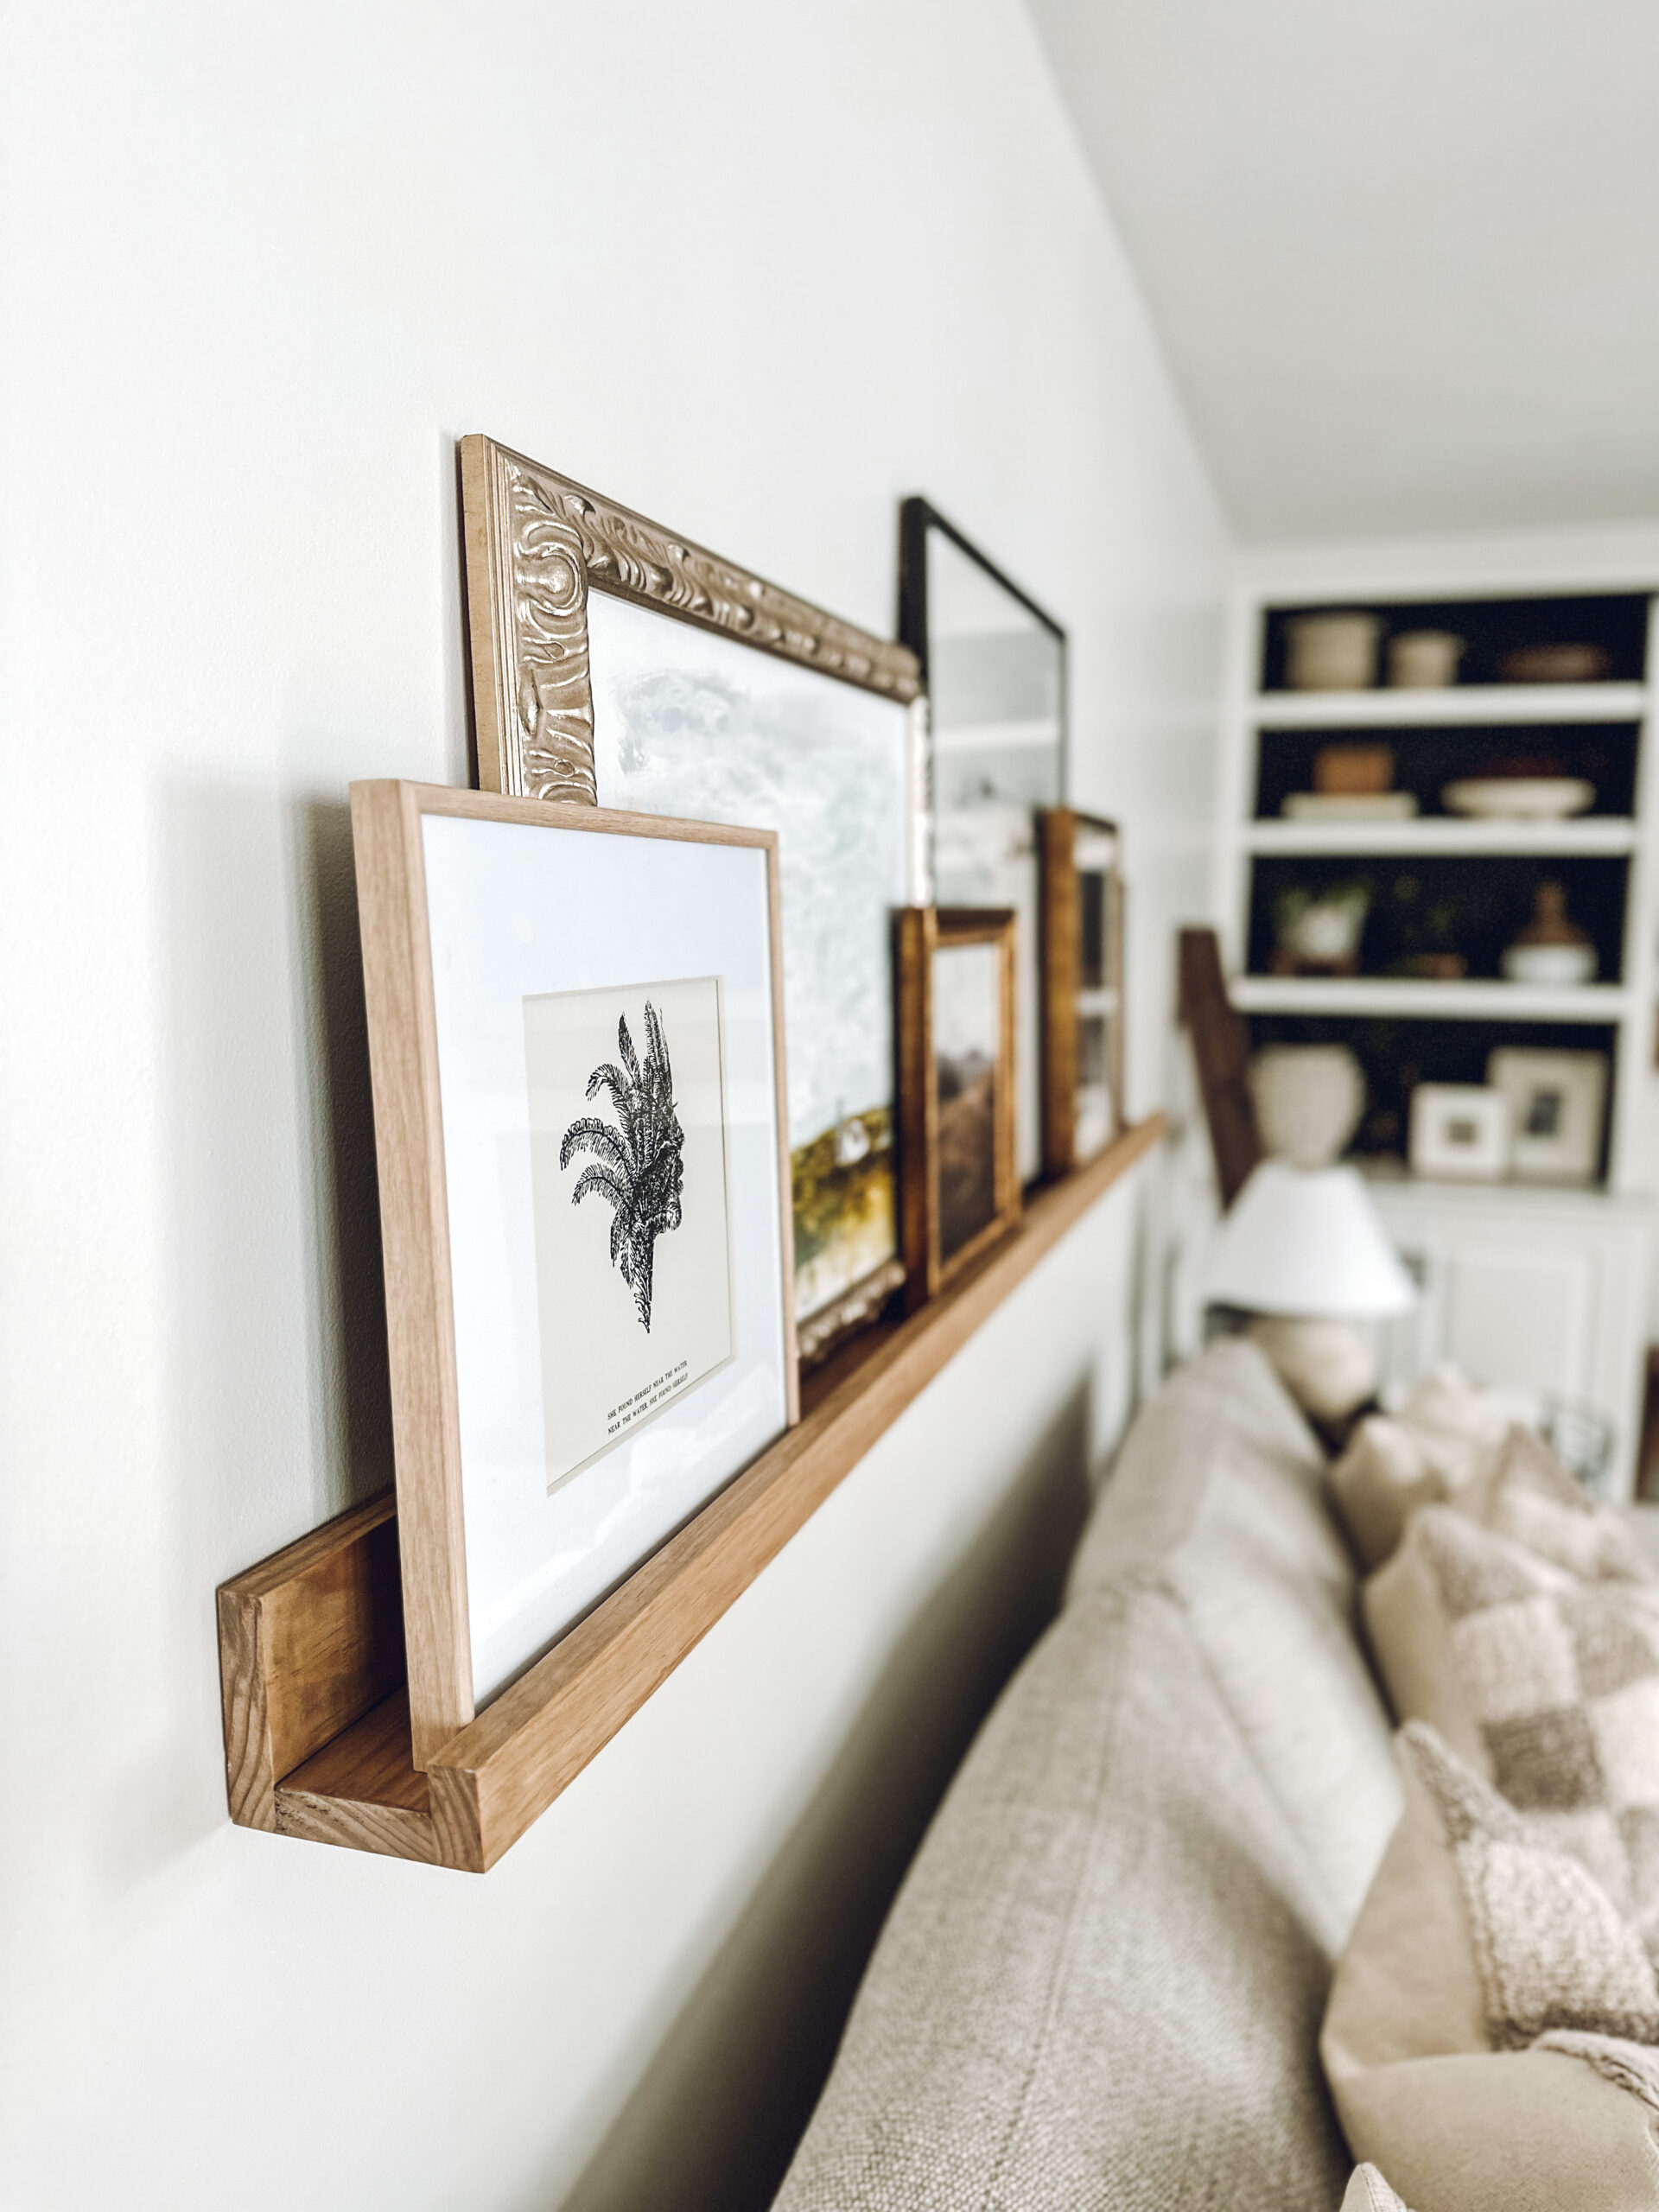
We love the look of art ledges so much, we also have them above the couch in our living room! The wall is much higher in this room, so it was an even bigger dilemma trying to figure out what to hang there. So with the art ledge idea, we actually were able to hang three of them! We made these ledges as well and decided to paint them black.
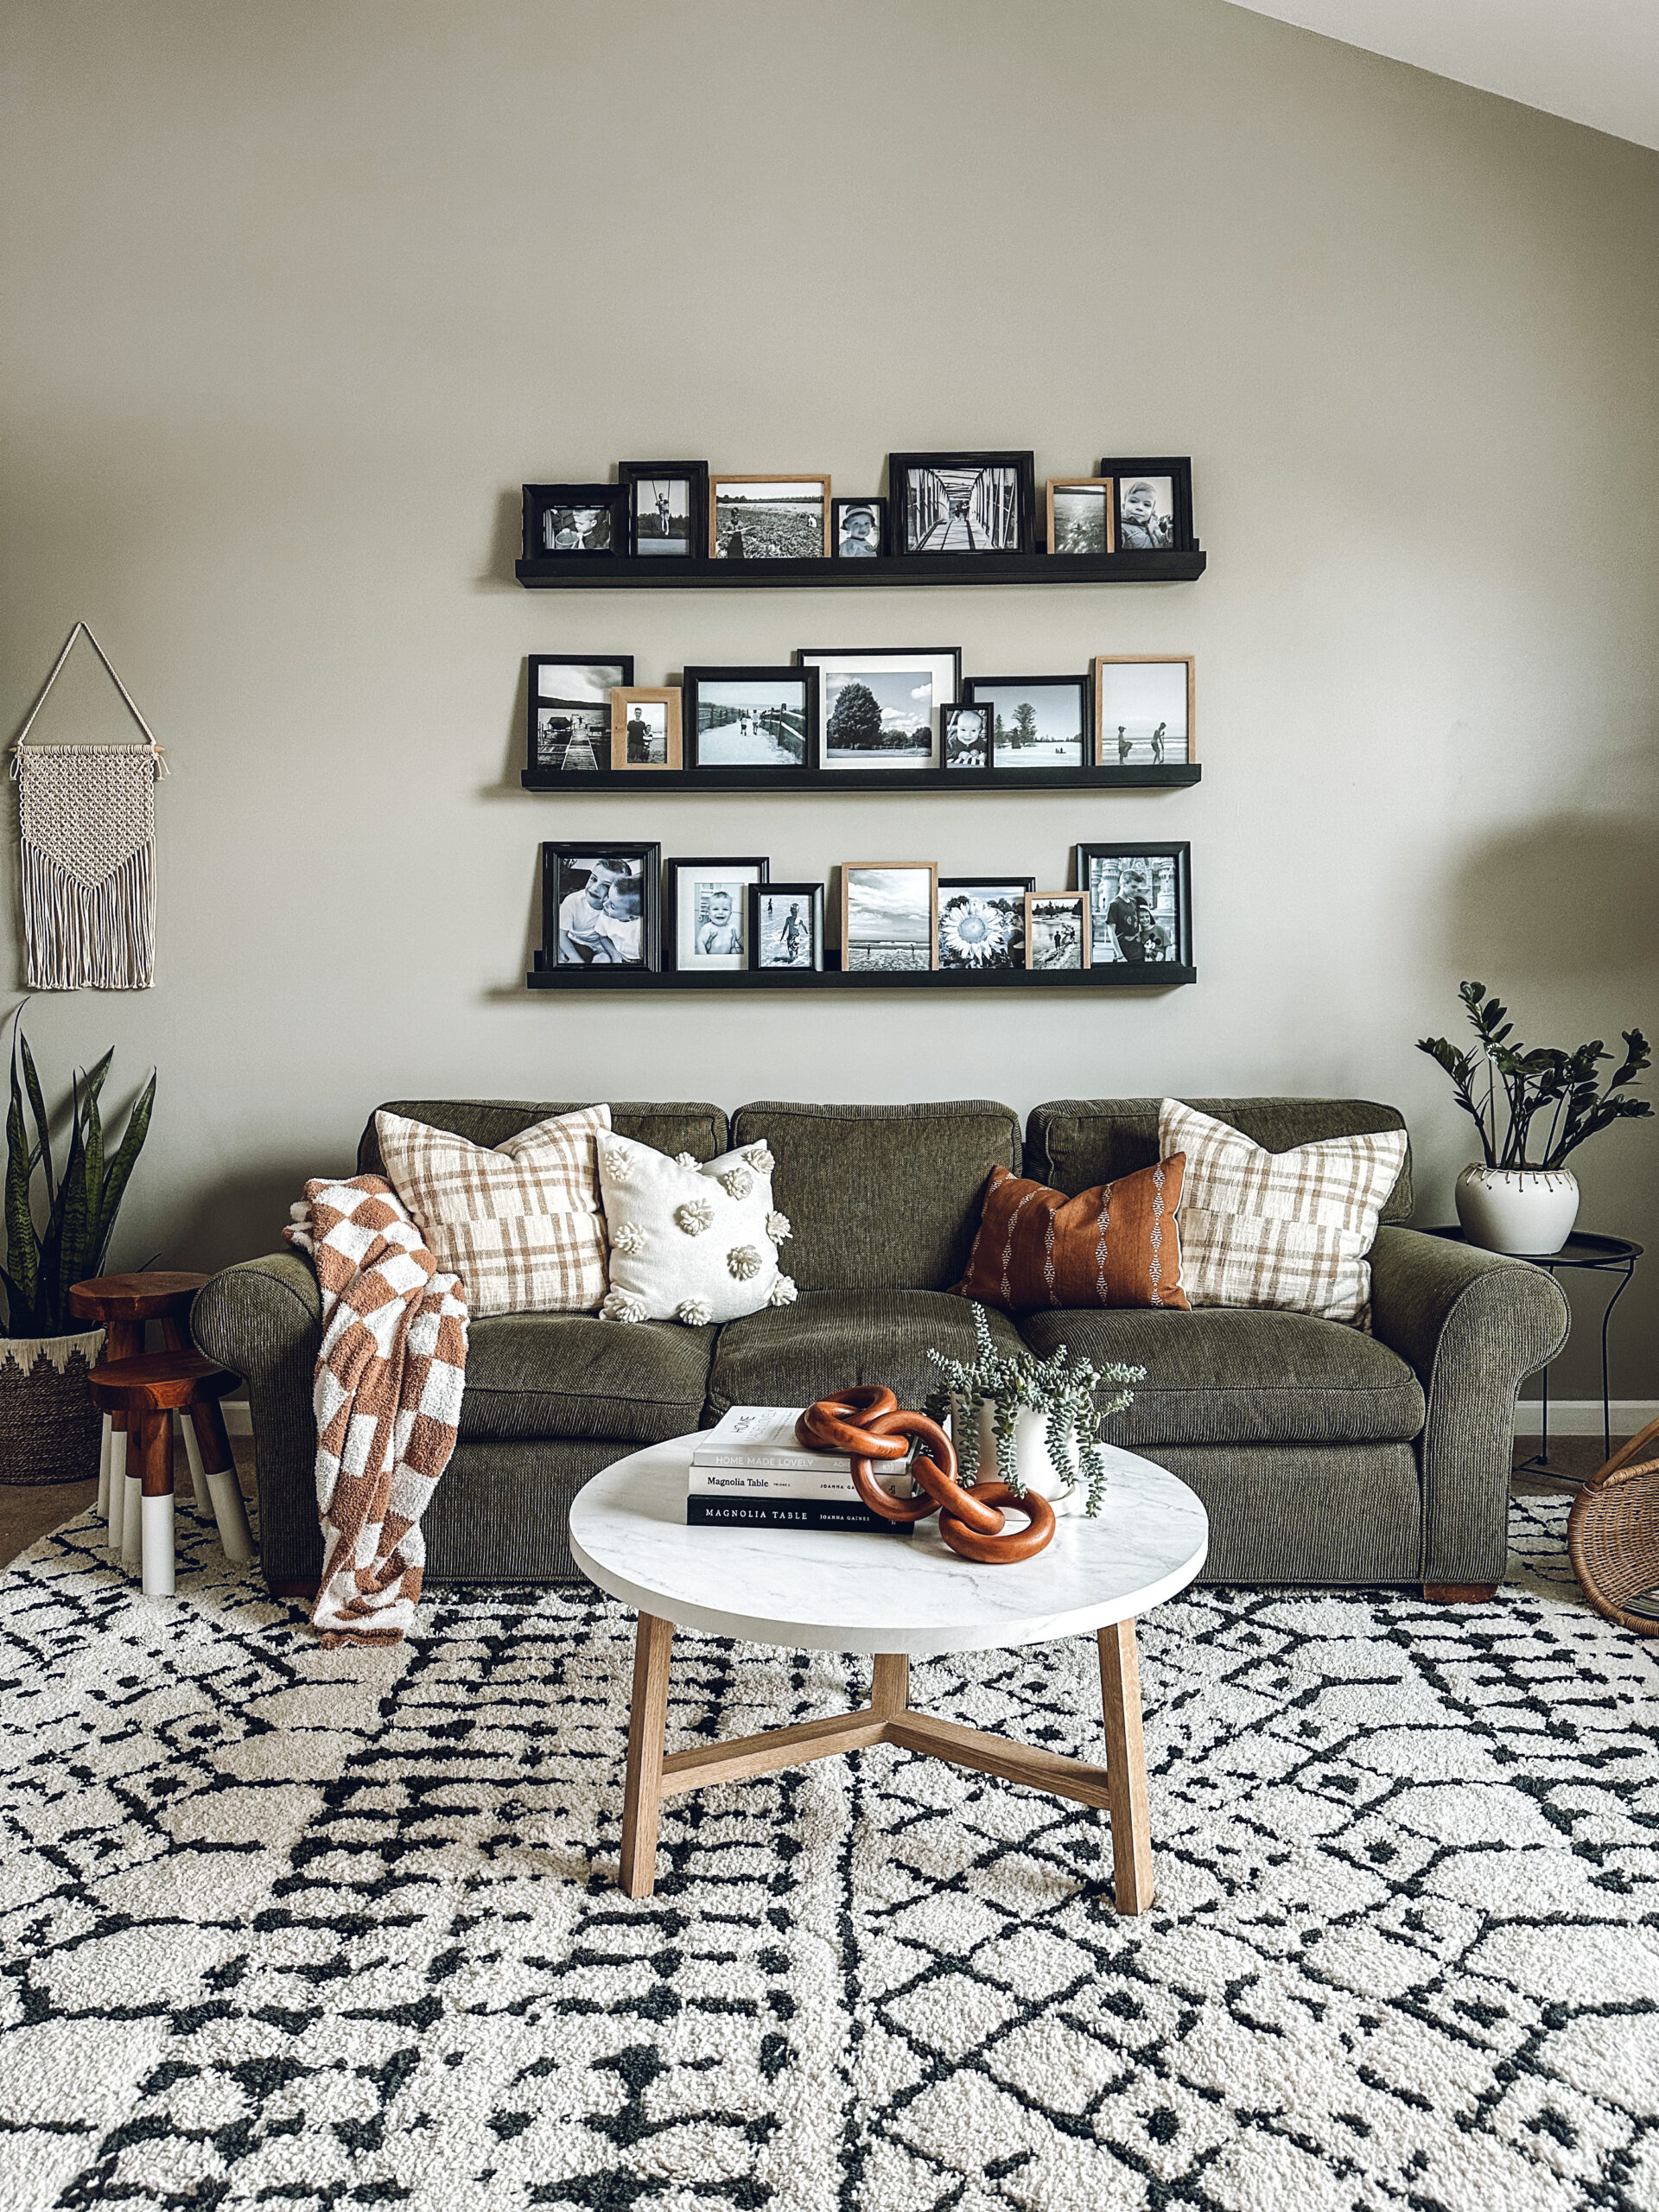
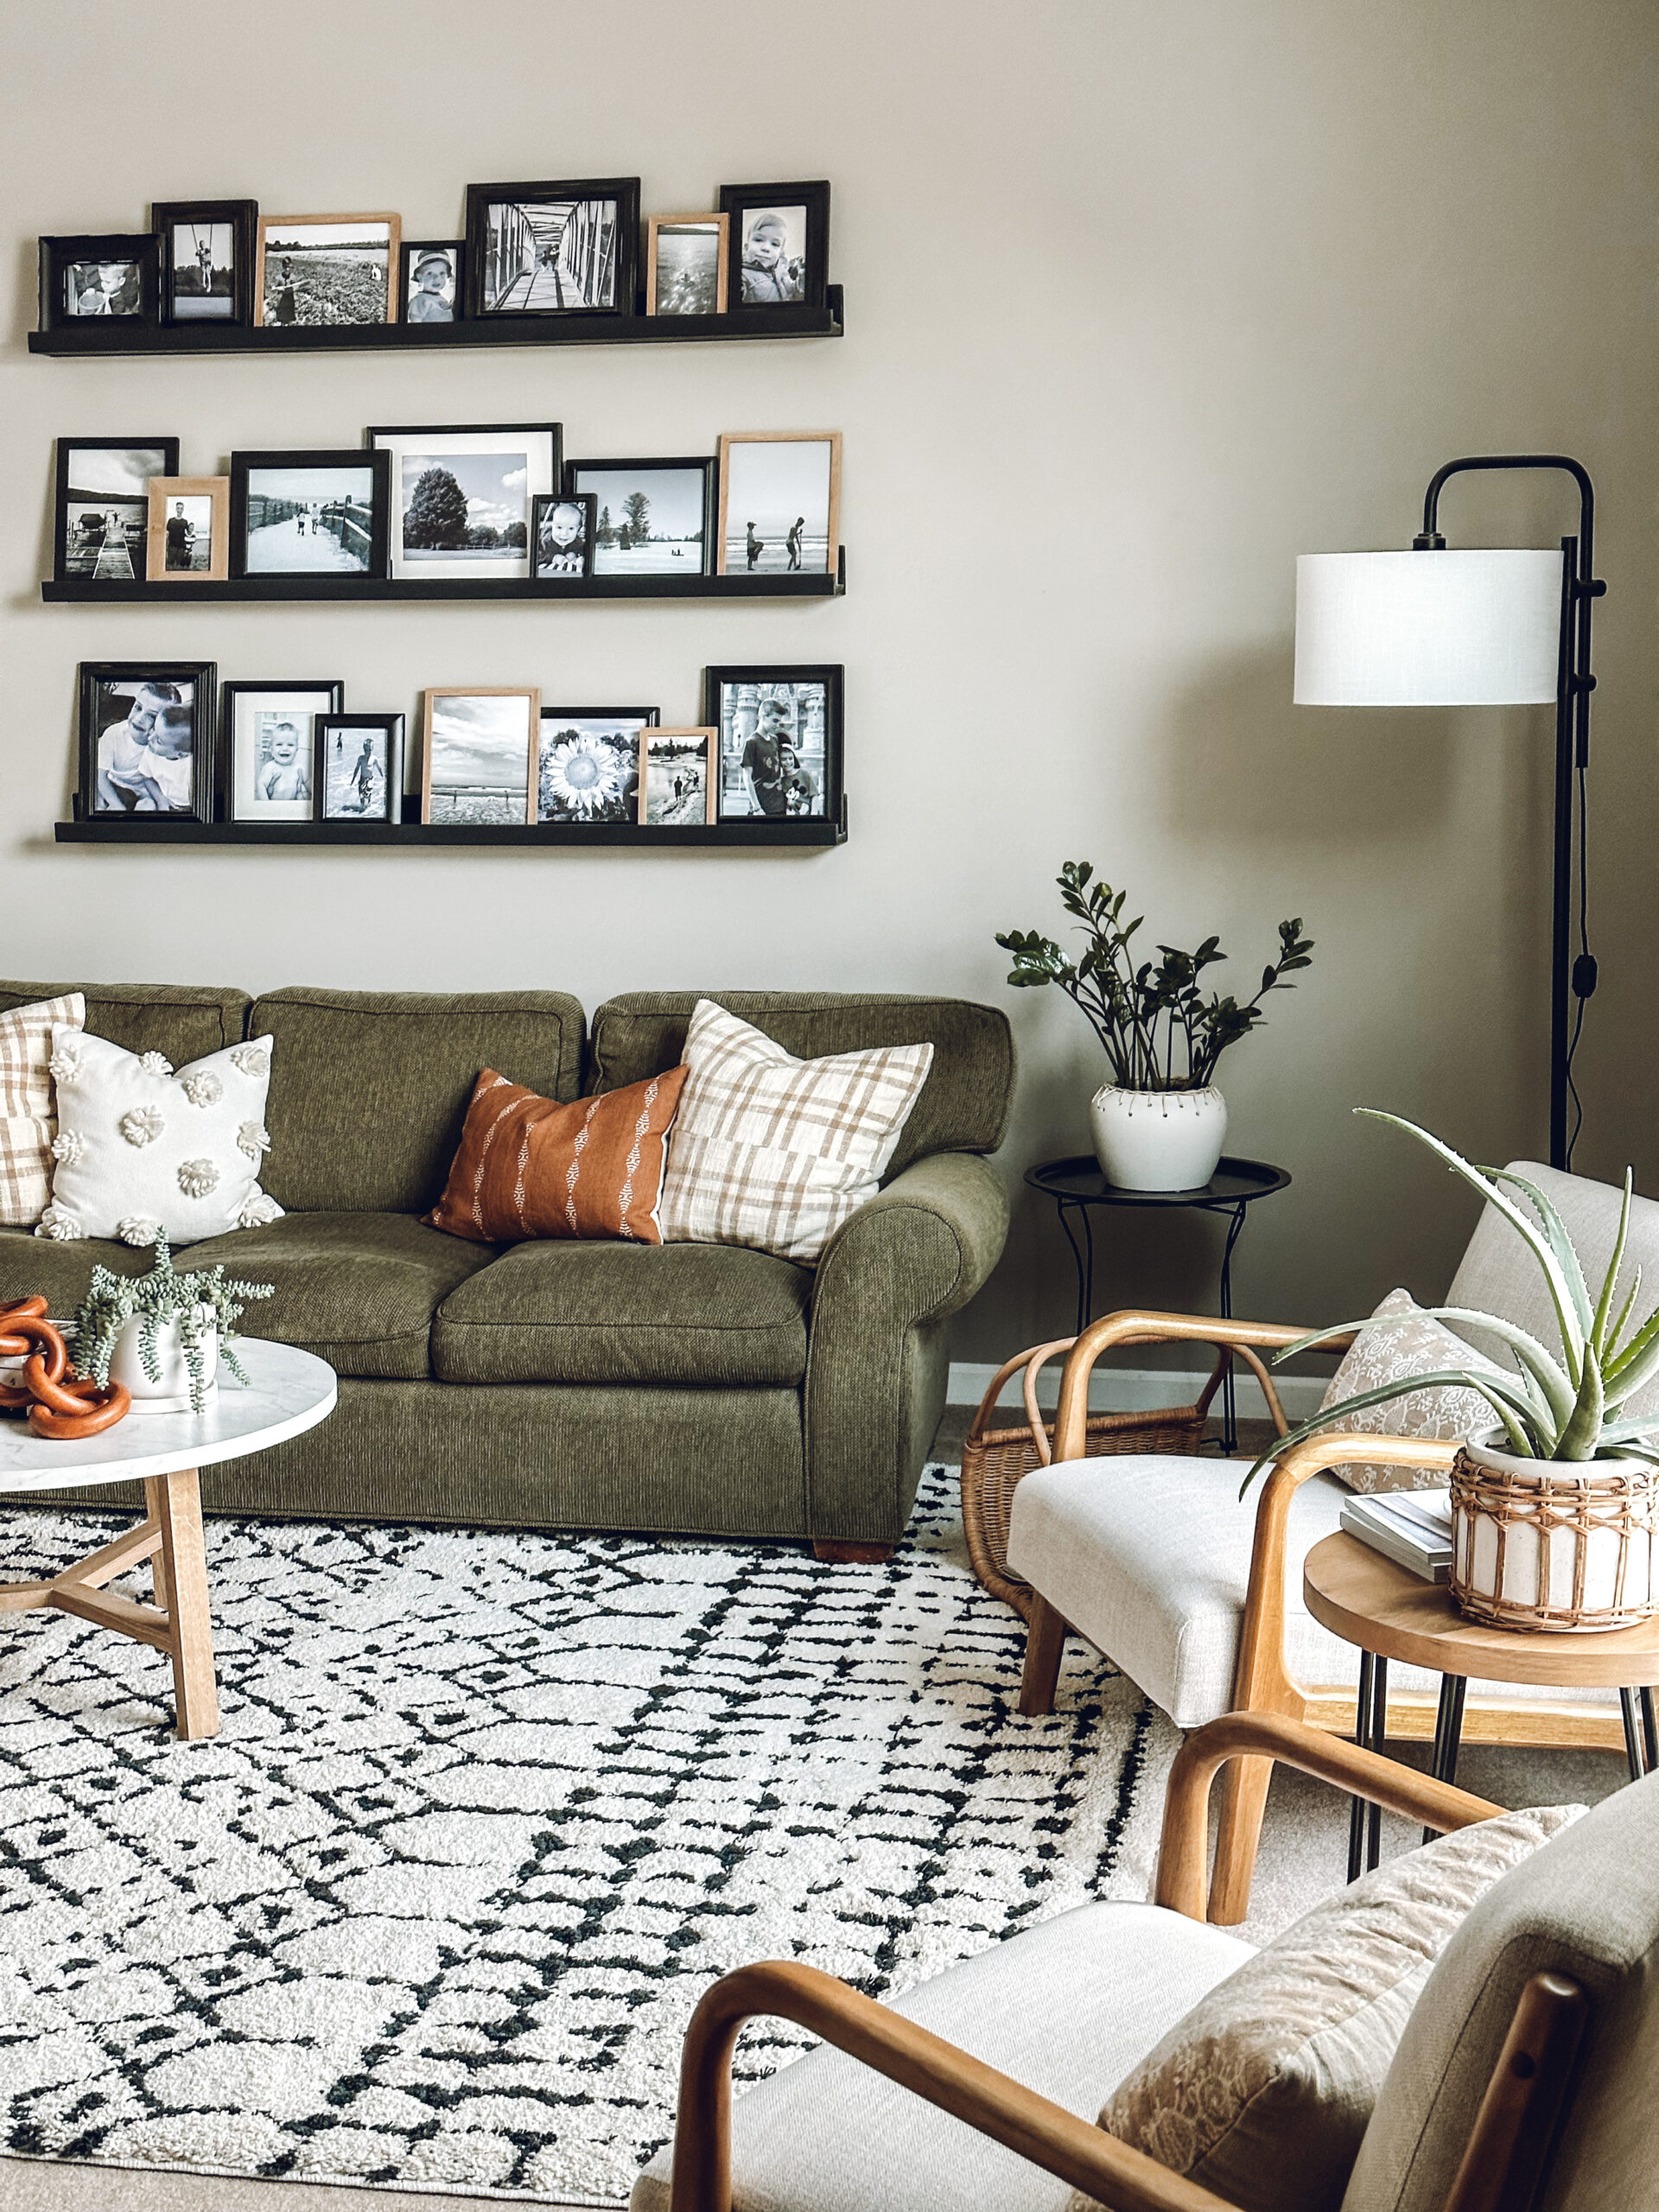
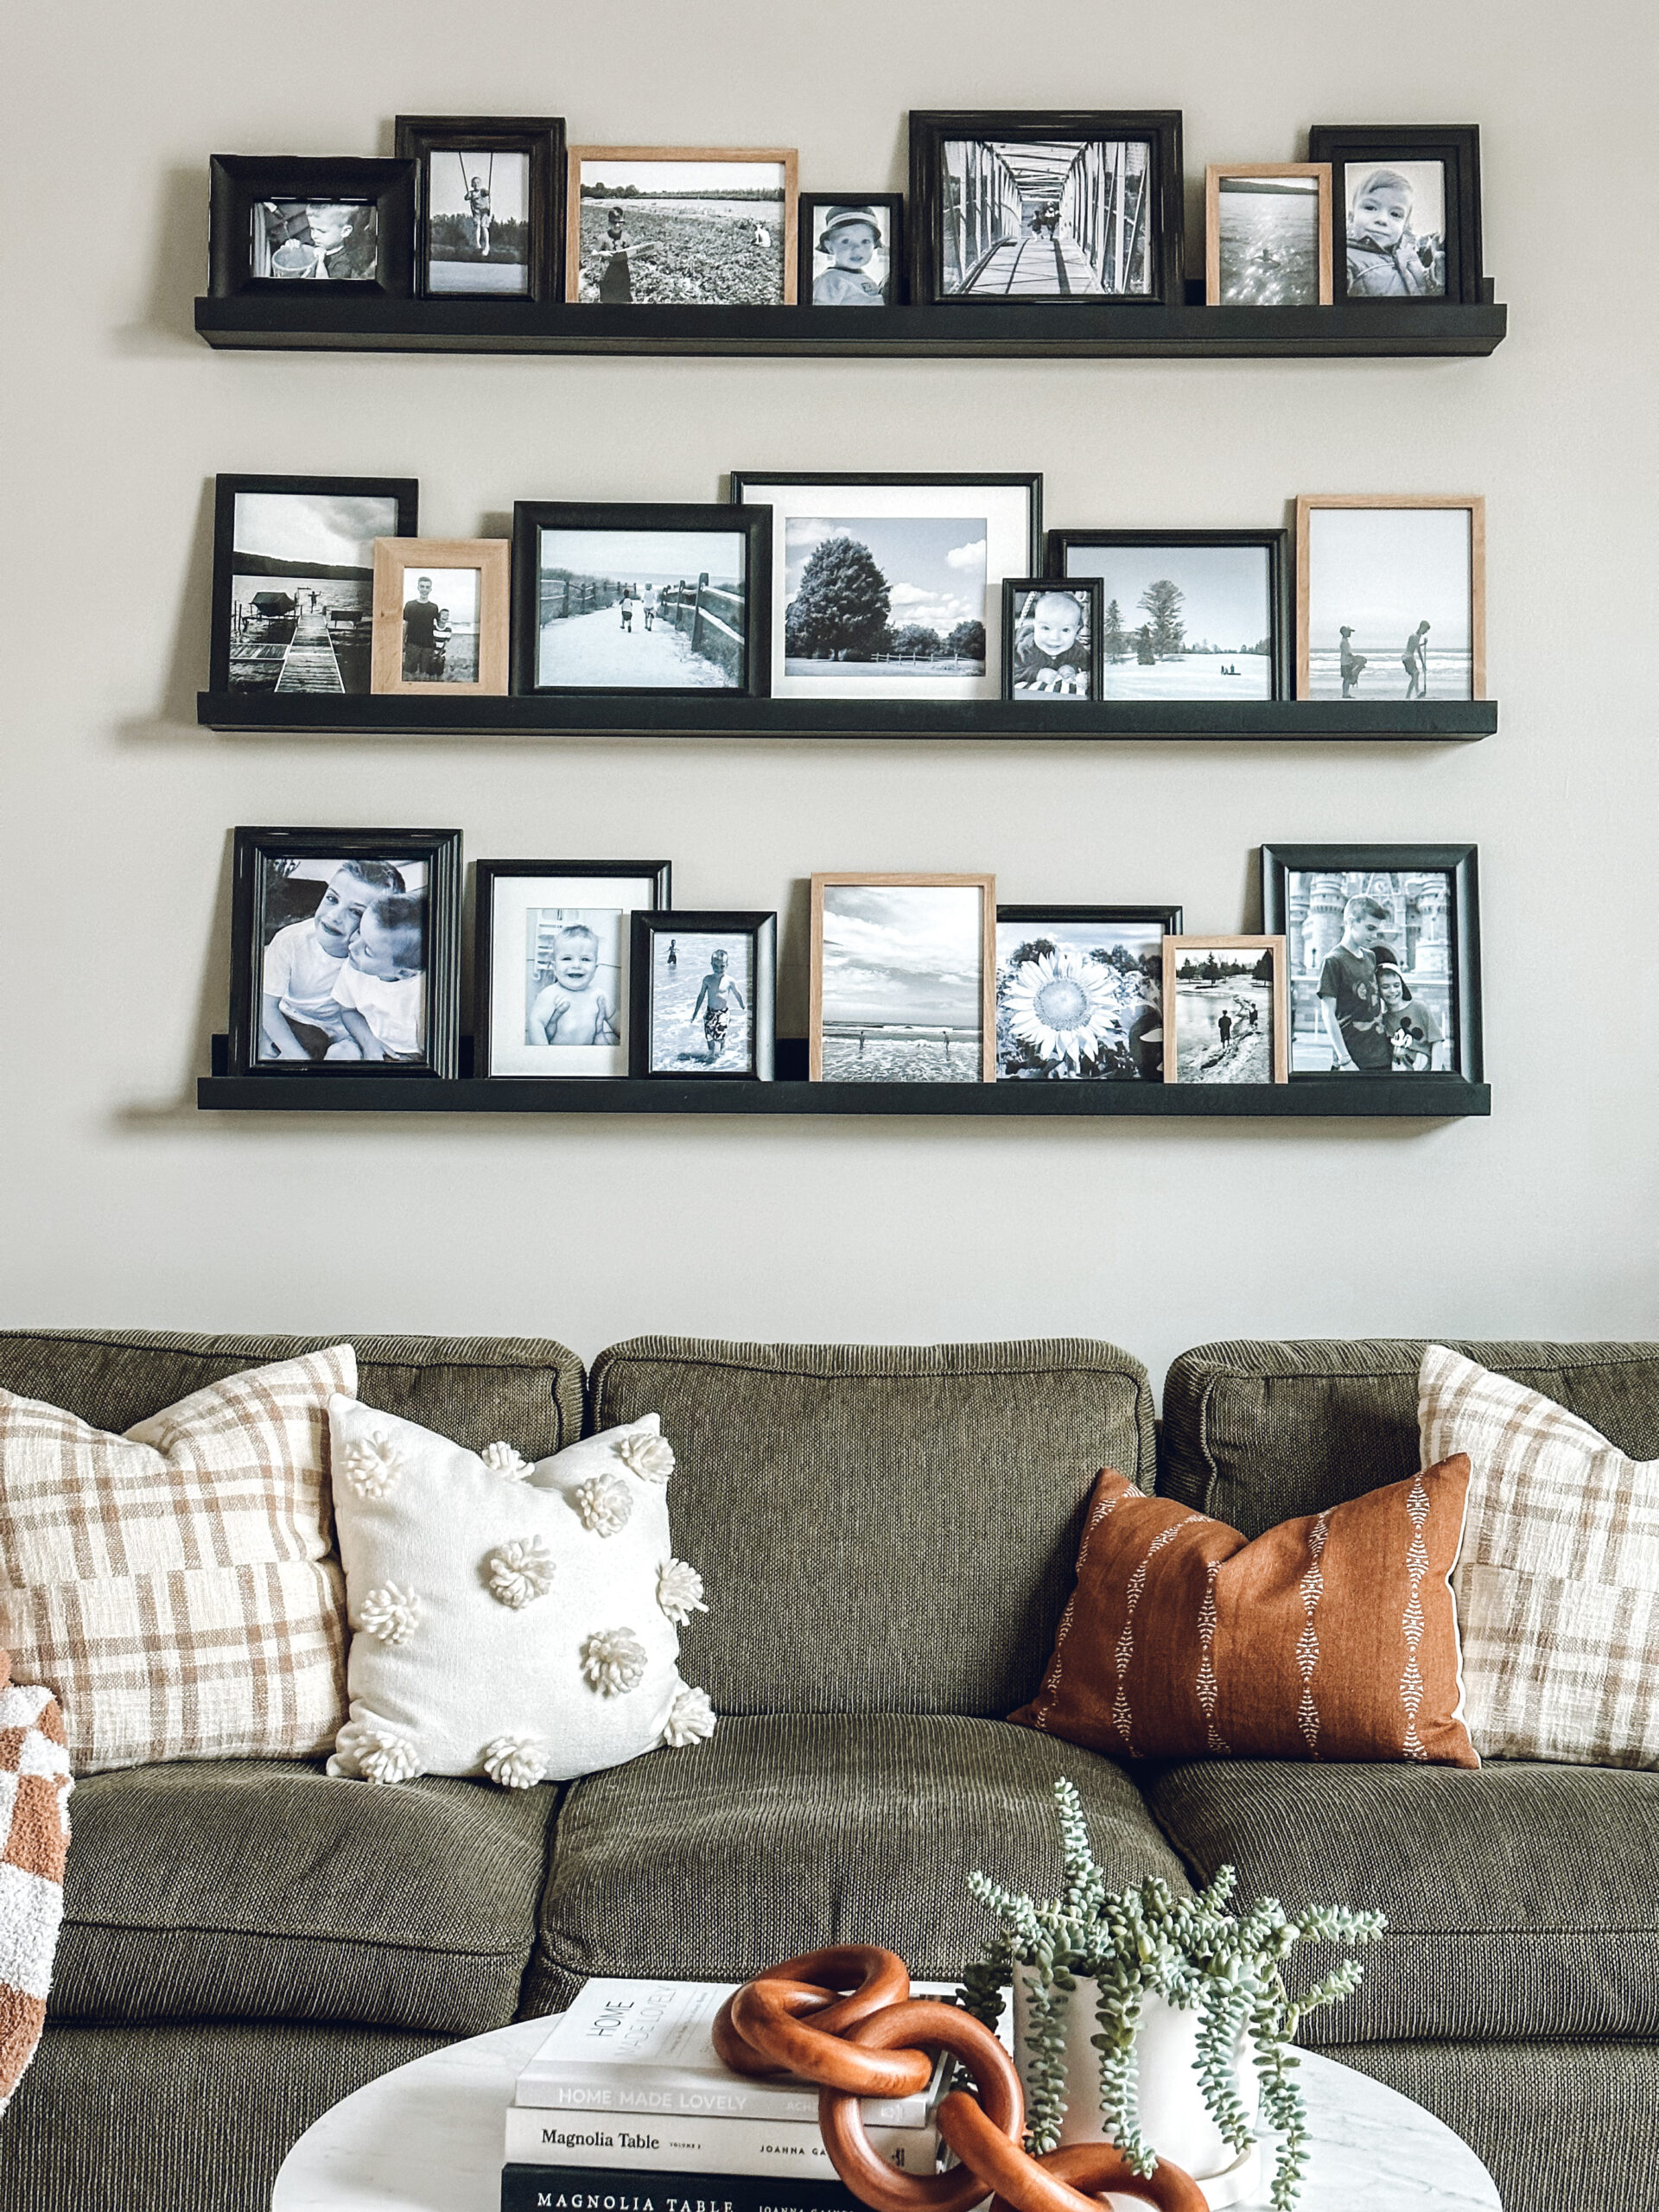
Are you convinced? What to hang above a couch? An art ledge or two or three!
Shop this Post
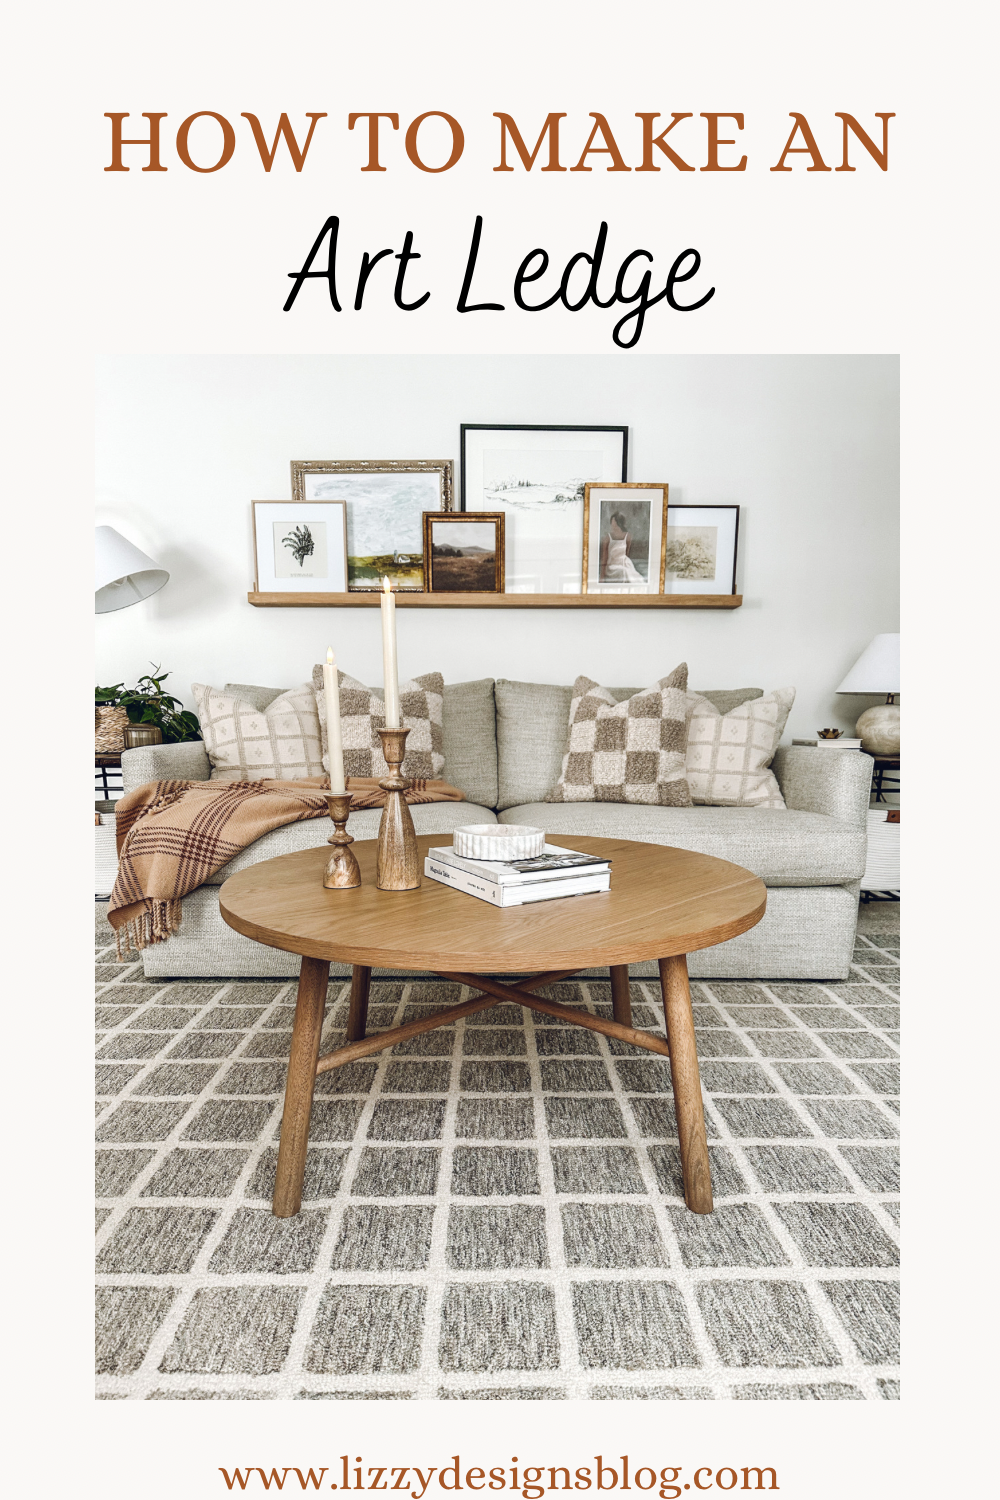
Pin for Later
Follow Along on Instagram


18 Comments
Rebekah
What a clever idea and such a great tutorial! Now I’m looking around at my walls to see where I can hang a photo ledge. Great post!
Liz
Thank you! I really couldn’t recommend one enough!
Jordyn
Looks great! What stain did you use for this?
Brittany
I love that you can change this out for all the seasons without having to make new holes in the wall! I really love the look on the single one!!!
Liz
So fun! I have a few Christmas pieces that I never knew where to put that will be perfect. Thanks so much!
Julie
Oh, I love this! I have struggled so much with what to put on the large wall in my living room with a sofa table under it. I think this will be perfect.
Liz
Glad to hear! It fills the space so nicely, I think you’ll love it!
Rachel
Love this idea for above the couch.
Liz
It really fills a space nicely!
Julie
Such a cute project that is really simple but obviously gave a big impact!
steph
I love the simplicity of this and the ease of switching out photos and artwork!
Liz
Switching it out is so fun! Thank you!
Charlene
This is great! My hubby is actually in the process of designing a built-in above our couch to also use up the space there. I love this photo ledge idea!
Liz
Oh that sounds great! Thank you!
Stephanie
I’ve been trying to figure out what to do with the space above our couch for a while now! This sounds great. Now I just need to convince my husband to make it, lol.
Liz
Awesome! Hehe tell him how easy it is!
Jordyn
Looks great! What stain color did you use for this?
Liz
Thank you! I used Minwax water based stain in the color weathered oak.