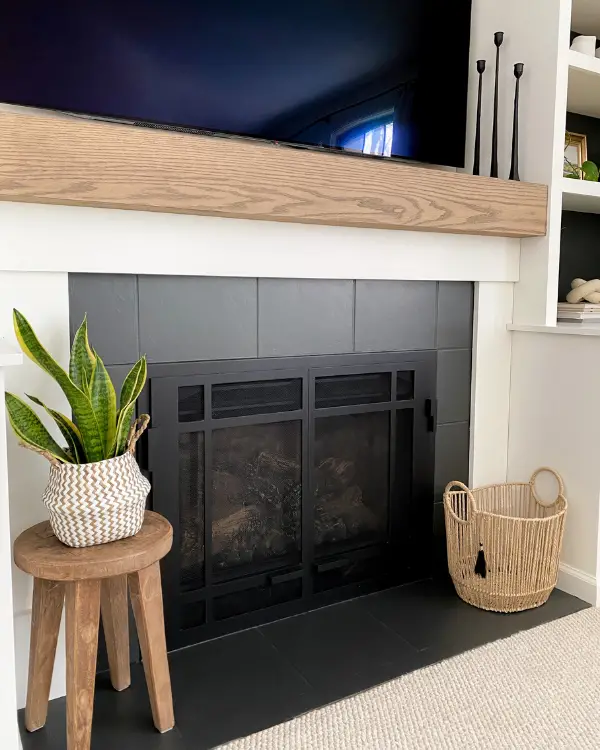
Fireplace Makeover
Including a DIY Mantel and Painting the Tiles
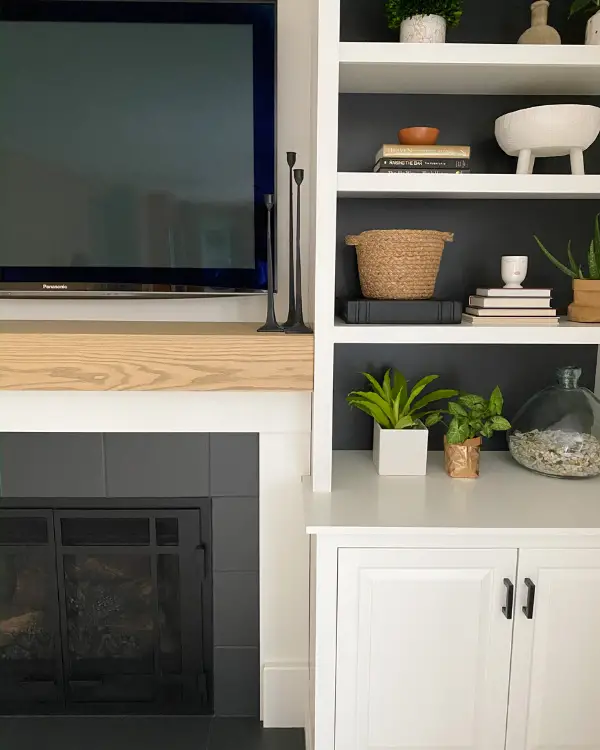
Follow along as we made over our fireplace, including a DIY mantel and painting the tiles. This makeover shows that just a few small changes can make a big impact! I wanted to create a more modern and sleek look with our fireplace and the surrounding built ins. Really to the whole family room, but the fireplace wall is the focal point. Just a few adjustments really transformed the space, and for not a lot of cost. The main changes we made were creating a new mantel to encase the old one and painting the tiles.
(This post contains affiliate links. This means I receive a small compensation at no cost to you. For example, as an Amazon Associate I earn from qualifying purchases. You can read more about it here. Thank you for your support!)
The Fireplace BEFORE
For fun, let’s take a look at what the room looked like when we first moved in, around 20 years ago.

We tore the wallpaper of that wall immediately…

The tv was in that armoire. Eventually we painted the fireplace off white (and removed that railing separating the rooms), until we were ready to update that whole space.

This is what it has looked like basically for the last 10 or so years. I still thought it was pretty, and there wasn’t really anything wrong with it. Although it did need a new paint job where it had yellowed a bit. The overall look though was still very nice!
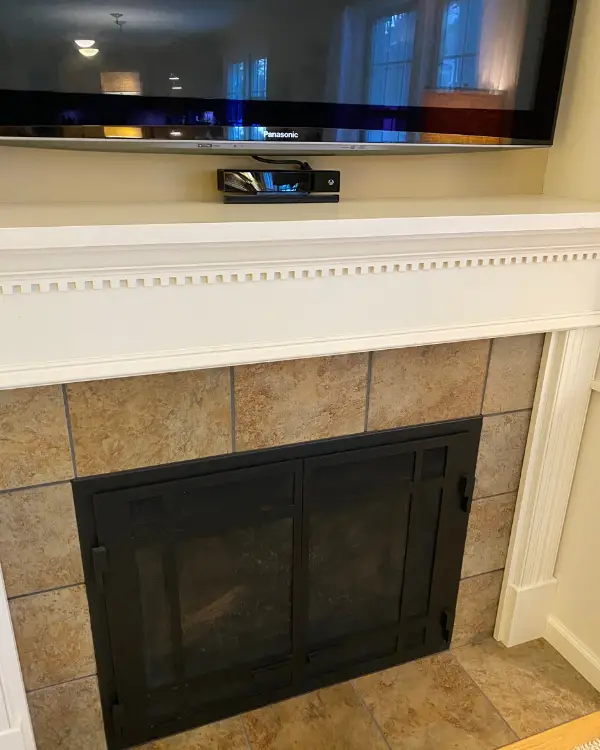
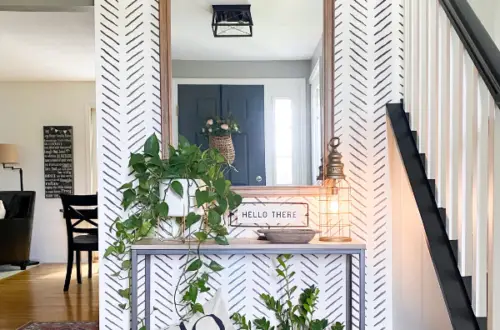
I started to crave a more modern look. I also loved stenciling the wall in our entryway, and I started thinking that stenciling the tiles would be a fun change, too! (You can check out the entryway wall here: https://lizzydesignsblog.com/7-ways-to-add-pizzazz-to-your-entryway-remodel/)
Then I wondered if we could change the mantel a bit without having to redo it completely. This is where Tim would come in. He was able to build a mantel top that encased the old one.

How to Make the Mantel Top
Materials and Tools
- 3/4 inch oak boards (We got ours from Lowe’s.)
- pocket screw jig
3. pocket screws
4. drill
5. circular saw
6. clamps
7. sander (optional) and sandpaper (180 grit and 220 grit)
8. stain, foam brush and rags
Making the Mantel Top
1. Measuring
First thing is to measure out on your fireplace where you want the new mantel to be and figure out how much wood you will need. There are 3 parts to consider: the top, front and underside of the new mantel top.
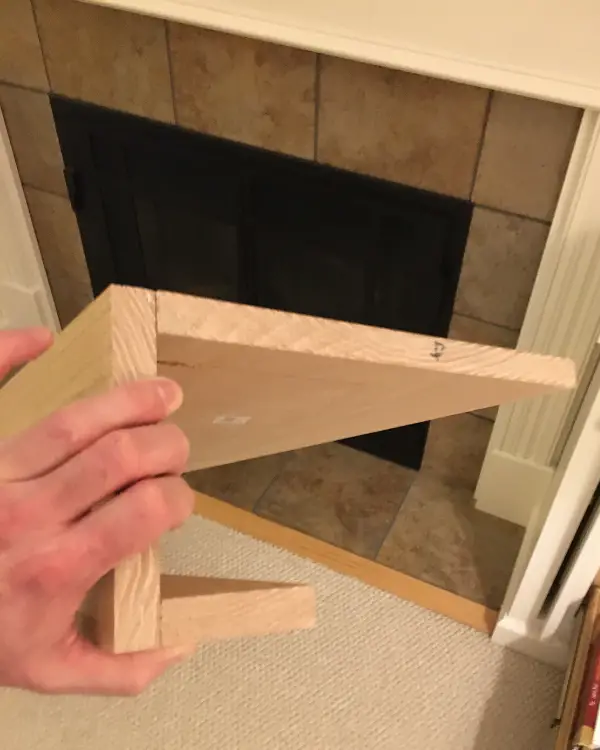
2. Choosing the Wood
When choosing the type of wood, we went with oak because we liked the look of the look of it and the fact that it’s cost effective and durable.
Oak boards at our local Lowe’s had lengths more than long enough to cover the length of the mantel. However, because of the depth of the top of the mantel, we needed to put two boards together to cover it. We made sure to have the two pieces meet towards the back so that the seam would be less noticeable. You can hardly see it, even up close!
3. Building the Mantel
Because we didn’t want to have any exposed screw heads or nails on the outside of the new mantel that would have to be filled and might be noticeable, Tim decided to attach the boards together on the backside using pocket screws. We used the Kreg jig kit which (along with a good set of clamps) gives you everything you need to do pocket screwing like an expert. Both the jig and the included pocket drill bit for making the pocket holes have attachments and settings that can be configured for the exact thickness of the wood selected, in our case 3/4 inch. As recommended by the kit, he also used Kreg fine-thread 1 1/4 inch hardwood pocket screws.

When making the pocket holes the jig has guides that show where to place it, and it should be clamped down well before drilling the pocket hole. The directions for the jig give guidelines as to how close the screws should be together.
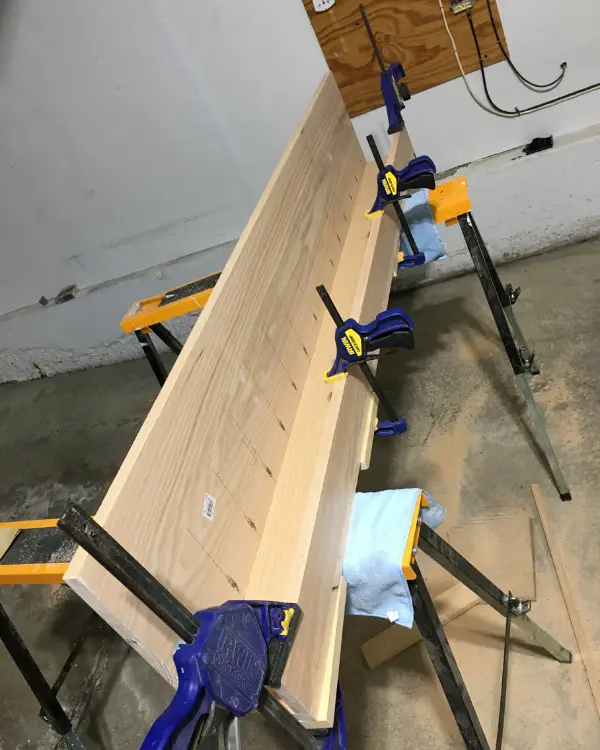
Make sure all the edges where the boards come together are flush. Then clamp the ends tight, and pocket screw the ends first. At each remaining pocket hole location along the edge, double check that the edge is flush and clamped near each hole before putting in the screw so that the boards don’t shift or separate while inserting the screw.
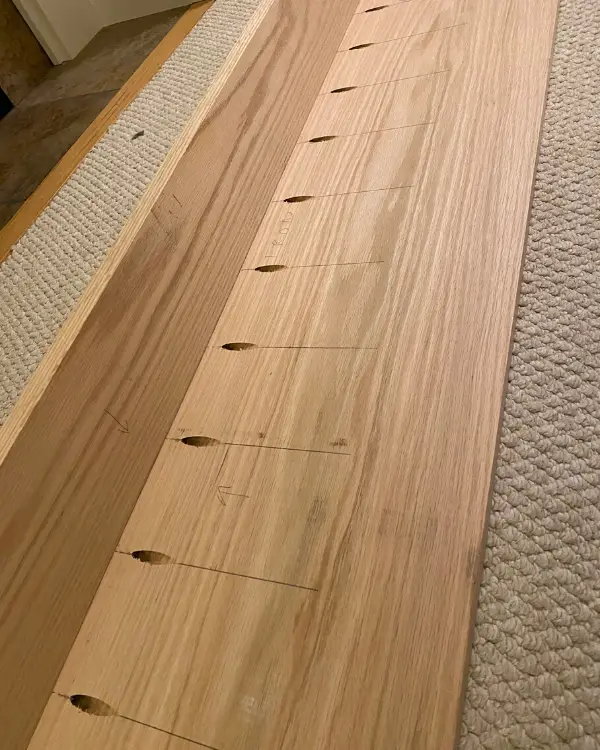
Once the boards were all pocket screwed together, he just had to measure out and cut a piece to fill in the gap on the top piece of the mantel since it wasn’t quite deep enough. Then that piece was also pocket screwed together.
4. Staining and Installing
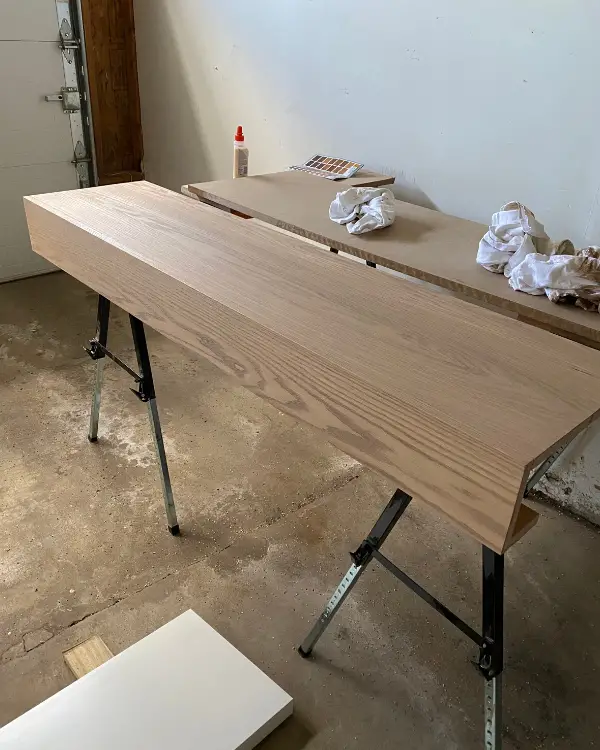
After staining it in the garage, Tim placed the new mantel top over the old one. The fit of our new mantel was tight enough to where it took some elbow grease to get it in place, but it’s now staying put. Had we needed to attach it to the existing mantel, we would have simply applied wood glue to the top of the existing mantel and then placed the new one over the top of it.
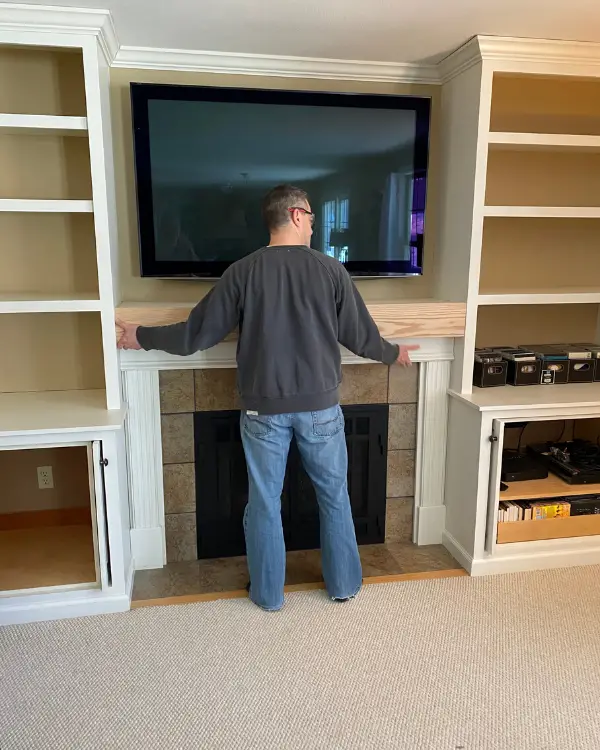
The Rest of the Fireplace Makeover
At first I was just thinking we’d cover up the mantel top and be done. Then I wondered if we could remove the decorative trim pieces for a sleeker and more modern look.
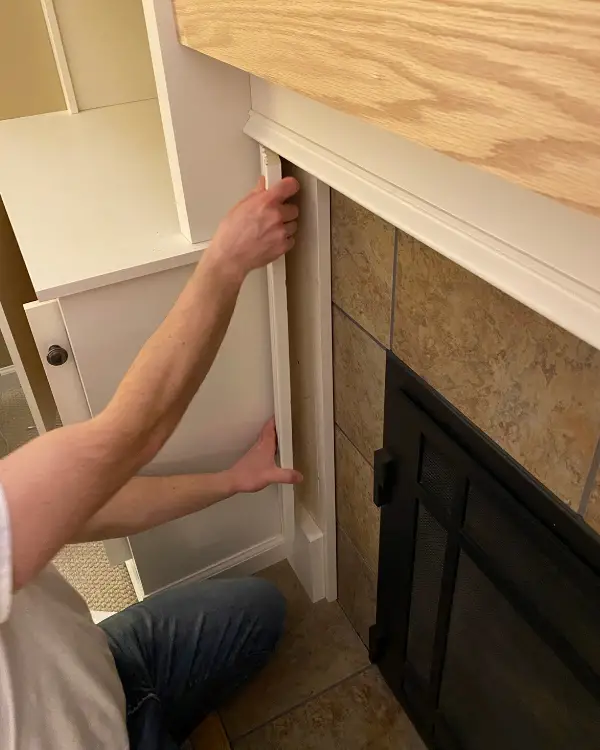
Luckily they came off fairly easily with a putty knife without too much patch work to do.
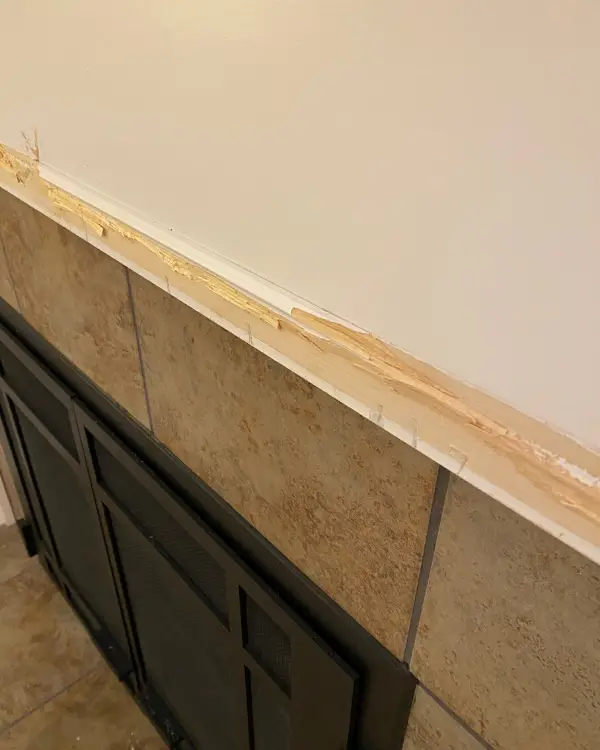
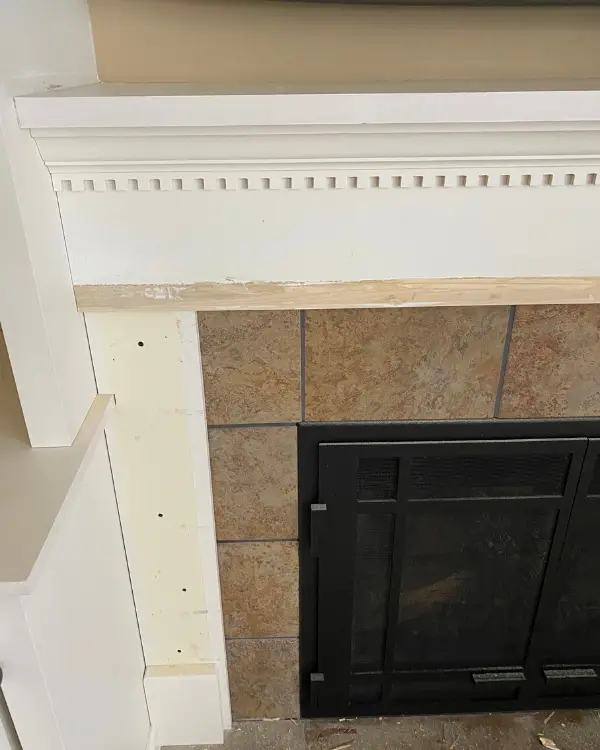
We filled in the holes with wood filler and sanded it down with 180 grit sandpaper in the sander. The I primed and painted it (SW alabaster).
Painting the Tiles
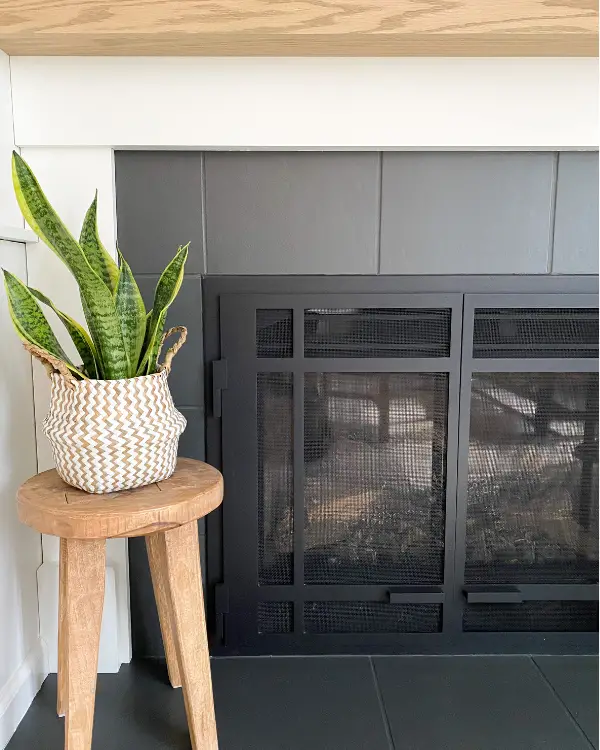
So as I mentioned earlier, I wanted to stencil the tiles. Well, that turned out to be a fail! The texture of the tiles I think was the problem. It just didn’t work. It was going to be small white hexagon “tiles” with black “grout.” After the stencil didn’t work, I went with all black (SW iron ore). As these fails often end up, I now love the all black look and can’t imagine it the other way!
Materials:
- cleaner of choice to wipe down the tiles (I used a little dish soap and water.)
- sandpaper
- primer
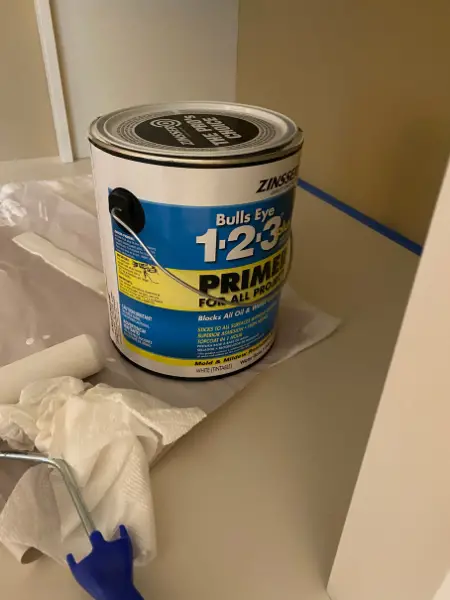
4. paint (SW iron ore)
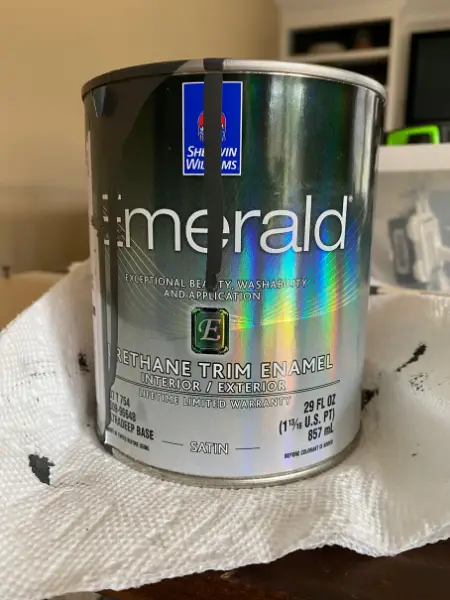
5. paintbrushes and small foam roller and paint tray
The Prep and the Painting
NOTE: On our fireplace, the tiles don’t get hot. If your fireplace has tiles that get hot when it’s running, you may need a heat resistant type of paint instead of what we used. Contact a paint professional for a recommendation.
First thing is to clean the tiles. Next we sanded them down with the 80 grit to rough it up, then the 180 grit to smooth it out. After the sanding, we did another quick wipe down and vacuumed all around the tiles.
Now you are ready for the primer. I did 2 coats.
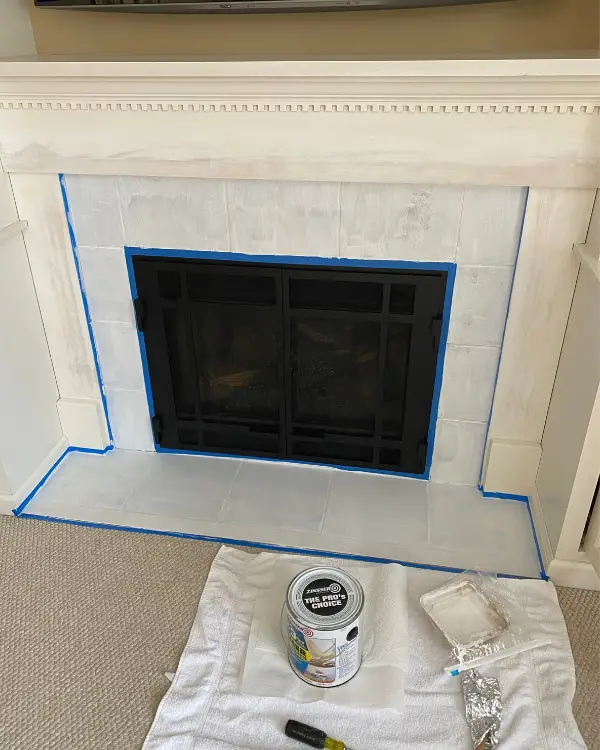
Next is the painting. You will need to do 2-3 coats. The paint we used was fantastic (see above under “materials”)! You cannot tell the tiles have been painted. It looks like we re-tiled with black tiles!
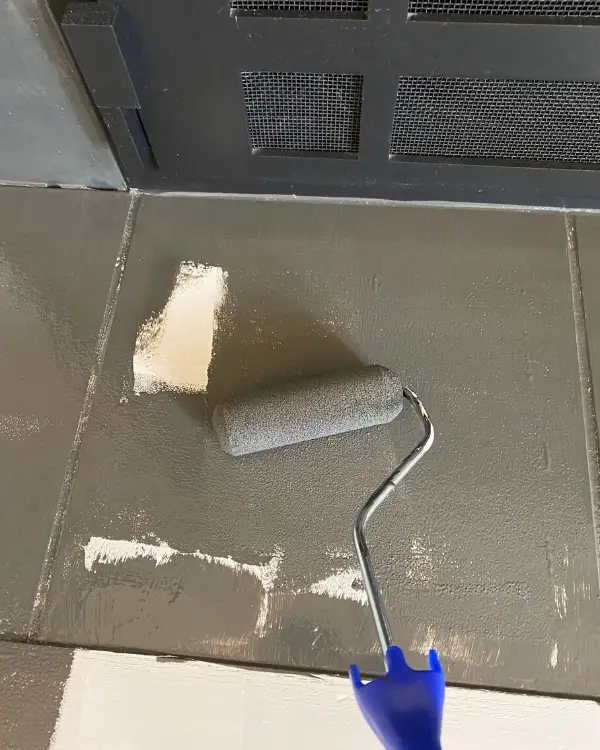
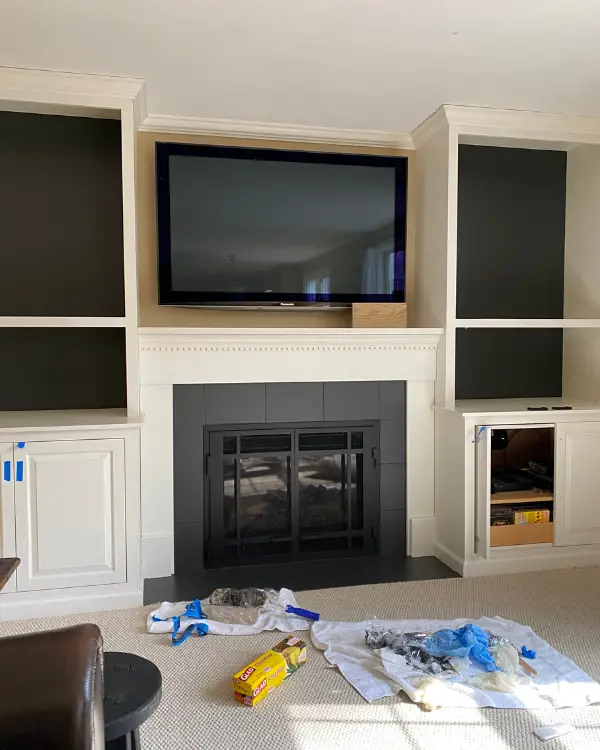
As a side note, I also decided to paint the same black color behind the shelves. I like how it ties in with the tiles and the way especially white objects look against the black background.
The Fireplace AFTER

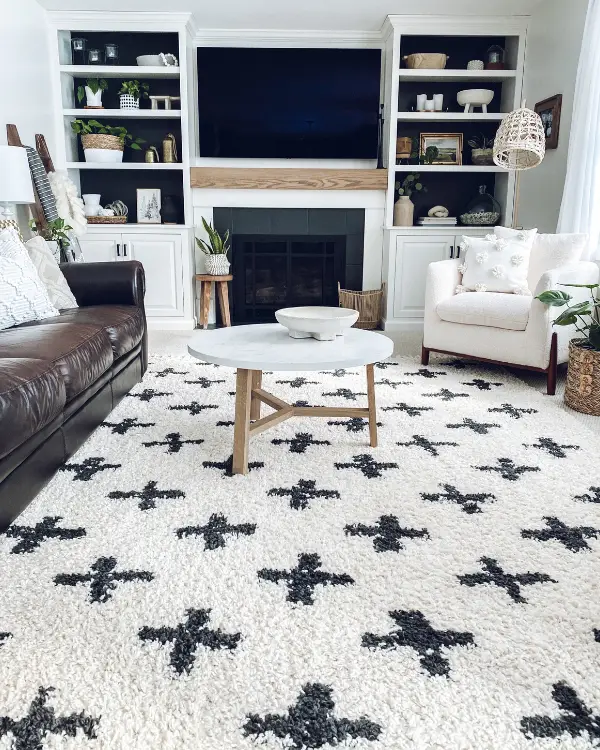
Here’s a final look at the whole room, before and after. I painted the walls white (SW alabaster), changed out the curtains and pillows, put decorative items on the shelves instead of books, changed out the cabinet hardware, added a new coffee table (moving the old one under the window as a bench) and added an area rug.


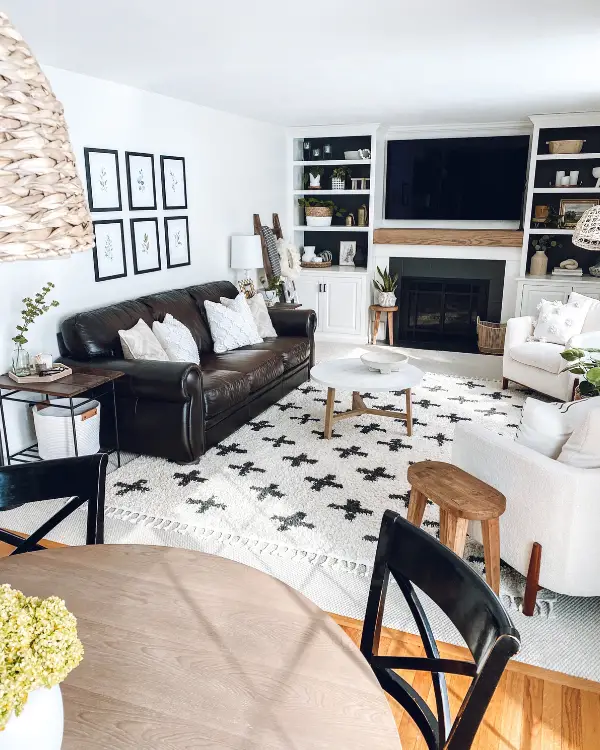

I am thrilled with this makeover. It feels so bright and I got the modern and sleek look I was going for!
Shop this Post


40 Comments
Jersey
Liz, you should be very proud, you guys did an awesome job as well as documenting the process!
Liz
Thanks so much! Appreciate that 🙂
Amberly Brown
Way to go! I love LOVE the result and I’m getting ready to paint the tiles surrounding my fireplace as well! Questions:
1. Does the heat from a roaring fire not escape from the top vent of your enclosure? I’ve never noticed our tiles getting hot, but the enclosure does, so I was wondering about the painted tiles. I will check with the SW guy!
2. What in the world did you do with your library? I’m so torn about this. Does one need this many books anymore? On the other hand, a lot of hours and expense went into most of our library, so I’m in a real pickle!!! LOL!!!
Liz
Thanks so much! Yes, there is a vent right at the top where heat escapes. However, at least on this particular firepace, the tiles themselves don’t get hot. We even tested it out at the highest setting to make sure!
Haha, I know the book situation was a dilemma! I weeded out a few, but I kept most. I decided to hold onto all of our best and favorite children’s books and have them all, along with photo albums, in the bottom cabinet behind the closed doors. Then I found an inexpensive narrow white book shelf online at Target that fits perfectly in our upstairs hallway. I just couldn’t let the books go, but I am loving this new look in the family room!
Tanya
I just love this! What an amazing transformation! Would you mind sharing the paint brand and color you chose? It is exactly what I am looking for.
Liz
Thanks so much! It’s Sherwin Williams (Emerald Urethane Enamel) in Iron Ore.
Alicia Anderson
Looks like you have white trim that overlaps your fireplace tiling. Do you know the measurements and thickness of the wood trim there?
Liz
The part that is seen below the mantel is 5 1/2 inches wide and 1 1/2 inches thick. The length is 5 feet. The actual piece of trim is larger but is under the mantel. On either side of the fireplace, the trim is 6 inches wide and 3/4 inch thick. They are 3 feet and one inch in length.
Shelly
This looks so great! I was considering stenciling too, but this looks perfect (and easier perhaps😆). Did you paint the grout the same iron ore too? We actually have iron ore on an accent wall that opposes our fireplace, so I think this will be great! Boring beige tiles right now…looking to update, thanks!!
Liz
Thank you! Yes, I just paiinted over everything, tiles and grout, with iron ore. So glad you like it! It really transforms a space!
Tiffany
Beautiful remodel! Did you use the same iron ore emerald paint for both the tiles and the bookshelf backing? I’m headed to the store ASAP 😉
Liz
Thank you! I used the same iron ore color, but I used the Emerald enamel on the tiles and Emerald latex on the wall.
Karen
Hi!!! I love your fireplace makeover! Just wondering what stain you used for the mantle??
Thank you!
Karen
Liz
Thanks so much! Unfortunately, I don’t have an exact stain color to share. We ended up using a combination of things to get it to the shade we wanted after the first stain didn’t look quite right. Wish I could be more help!
Chrissy
This looks amazing.
Did you replace the old mantle, or did the new one fit over the old one?
I’m considering attempting a project like this.
Thanks in advance!
Liz
The new onw fit over the old one!
Sara
I’m in love!! And you are never going to believe this but we are in the process of building built ins EXACTLY like you have. And I’m planning to paint the back of the shelves Iron Ore- already had the paint before seeing this blog! Crazy how we’re on the same page. I just came home from Home Depot shopping for black tiles with no luck so I’ll follow your lead and just paint them. I do have 2 questions for you…
1) would you mind giving me the width/height of your entire wall? I’m thinking yours is the same as ours- maybe bigger. We’re challenged with a 12 foot wide wall and 8 foot ceilings – small room!
2) do you have a transition piece around the tiles on the floor? We’re also putting In Luxury vinyl planks and I forgot to order transition pieces for around the floor tiles
Liz
Thank you! Oh that’s awesome! Great minds 😉 The width of the entire wall is 11 feet, 5 inches. There is a transition piece of hardwood flooring (like in our kitchen) that is between the tile and carpeting. I painted it black also when I painted the tiles.
Sara Wright
Did you paint the drywall behind the TV the same color as the built/ins? I’m debating doing board and batten behind the TV if I go white or just painting the drywall with iron ore like behind the shelves. I am so indecisive
Liz
Yes, I went with the same white as the built ins (SW alabaster) which is also the same as the walls in the room. Sometimes people like to paint behind a tv a color in the black family like iron ore so that the tv blends in more. I preferred more of a variation. Hope that helps you decide!
Kate
I LOVE this! Where can I find your fireplace doors/screen? it is exactly what I’m looking for!
Liz
Thank you! I wish I had a link or a name for you, but we got it locally years ago and don’t have any info. Sorry!
Kristin Warburton
This looks amazing! Did you also DIY the shelves and cabinets on the sides if the fireplace?
Liz
Thanks so much! No, we actually had them built in by a contractor years before I started this blog 🙂
Nicole
Did you use a power sander or did you just do it by hand? I’m literally about to do my fireplace EXACTLY like yours! It’s beautiful!
Liz
Thanks so much! We tried out a power sander first, but then actually preferred by hand because you could get into the corners better.
Jade
Love this look! We have similar tile around our fireplace and I was thinking of painting it black. What sheen of paint did you use? Eggshell?
Liz
Thank you! We used Sherwin Williams Emerald Urethane Trim Enamel in the Satin sheen.
Kelli
Gorgeous! What color do you have on your walls? I love that shade of white!
Liz
Thank you! It’s SW alabaster, my favorite go-to white!
Becky
Looks fabulous! I couldn’t help but notice your carpet, is it wool? If so where did you get it? We’re fixin’ to replace our bedroom flooring and do a fireplace makeover.
Liz
Thank you! The carpet that goes up against the fireplace is a berber wall to wall carpeting that we got at a local place, but you can find berber everywhere! I don’t think it’s wool, maybe just partly.
Stacey
Thank you for your post Liz! We followed your guidelines with the paint, and it turned out perfectly!! Such a solid, quick fix to our ugly pinkish-brown title surround. Much appreciated!!
Liz
So glad to hear! Enjoy!
Kayla
This is an awesome makeover! Can I ask how from start to finish how long it took to complete painting the tiles? Could I accomplish it in a day?
Liz
Thanks so much! The painting itself goes quickly, you just need to allow for drying time in between coats. Double check what the can of paint and primer say, but I believe it’s around 4 hours until you can do another coat. I did two coats of primer and 2 coats (may need 3) of the paint. I think I did it over 2 days.
Jessica S
What color stain and brand did you use?
Liz
Unfortunately I don’t have an answer, the original stain we chose ended up having red undertones that didn’t look right. Long story short, we had to do multiple steps to get it the way it looks now!
Amy
It looks beautiful. Have you had any issues with paint chipping on the floor portion.
Liz
Thank you! No chipping on the floor part or anywhere!