How to Drill into Tile
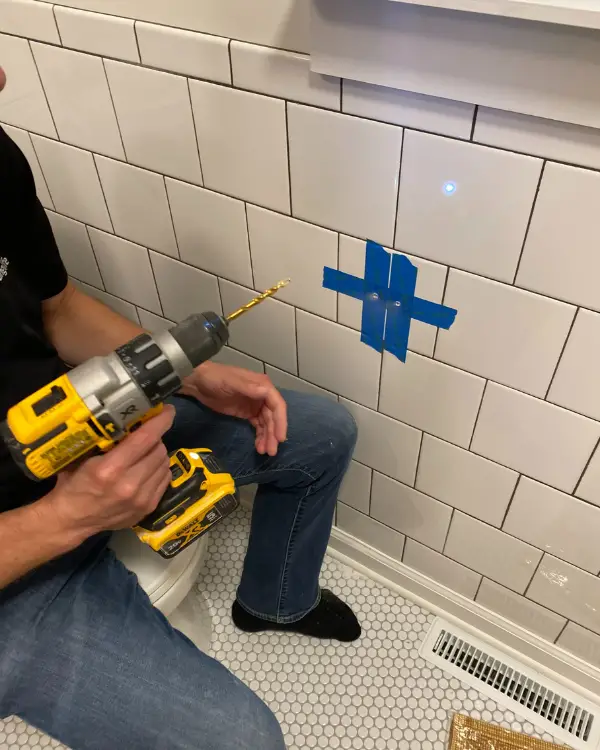
In this ongoing bathroom remodel, I decided to put tiles all the way around the room. Because of this, when it became time to hang up the toilet paper holder, we really had no choice but to have to drill holes into tile. Drilling into the brand new tile was a scary thought! However, it turned out to be a doable DIY project. Follow along to find out how to drill into tiles.
(This post contains affiliate links. This means I receive a small compensation at no cost to you. For example, as an Amazon Associate I earn from qualifying purchases. You can read more about it here. Thank you for your support!)
If you’ve been following along, here’s an update on the bathroom progress: After a lot of issues with getting a replacement counter after it first arrived cracked FIVE months ago, we decided to just get a new countertop made locally. So stay tuned for a full bathroom reveal within the next couple weeks!
Materials Needed for Drilling into Tile
- Painter’s or Masking Tape
- Drill
- General Purpose Drill Bit
- Carbide or Diamond Drill Bit
- Cup of Water
Steps for Drilling into Tile
1. Pick the Correct Drill Bit
First, identify the type of tile you are using. For this project it was ceramic tile. After researching this topic, we found out that ceramic isn’t as difficult to drill through as porcelain (but both are possible). You just need to know which type of drill bit to use. A carbide drill bit is fine for ceramic, but for porcelain you want to use a diamond bit. You can also use a diamond bit for ceramic, if you’d like. It may be more expensive, but it can cut an even cleaner cut. We used a carbide. You can read more about this here in a post that I found helpful.
2. Put Down Tape First
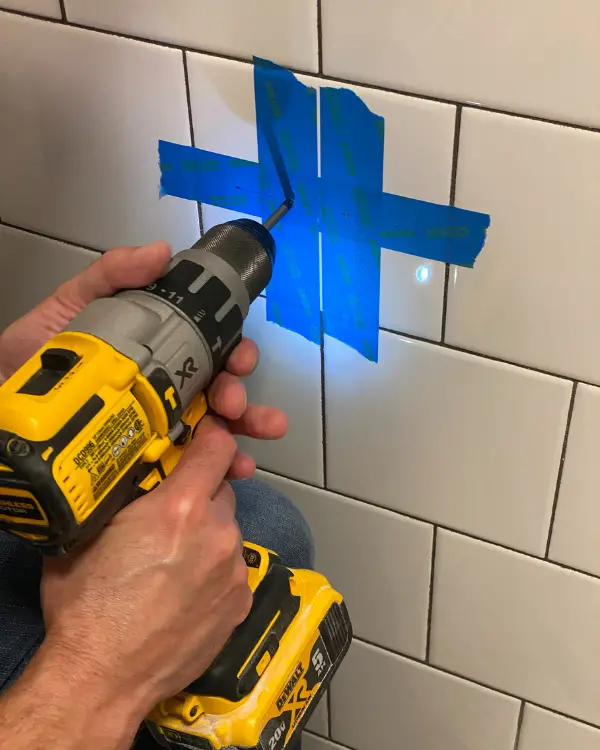
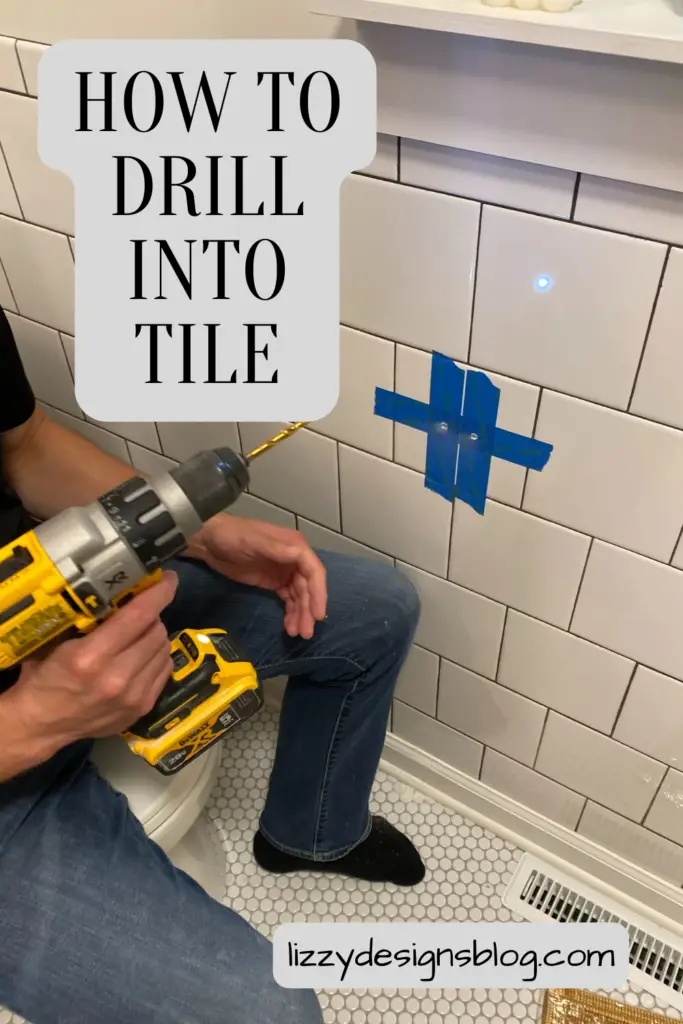
Once you’ve figured out exactly where you want to make a hole, criss cross some painter’s or masking tape in the spot to drill into first. The tape will help keep the drill bit from slipping on the slippery surface which could cause a scratch or crack!
3. Start Drilling SLOWLY
You are now ready to drill! Realize that this is going to be a slow process. It will take minutes to get through. You don’t want to rush or apply too much pressure because that will risk cracking or damaging the tile.
Apply slight pressure and let the drill do the job.
4. Check for Overheating
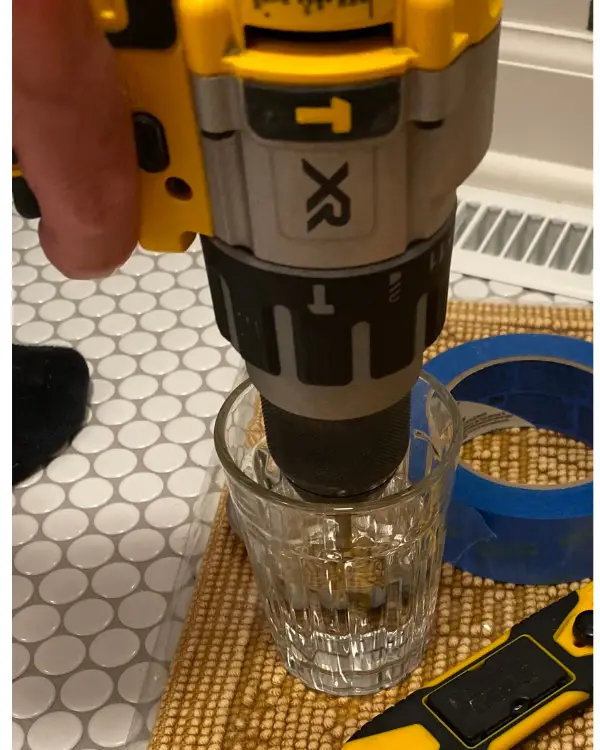
As you are drilling, occasionally check the bit to see if it’s getting warm. Have a cup of water to dip the bit into as needed to cool it down. Then wipe the bit with a paper towel to take any tile remnants off of it.
5. Change Bits after Hitting Wall

There were no studs behind the wall where we were drilling. So after slowly drilling through the tile, we stopped once we hit wall. At this point, we changed bits to a regular twist bit, and then continued to drill until we got through the wall.
6. You Did It!
After drilling in the two necessary holes for this particular toilet paper holder, we were ready to install it. It looks great against the tile!
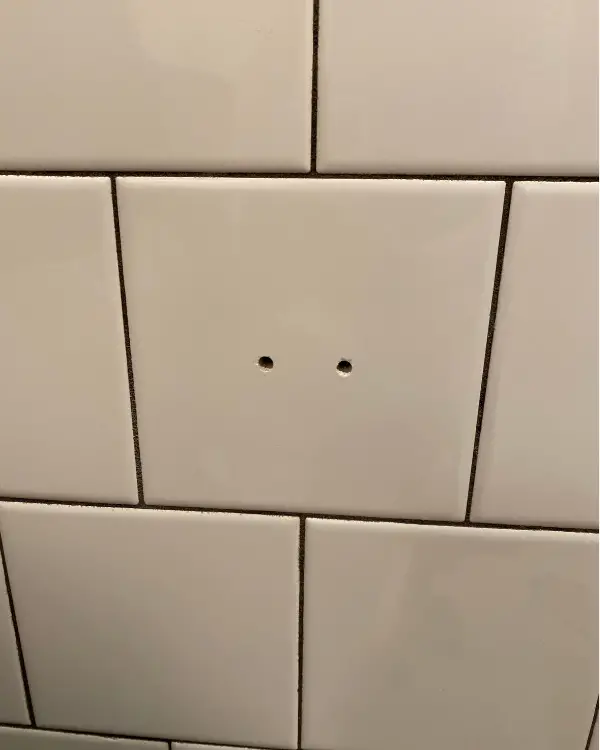
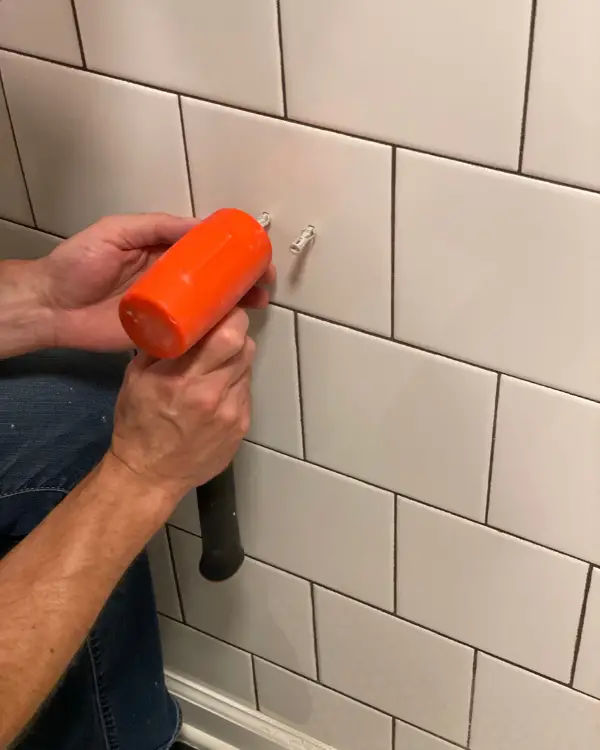
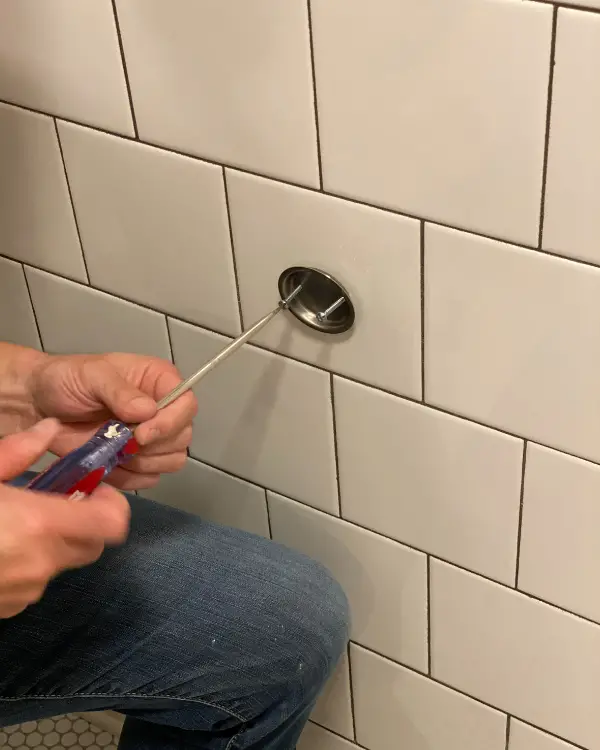
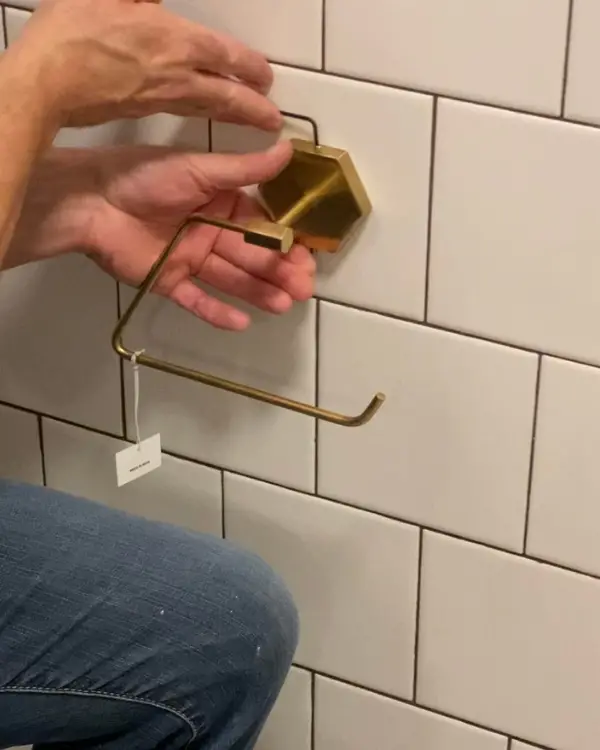
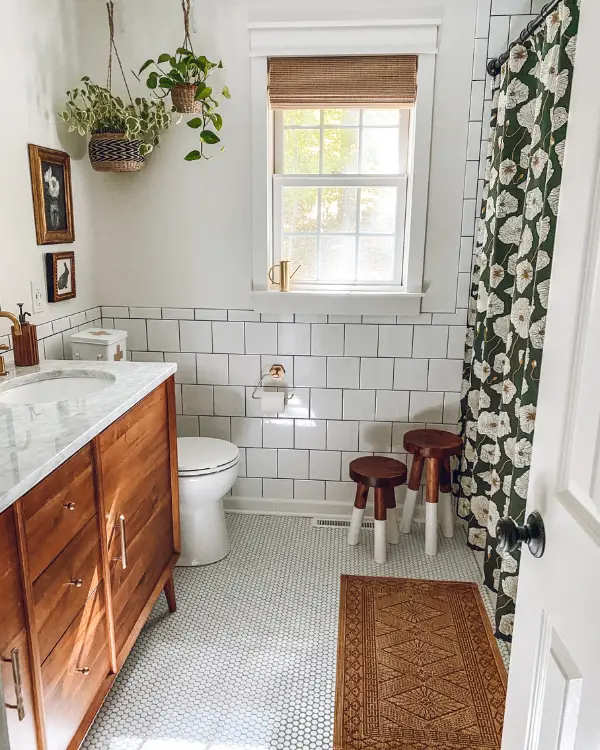
To see this entire bathroom makeover and complete remodel, go here https://lizzydesignsblog.com/bathroom-makeover-and-complete-remodel/
Pin for Later
Follow Along on Instagram


