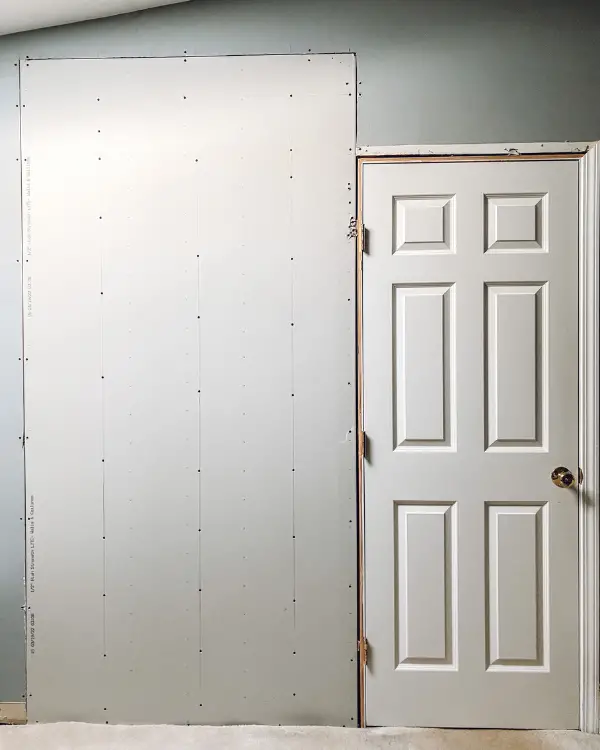
How to Fill in a Doorway
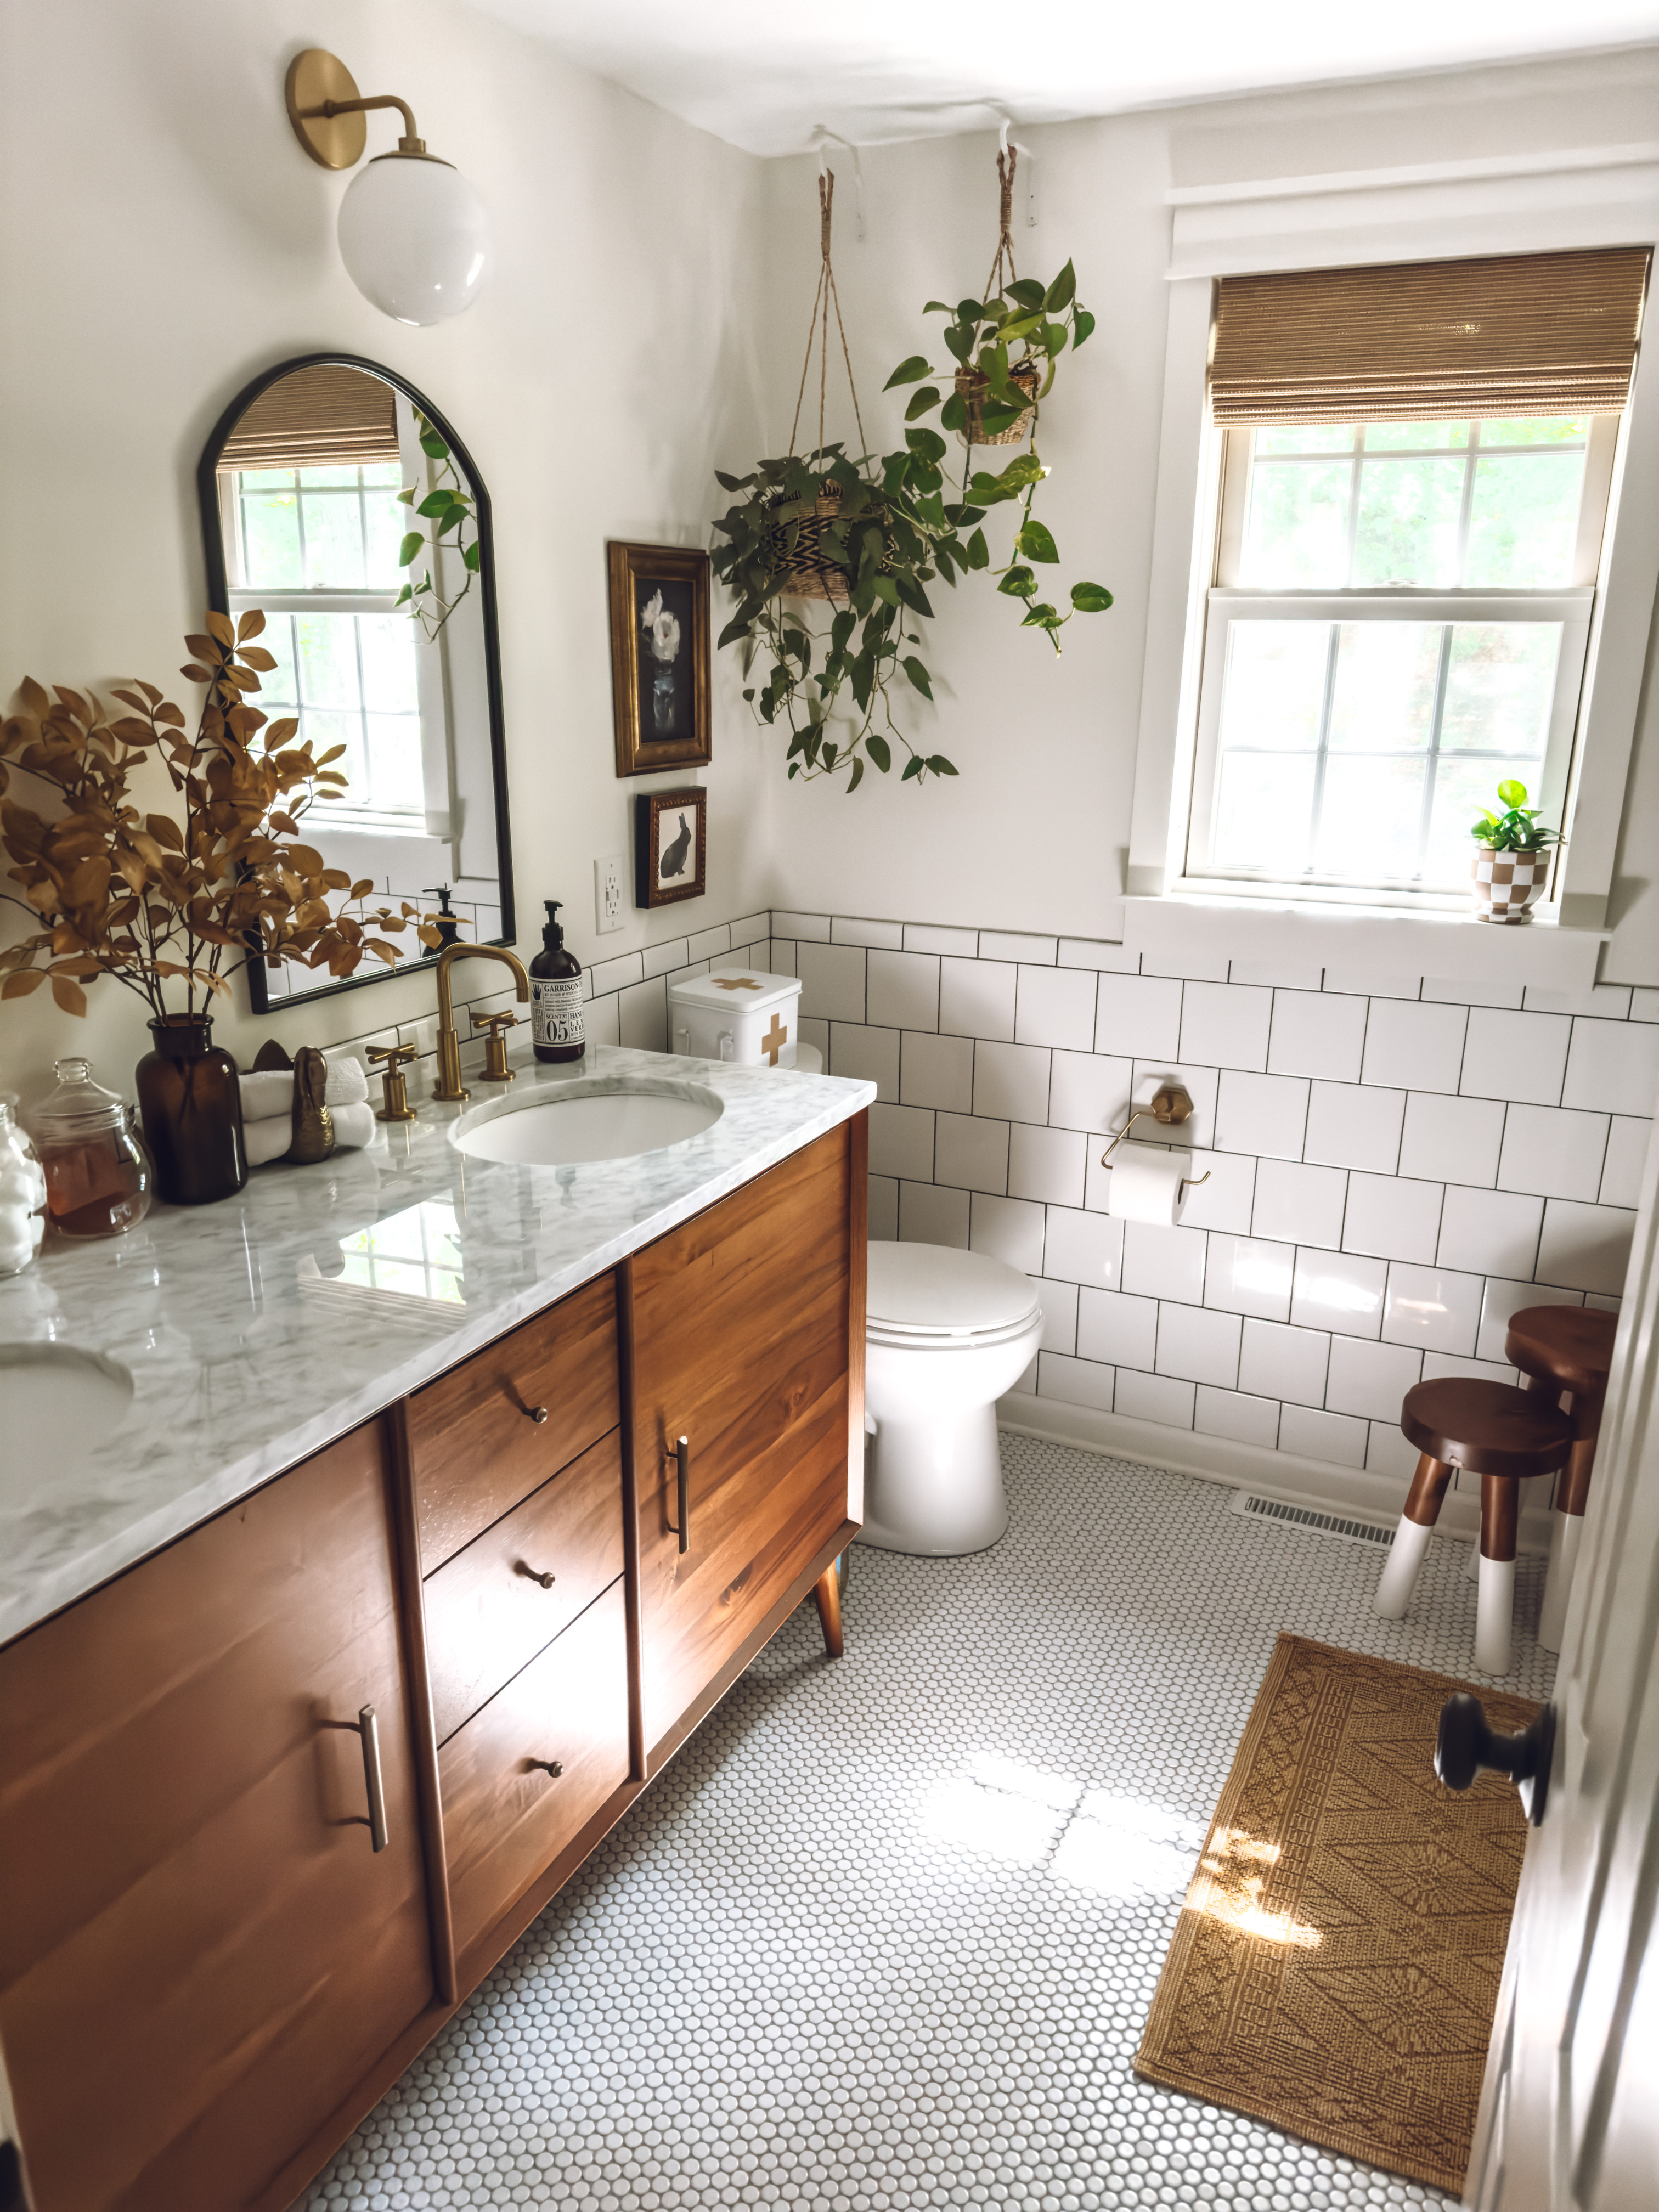
As part of this bathroom remodel, we decided to remove the adjoining door to a bedroom and close up the doorway in the wall. This would allow us to then be able to fit a double vanity in its place. In this blog post, I will be showing you how to fill in a doorway.
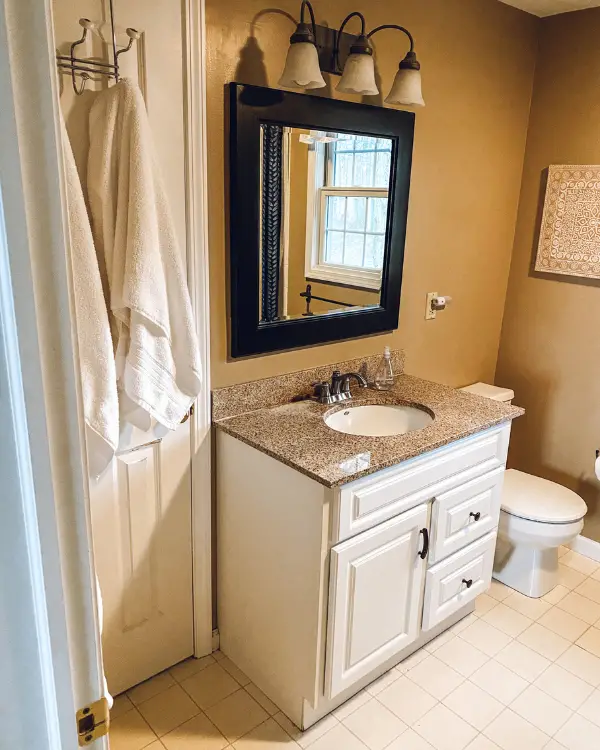
To see the post, “Bathroom Remodel: The Design Plans” go here: https://lizzydesignsblog.com/bathroom-remodel-the-design-plans/
(This post contains affiliate links. This means I receive a small compensation at no cost to you. For example, as an Amazon Associate I earn from qualifying purchases. You can read more about it here. Thank you for your support!)
Materials and Tools Needed:
1. impact driver or screwdriver
2. pry bar
3. hammer
4. utility knife and extra blades
5. sheet of drywall
6. tape measure
7. level
8. several 2x4s
9. miter saw
10. 3 inch wood screws
11. drywall screws (both 2 1/4 and 1 1/4 inch)
12. drywall tape
13. joint compound
14. spackle knives
How to Fill in a Doorway
Step 1: Remove the Door and Frame
Remove the door from the hinges with an impact driver or screwdriver. Using a pry bar, remove the trim around the door frame itself, getting down to the studs. You also need to remove any flooring or threshold in this section underneath the door, getting down to the plywood subfloor.
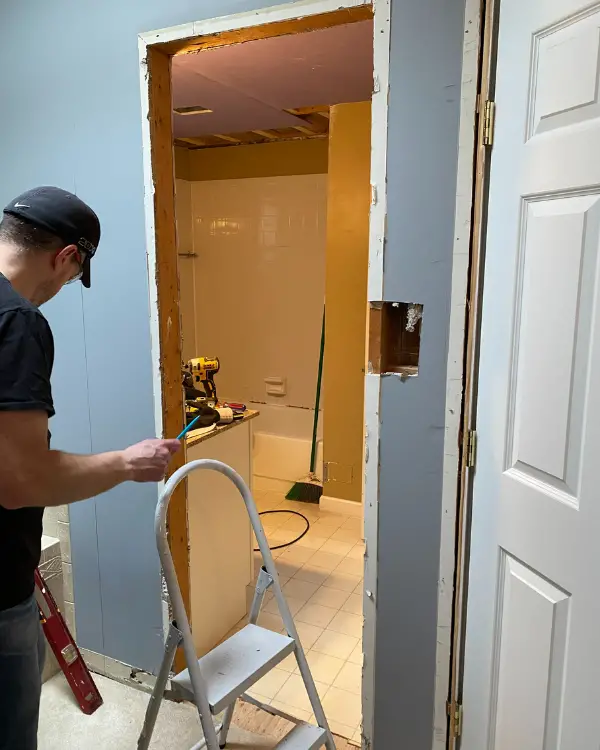
Step 2: Prep the Opening for Drywall
Here’s another article detailing how to fill in a doorway, but using the door frame itself: https://peppershomeandgarden.com/close-door-opening-drywall/
Measure and Cut the Wall
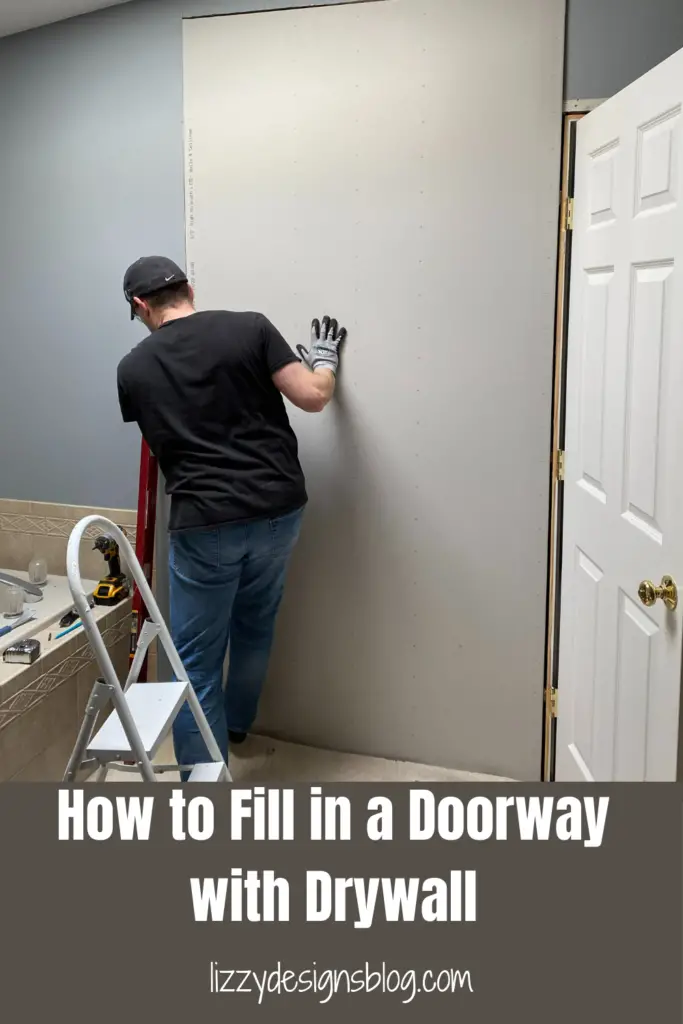
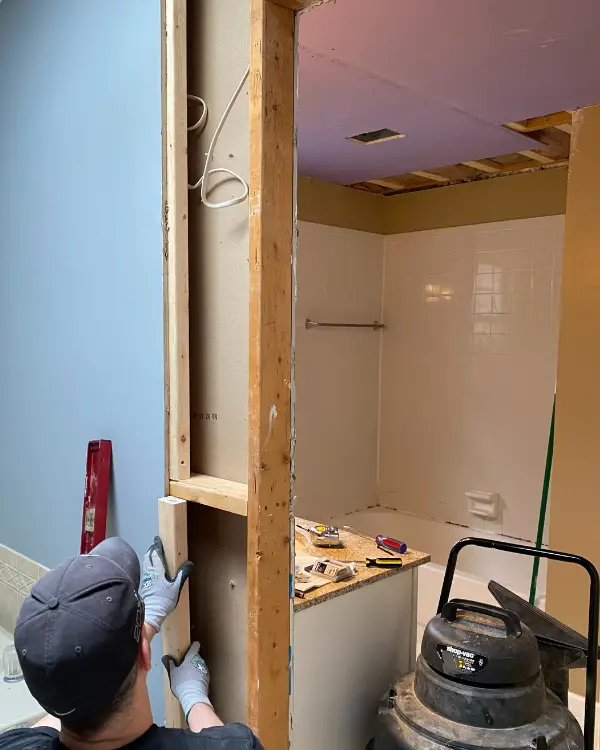
Instead of filling in only the doorway, Tim chose to cut back the wall and make the opening the size of a 4’x8′ sheet of drywall. He did this for two reasons. One, it meant he didn’t have to cut the drywall to size, leaving the clean factory edge all the way around. Two, because the doorway we were filling in was on a large wall, he wanted to overlap a significant amount of the existing framing allowing him plenty of area to blend the new piece of drywall with the existing wall.
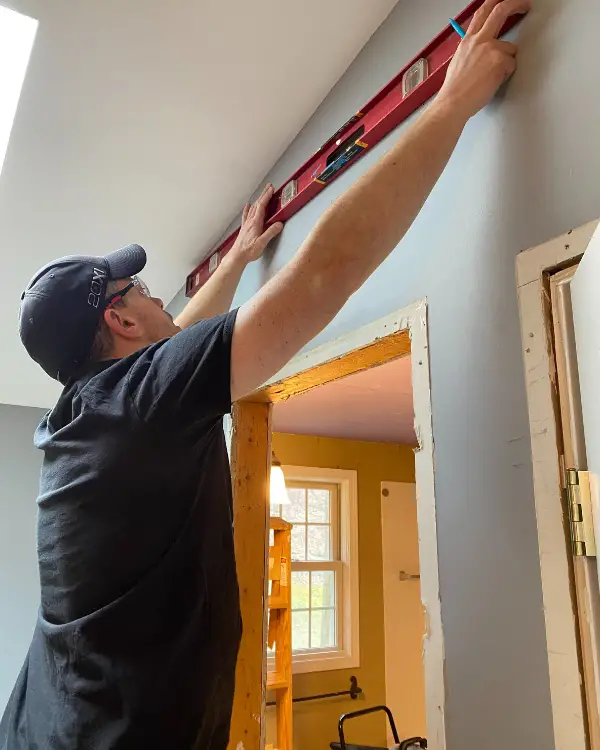
He measured out the 4’x8′ area using a tape measure, and used the level to ensure it was perfect. Next he used a utility knife to cut it out, running it along the level to make the lines straight.
Note that you will have to run the utility knife over the line several times until you go all the way through. You’ll have to switch your blade out fairly often as pieces of drywall sticks on the blade.
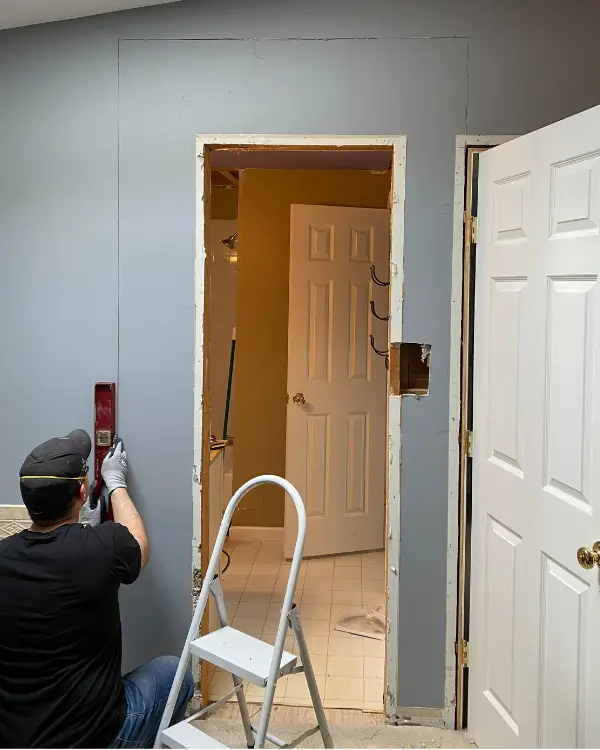
Then you can rip out and discard the pieces. Use the claw end of the hammer or the pry bar to remove nails used on the old drywall. You can use the impact driver to remove any screws.
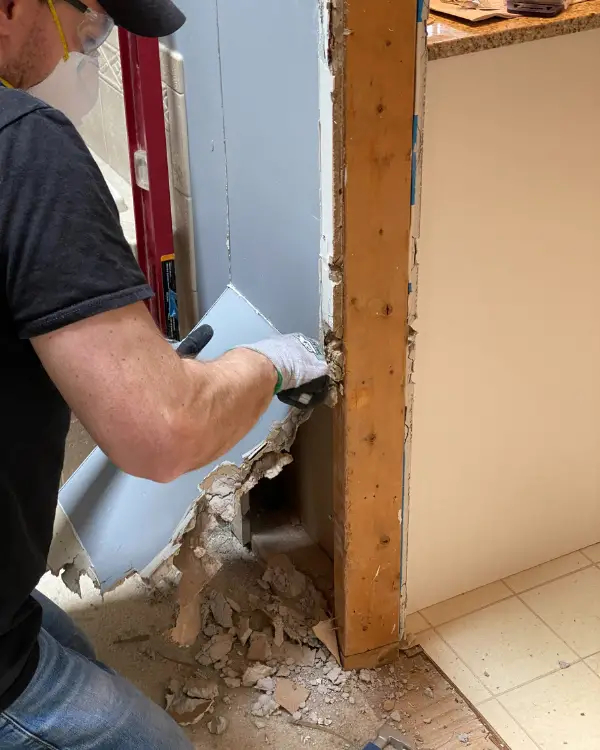
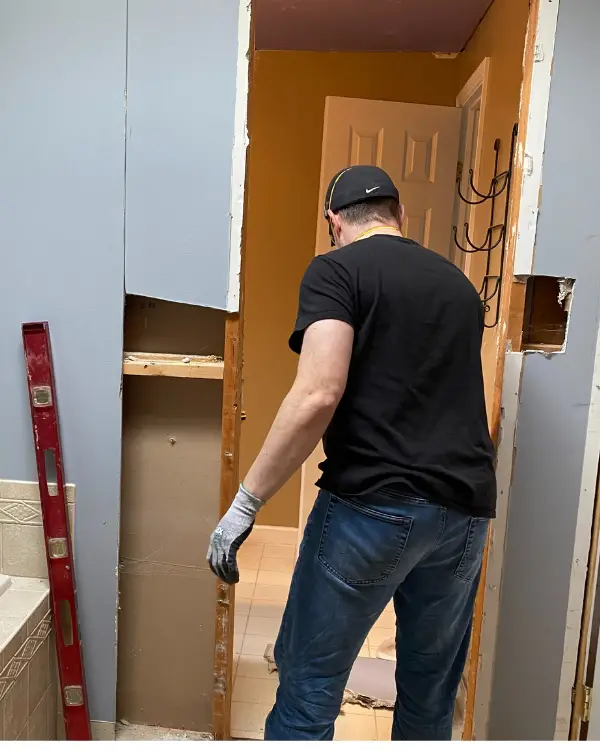
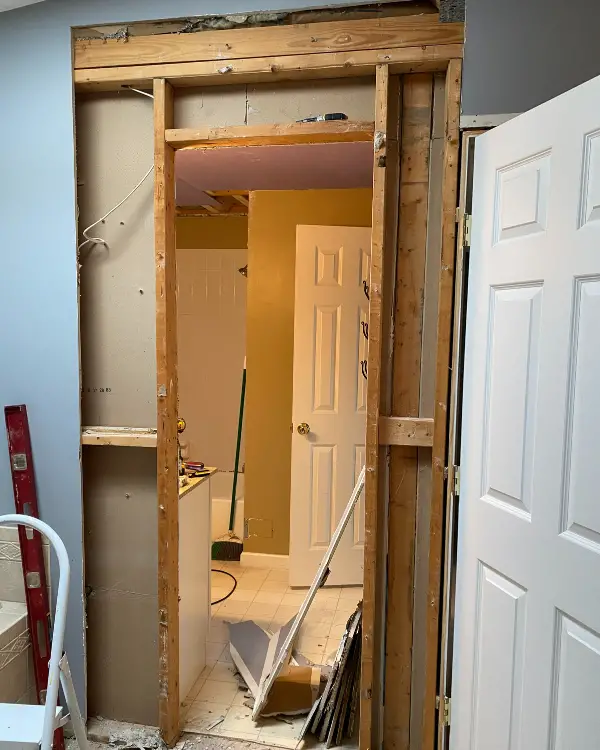
Create Framing
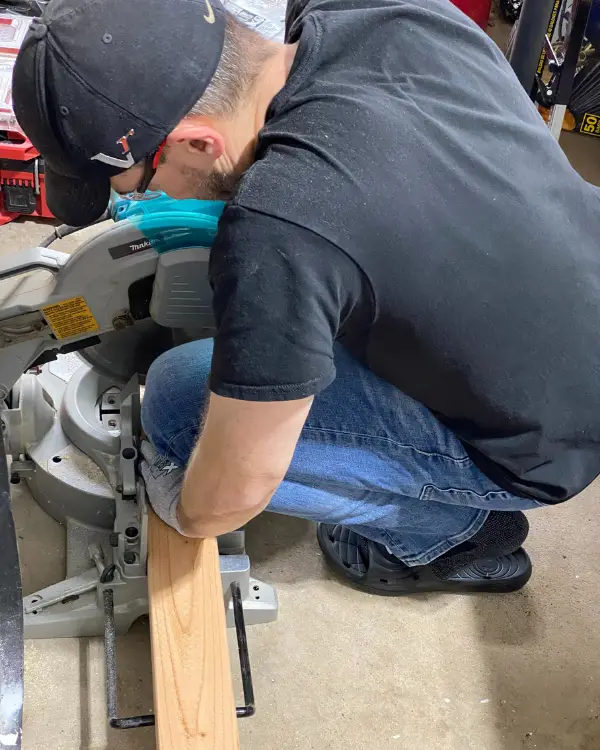
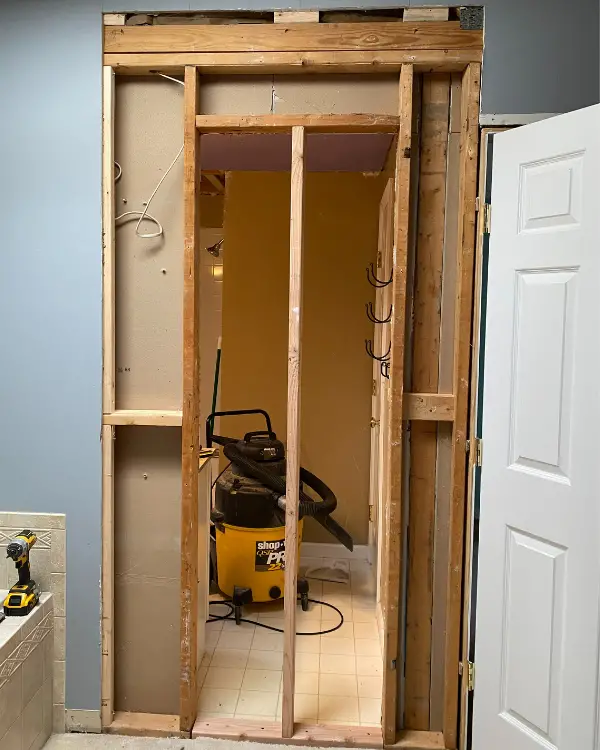
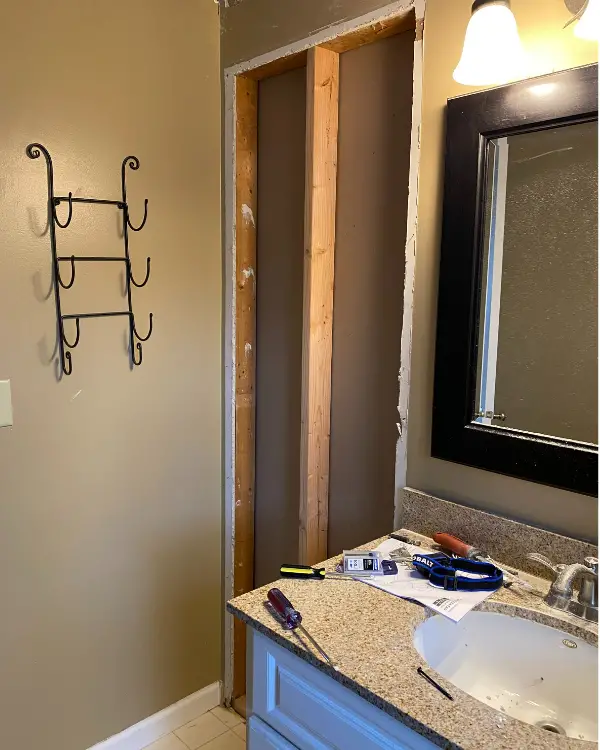
Next he cut 2×3 scrap boards using a miter saw to fit into the existing framing down the left side and at a couple of locations along the top. He attached them using the 3″ screws. This gives a secure mounting base for the edge of the drywall. Additionally, 2x4s were cut to size to fill in the gap in the framing along the floor from the doorway and secured to the subfloor using the 2 1/4″ drywall screws. Finally, a 2×4 was cut to size and added in the middle of the door frame and secured at the top and bottom using the 3″ screws.
Note that we used 2x4s because the existing framing in our home used 2x4s. If your home uses something different (some homes use 2x6s), you should match that.
Now it’s ready for the drywall!
Step 3: Install the Drywall
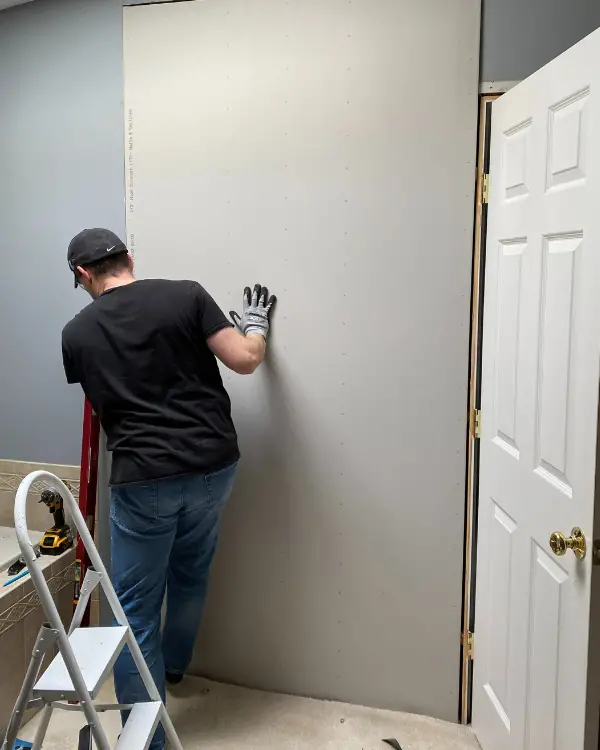

Drywall comes in different thicknesses, the most common being 1/2″ and 5/8″. Be sure to match the thickness of your existing wall with the new sheet (ours was 1/2″).
Because the opening was cut exactly 4’x8′ and the level was used to make sure it was a perfect rectangle, the drywall sheet fit like a glove. He used the 1 1/4″ screws to attach the drywall to the framing. Make sure you screw in not just the new drywall, but also secure the edges of the existing drywall to the new wood added. This will create a solid area for taping and mudding.
Step 4: Tape and Mud (to be continued)
Other Progress in the Bathroom in Week 2
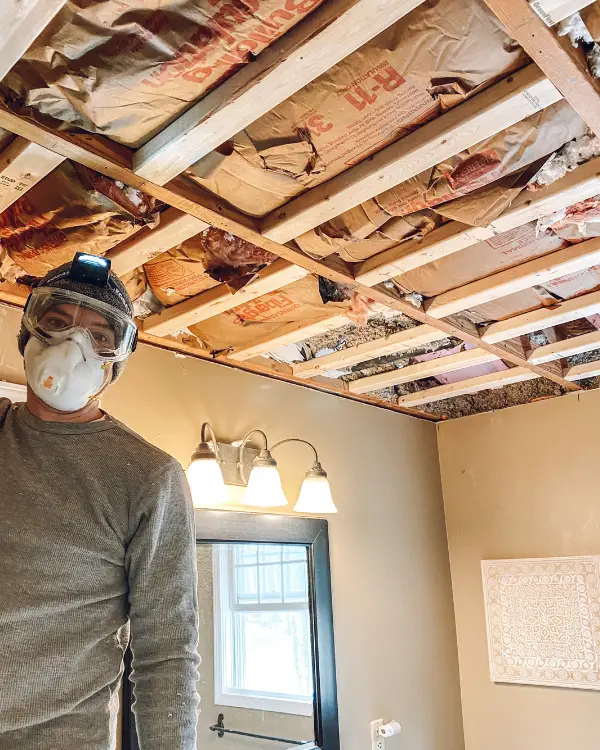
To recap, this was the bathroom ceiling last week. To install the new exhaust fan/light, first the ductwork had to be redone (it wasn’t installed correctly originally).
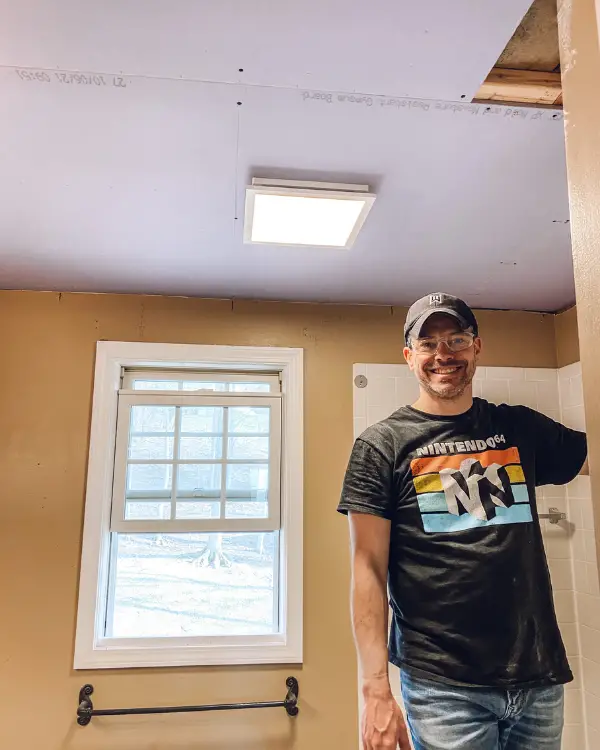
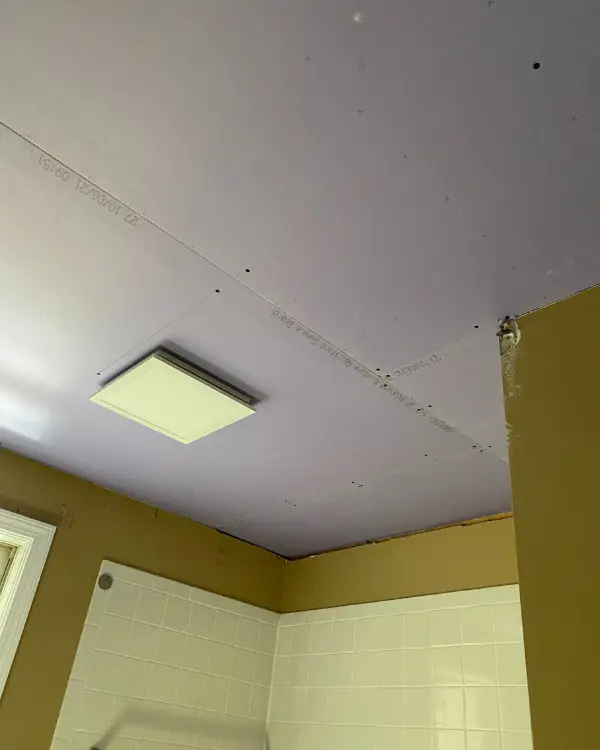
Happy to report that it is now installed as is the ceiling!
Up next week…Demo Day! Everything will be cleared out, and the plumber is coming to rough in the new plumbing and drop in the new tub.
Pin for Later
