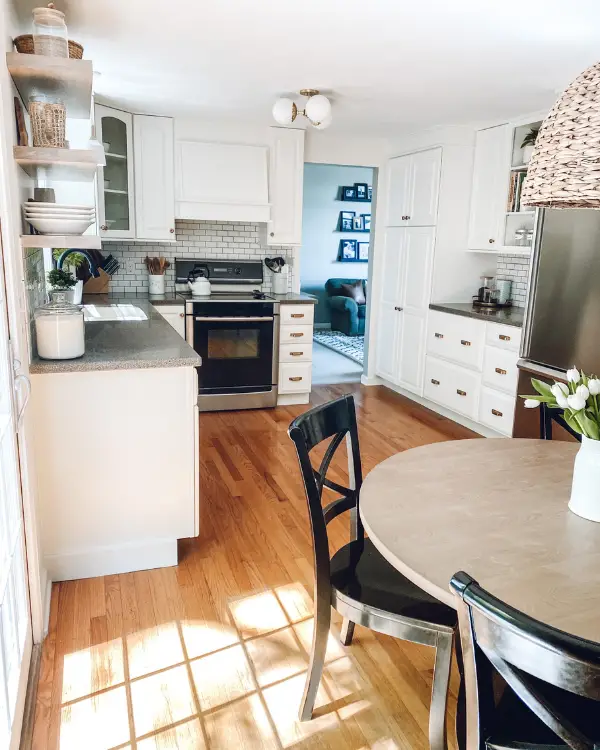
10 Simple Ways to Update a Kitchen
We have been living in this house for around 20 years. About 5 years in, we took out all the kitchen cabinets and replaced them. We also got new counters, a sink and all new appliances. Later we added a subway tile backsplash.
Fast forward about 15 years to the present, and the kitchen began to look like it needed some updates in my eyes. The cabinets were in great shape, but I was craving white instead of the natural brown wood. The lights were looking dated as well as the hardware. It certainly wasn’t going to need to be completely gutted, but it did need some changes. I think you will find that this is often the case with kitchens in a lot of homes. They often have good bones and just need some help being brought back to life. Sometimes it’s just hard to know where to begin. Follow along to see what we did! Here are 10 simple ways to update a kitchen.
(This post contains affiliate links. This means I receive a small compensation at no cost to you. For example, as an Amazon Associate I earn from qualifying purchases. You can read more about it here. Thank you for your support!)
1. Paint the Cabinets
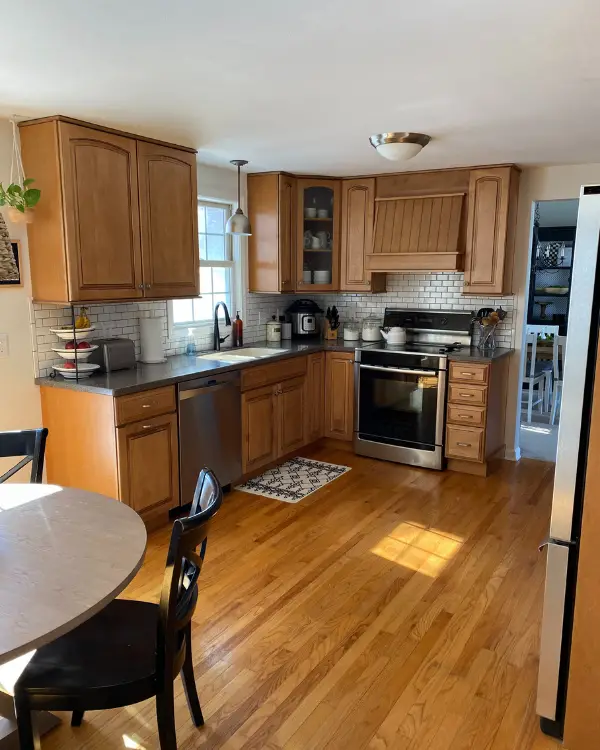
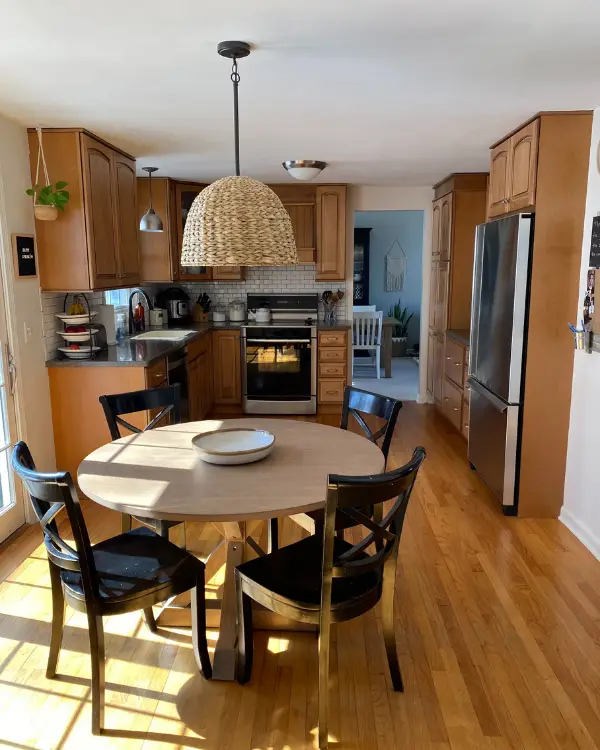
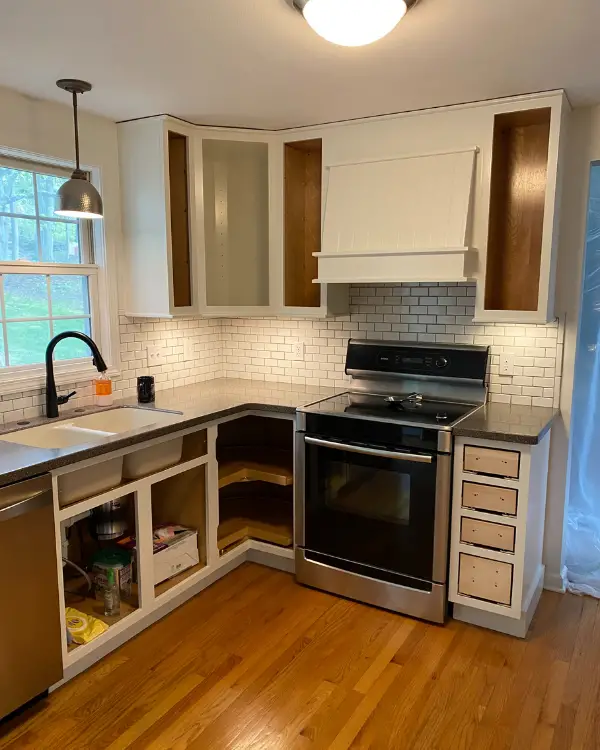
Out of everything on this list, this is the least “simple.” It’s not a small job, but it’s a lot easier and more inexpensive than tearing out the cabinets and replacing them! It is one of those times when the power of paint is truly amazing. You can paint them yourselves, or hire it out as we chose to do.
Here is our kitchen BEFORE:
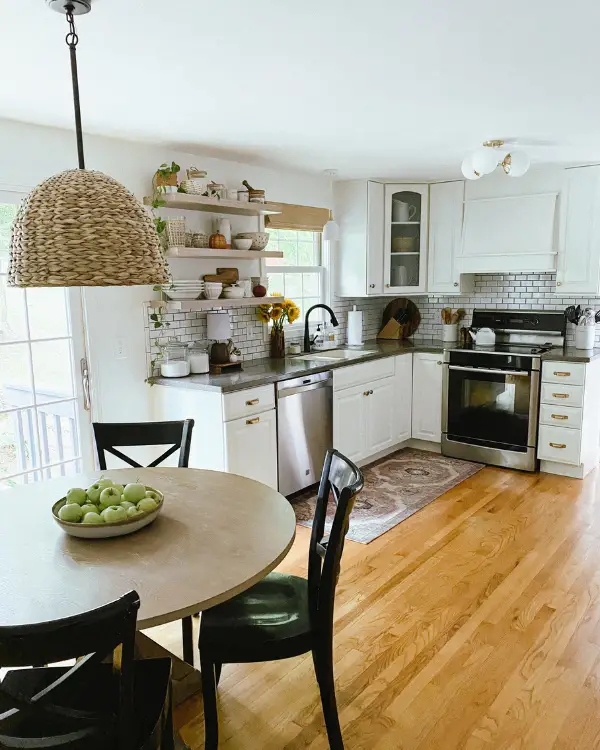
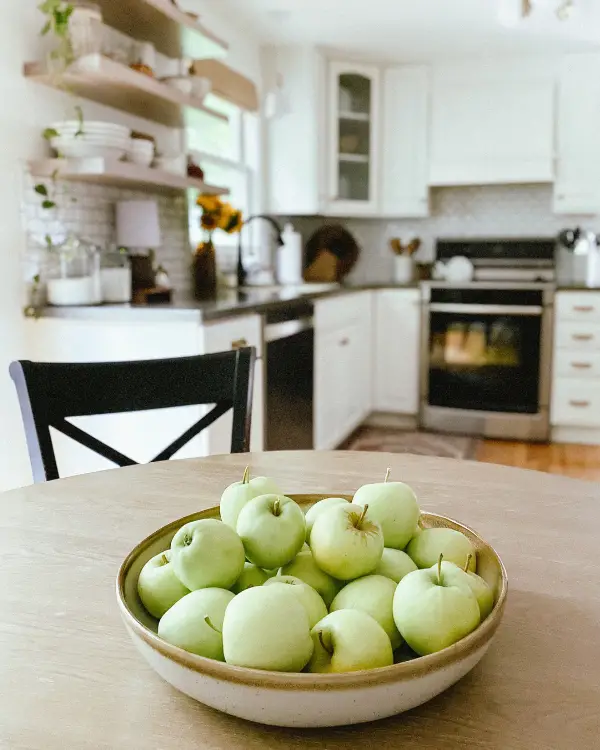
Here is our kitchen AFTER:
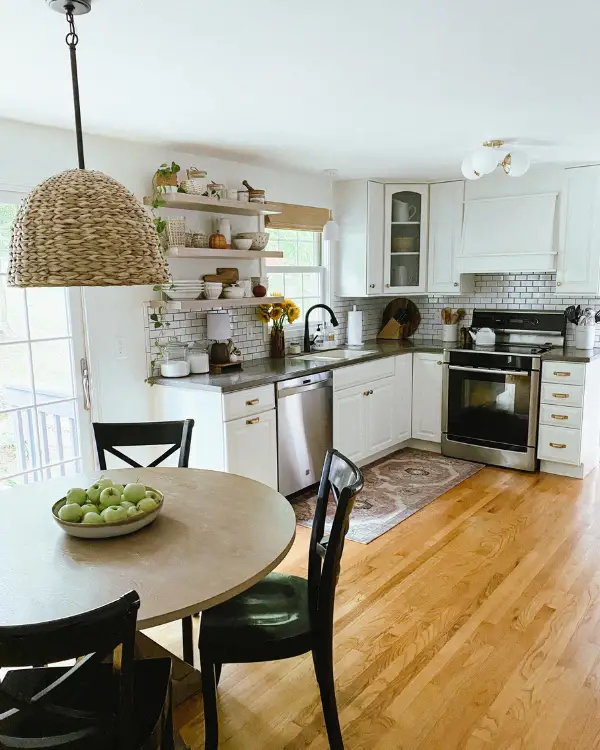
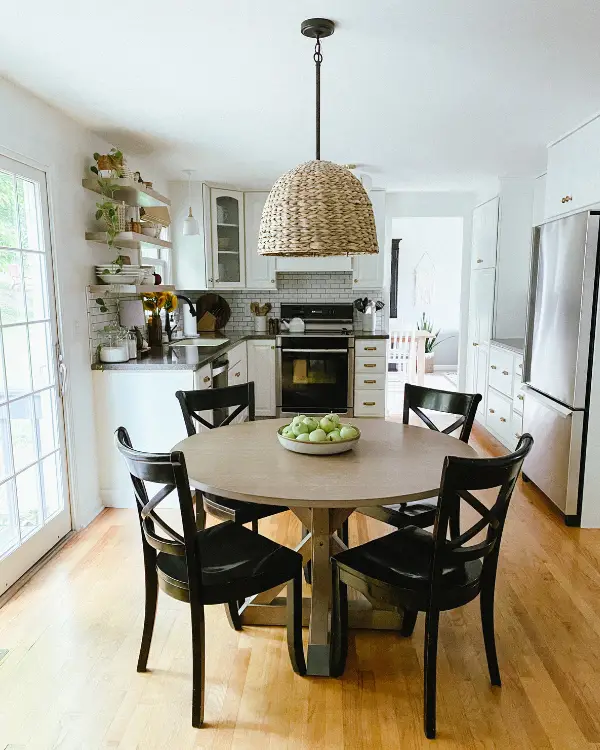

I am thrilled with the difference! The color is SW alabaster, my favorite white. You can find all my favorite paint colors here: https://lizzydesignsblog.com/my-favorite-paint-colors-sherwin-williams/
We chose to have them professionally painted.
Tip: To cut cost, we removed the doors/drawer fronts and put them back ourselves, something we worked out with our painter. They were taken back to the shop and returned ready to reinstall!
2. Add Open Shelving
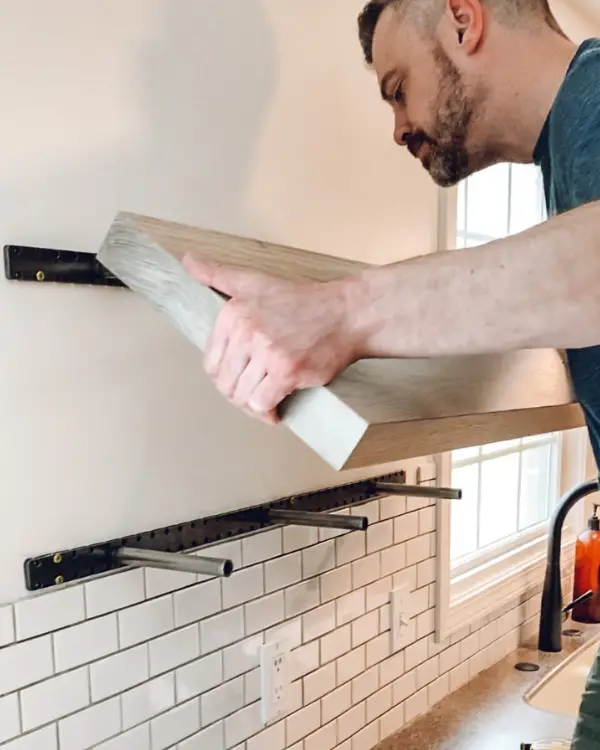
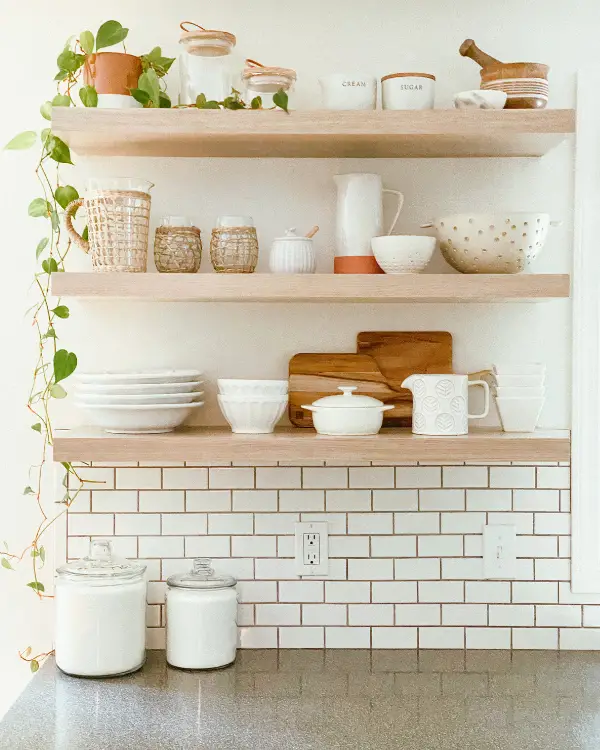
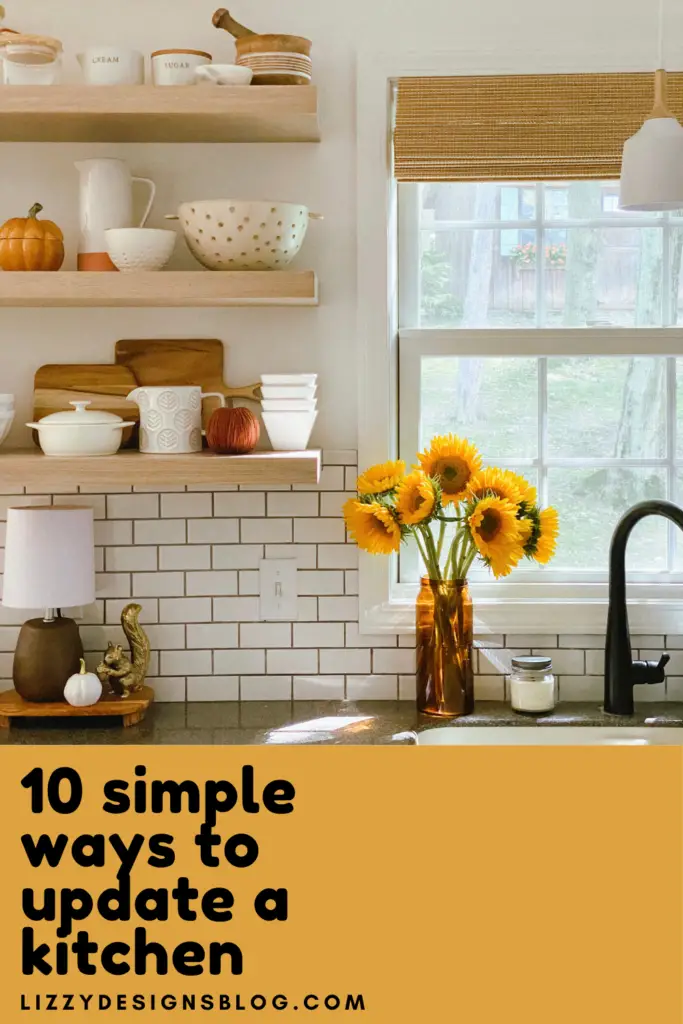
This was super transformative, adding so much style to the kitchen! It really updated it profoundly, and I highly recommend it. You can see the entire process here: https://lizzydesignsblog.com/kitchen-remodel-how-to-hang-floating-shelves/.
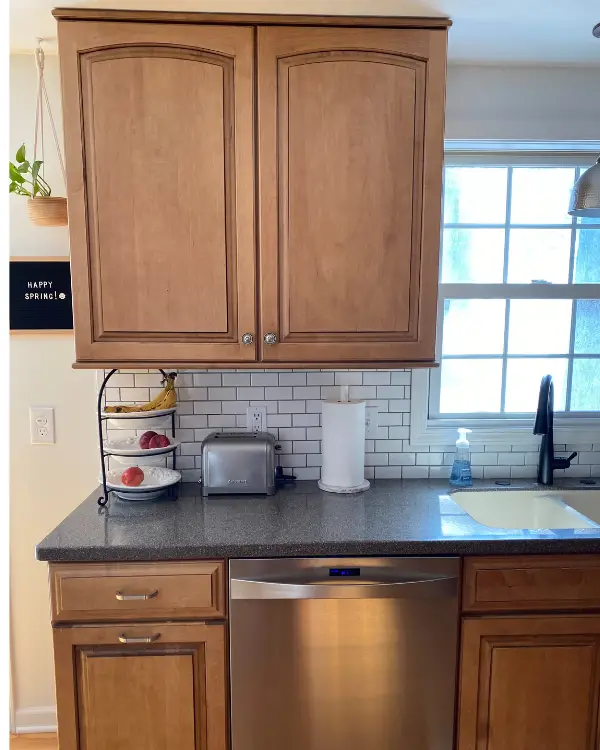
Originally we had a cabinet to the left of the window where the open shelves now are.
BEFORE:
AFTER:
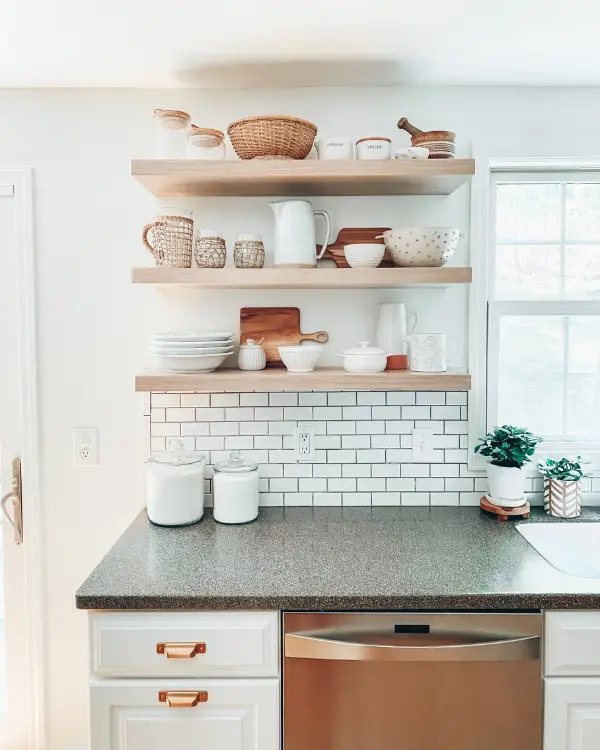
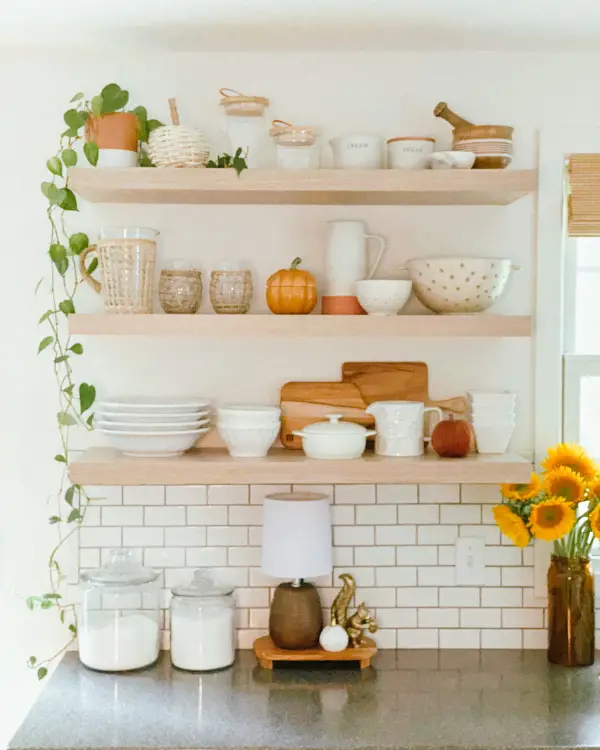
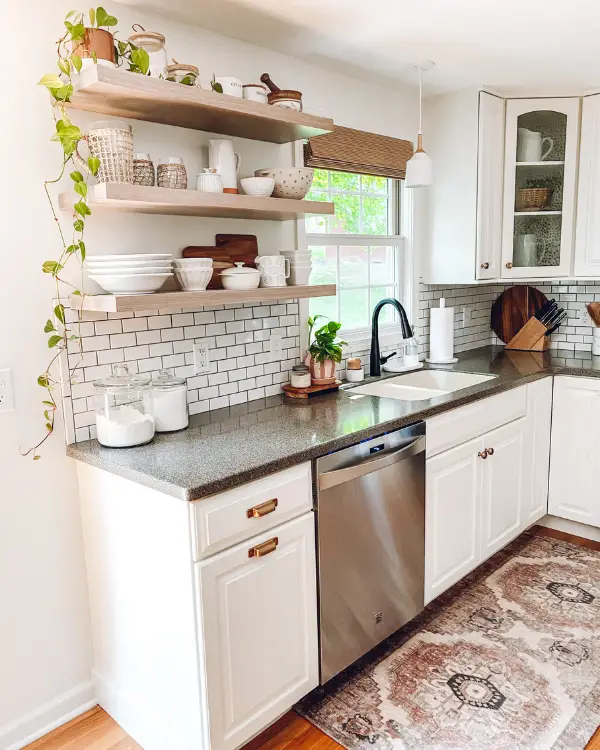
The shelves we used are from Ultra Shelf. They make them in a way that is easy to install, and they’re beautiful! Again, you can follow along in the following post to learn more about the shelves, including links and a discount code: https://lizzydesignsblog.com/kitchen-remodel-how-to-hang-floating-shelves/.
3. Change the Light Fixtures
Sometimes overlooked, the right light fixtures can add so much to the kitchen! Here, the new pendant light over the sink, the new ceiling light and the rattan light over the table each add character and catch your eye.
Tip: Be careful when choosing a light fixture to always look at the measurements to see if it would work in your space!
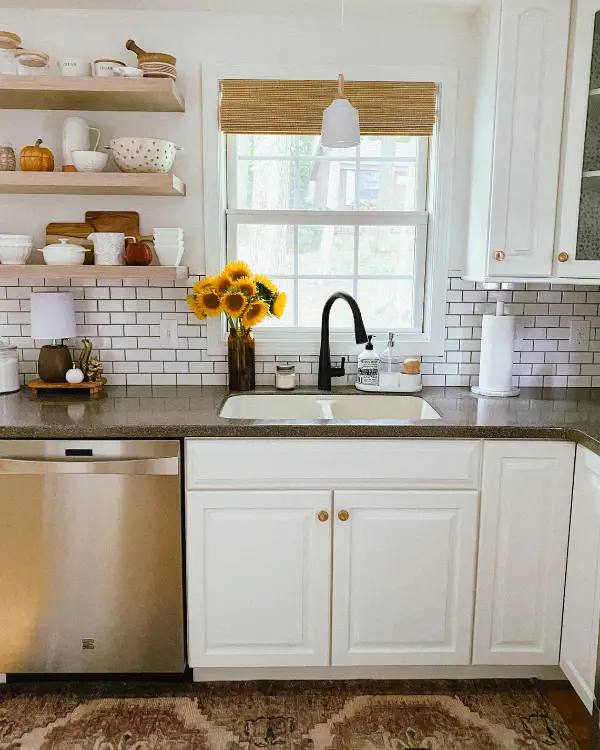
Before settling on the lights that I did, here are some others that I considered. You can find the links below:
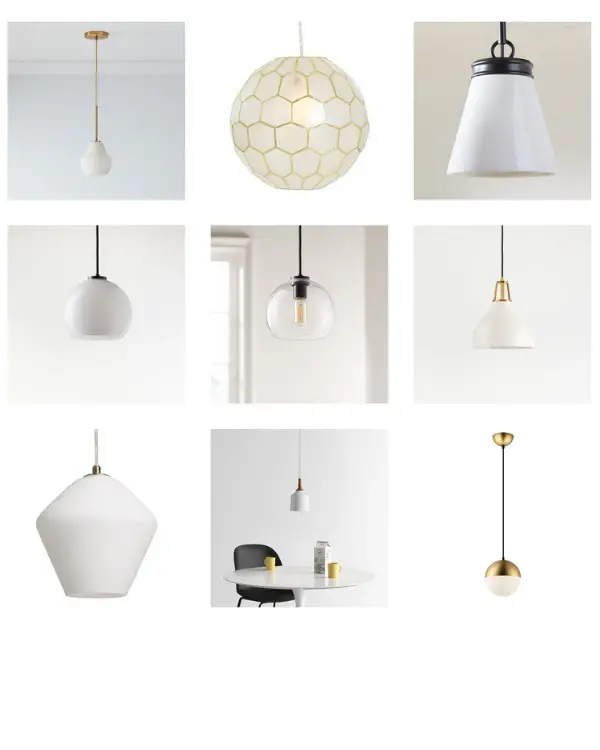
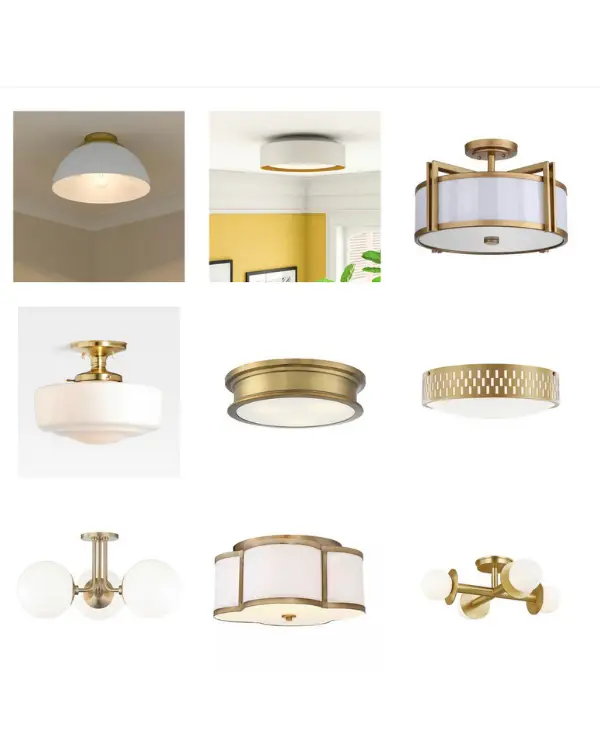
Light Fixture Links:
4. Change Out the Hardware
Hardware may seem like a small thing, but it is really the cherry on top! I love the hardware that I have in the kitchen now.
I debated between doing black or gold, and I went with this “champagne bronze.”
Originally I fell in love with hardware from Pottery Barn, but I was so happy to find this similar option for a fraction of the price!
Pictured above is what we went with (from Home Depot online), and below is from Pottery Barn.
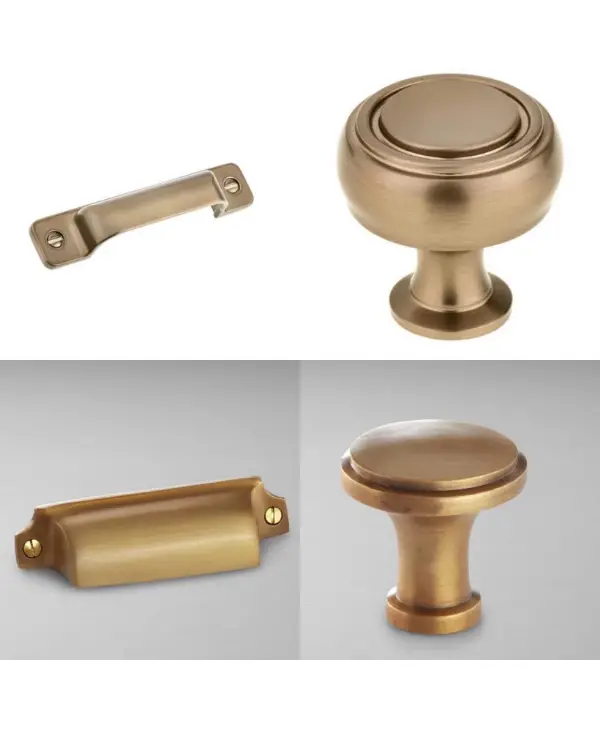

Hardware Links:
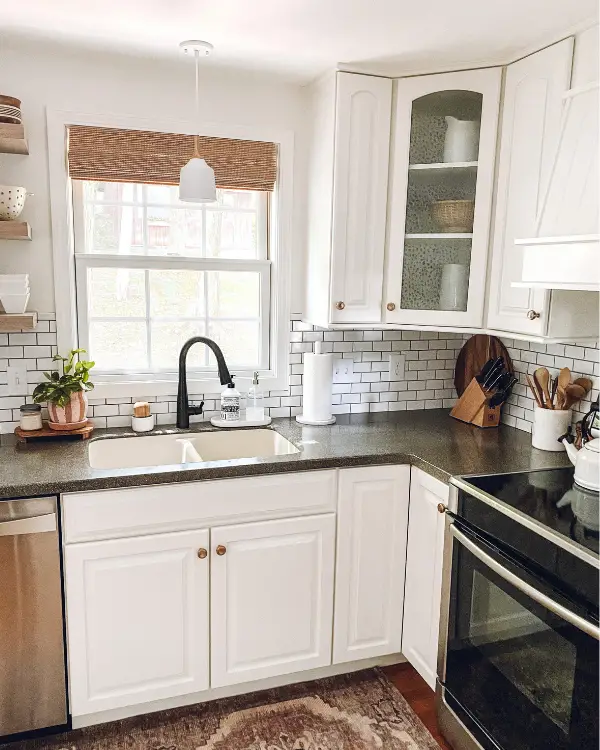
5. Add Bamboo Shades
Doing this really complimented the wood tones in the kitchen, but it also made the kitchen look more finished off and complete.
Bamboo Shades Link:
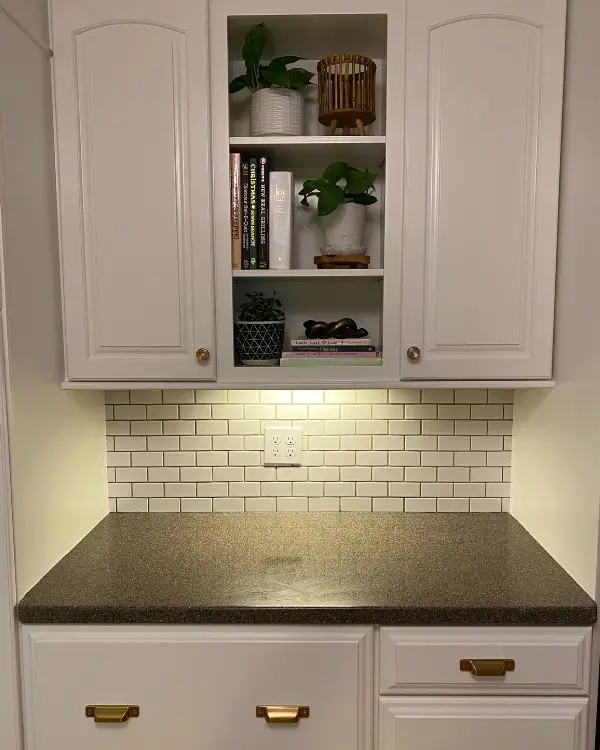
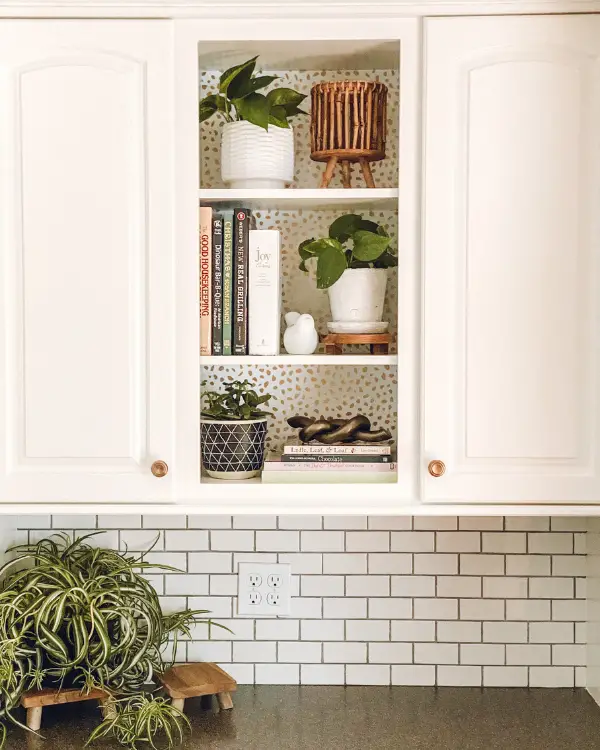
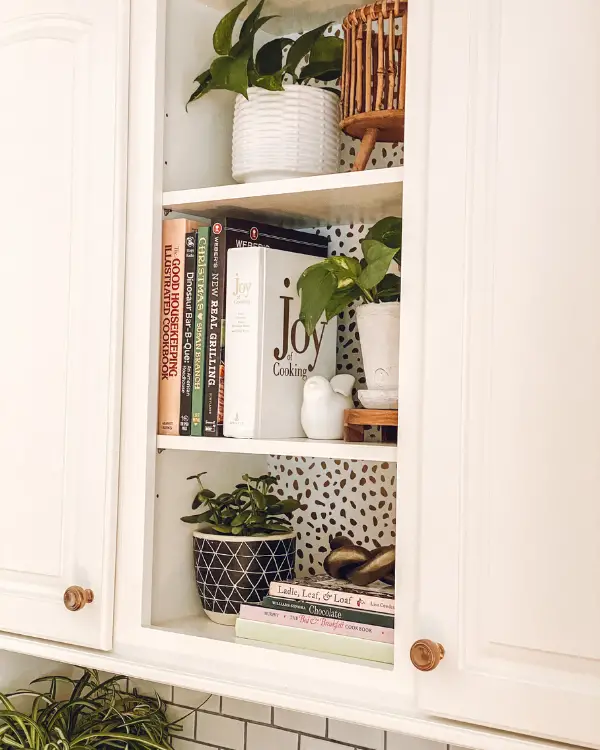
6. Add Some Wallpaper
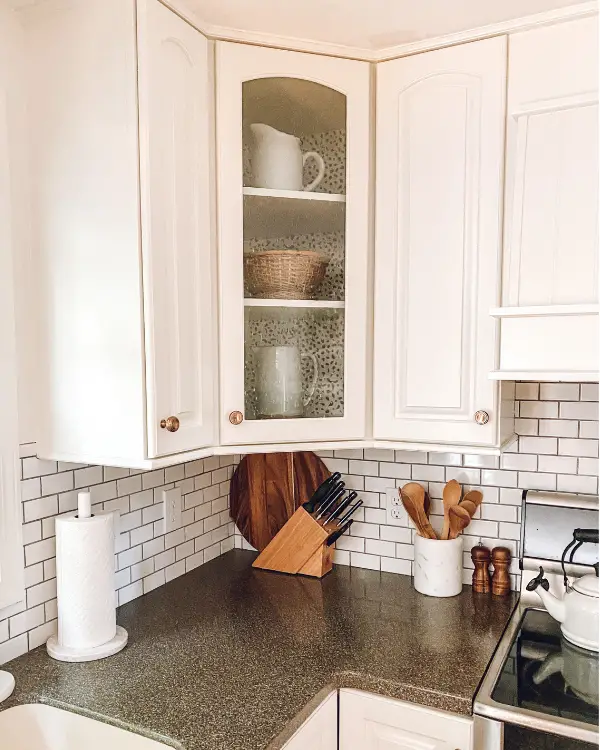
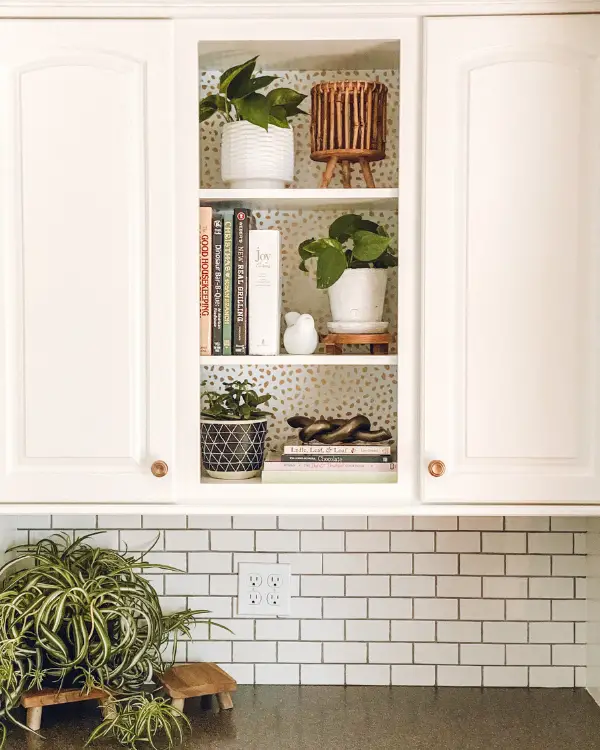
After adding peel and stick wallpaper to the back of my china cabinet in the dining room (read about that here: https://lizzydesignsblog.com/china-cabinet-makeover-11/), I became a little addicted. It’s just such a fun way to add pattern and interest. It’s a simple way to update a kitchen!
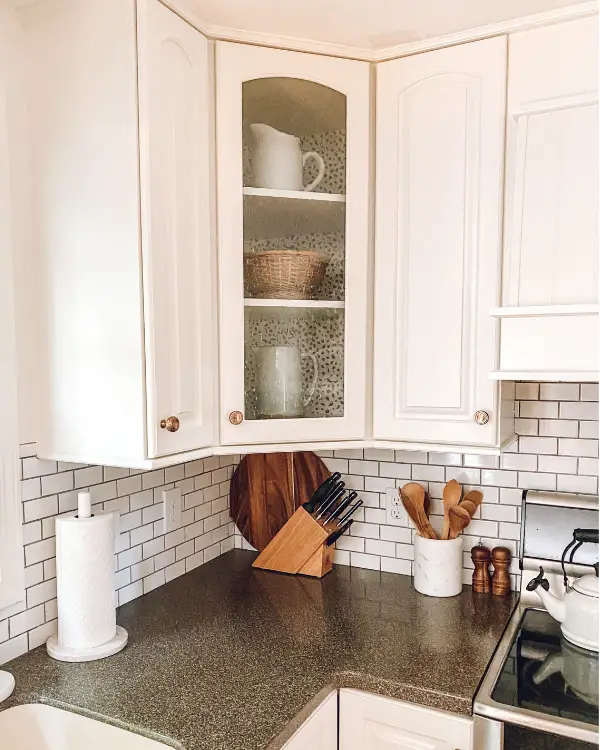
I found this wallpaper at Target, and decided to put it behind the small section of shelves between two cabinets as well as in the corner cabinet that has a glass door.
Wallpaper Link:
BEFORE:
AFTER:
7. Add a Rug
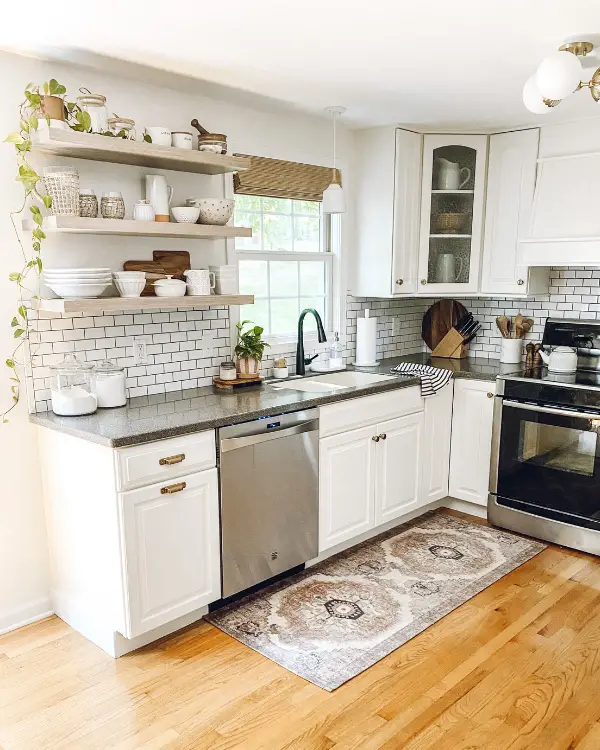
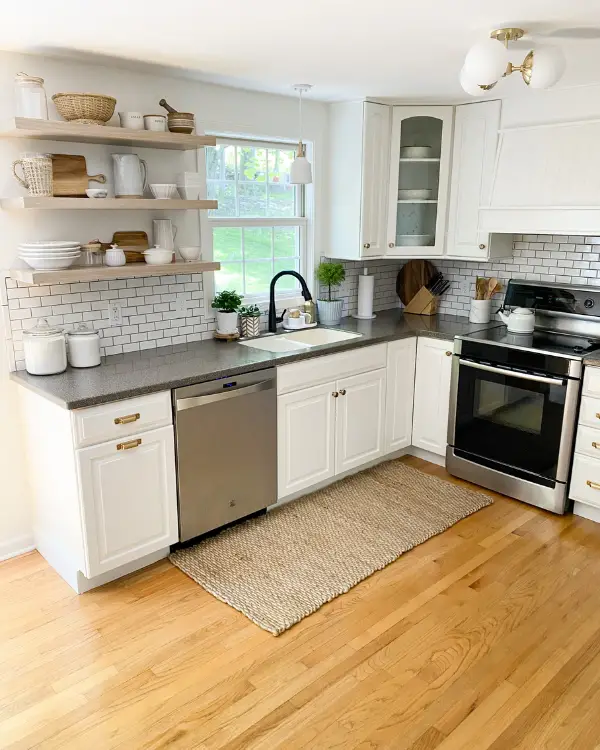
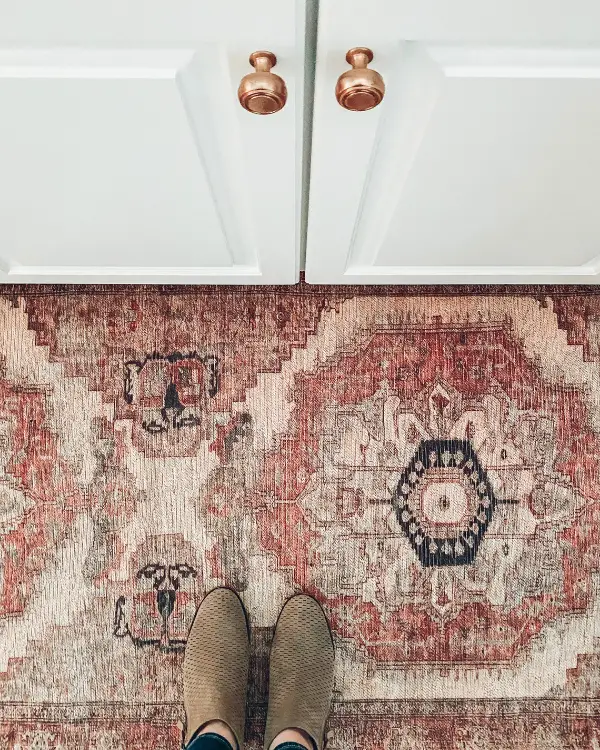
Another simple way to update a kitchen is to add a rug. I used to just put a small rug in front of the sink. This time I opted for a runner. I love the impact it makes!
Here are two different runner looks:
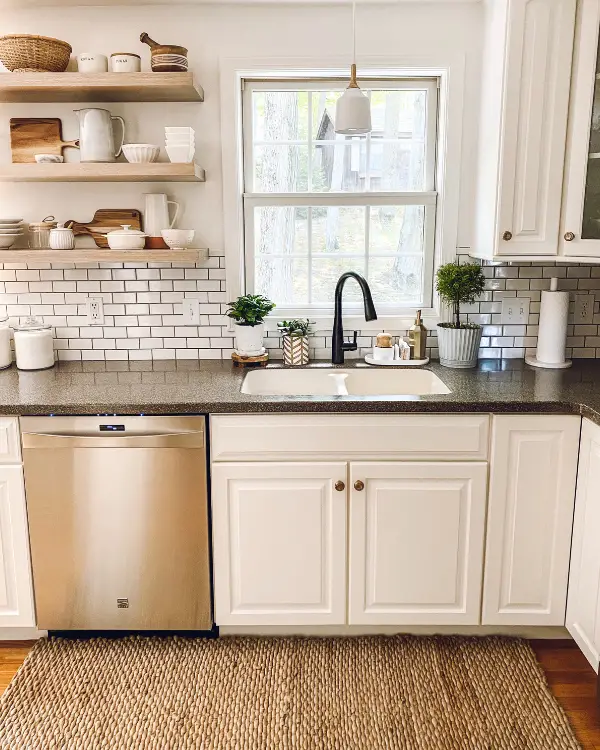
Rug Links:
8. Add Under Cabinet Lights or Lamps
We already had under cabinet lights, and I highly recommend them. However, when we took down the cabinet and replaced it with shelves the light went with it. We may eventually add some there, but in the meantime I added a cute little lamp. It adds a nice ambience on its own!
Tip: To hide the wire, putting the lamp on a riser works great. The excess wire slides under and can’t be seen!
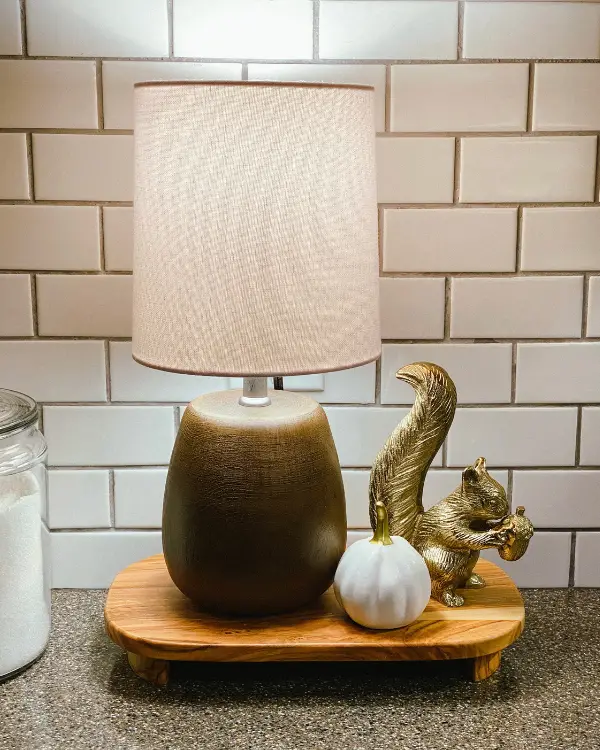
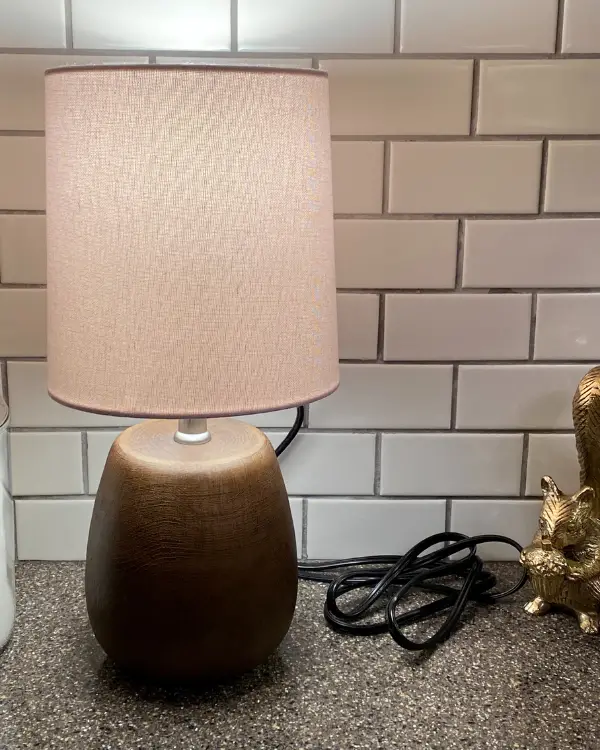
Lamp and Riser links:
9. Get Rid of Clutter
Before having the cabinets painted, I decided to empty out everything. That way I could look through it all and get rid of things I wasn’t using anymore or didn’t need. This made it easier to be able to get rid of that one cabinet and the hidden storage that I lost with it. I also was able to clear off some counter space. I can even now fit the toaster in one of the drawers! Having the counters less cluttered just looks better, plain and simple.
10. Accessorize
This is the fun part! With having open shelves for one, there are lots of possibilities of items to display. I love pitchers, pretty canisters, cutting boards, different styles of bowls, cream and sugar bowls, mortar and pestals, baskets, cookbooks, and plants of course!
On the counter, I decided to have two utensil holders this time, one for only wooden spoons and another for the rest. I’m loving this look!
By the sink and window, I love having a plant or fresh flowers in a vase, a candle, and a tray for soaps and a scrub brush.
These are just some ideas for accessorizing the kitchen, small and simple ways to update the kitchen.
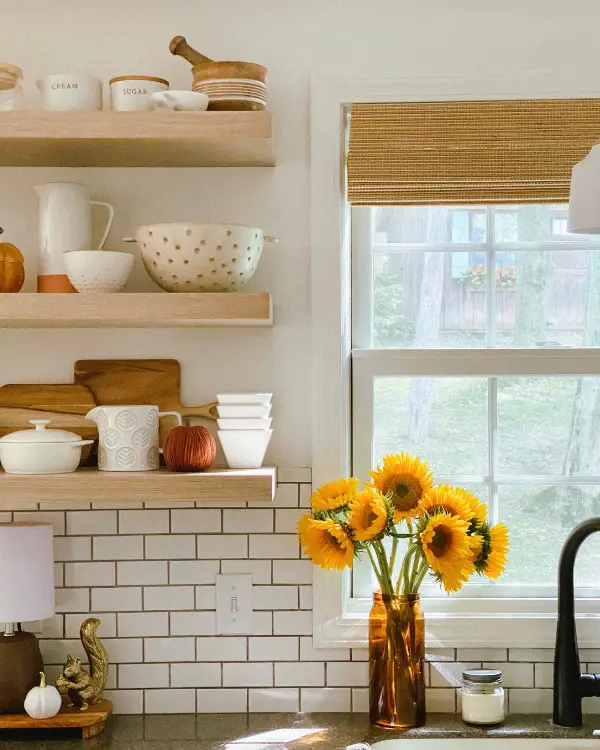
Accessory Links:
Pin for Later


12 Comments
Kelsey
These tips are so helpful! Our kitchen was so dated when we moved in, so I can’t wait to implement some of these ideas!
Liz
I’m so glad you found it helpful!
Betsy
These were great photos and your kitchen looks beautiful! I also painted and framed my cabinets last year as well as added hardware and it looks brand new!
Liz
Thank you! It’s amazing what just those changes can do!
Ashley
I love these updates! Easy to do and such a dramatic change. I’m really loving those kitchen rugs.
Liz
Thanks so much! It’s surprising how much a cute rug adds!
Allie
This is great. I cannot believe the transformation. You truly are talented and have a great eye for design. Thanks for all your lovely tips.
Liz
That means a lot, thank you!!
shenaede
love this kitchen! I moved into an old kitchen just this year and have painted it and changed the cupboard handles, major difference! I love the open shelving idea, that might be my next project!
Liz
Thank you! Oh, that’s awesome. I highly recommend doing shelves, I’m so happy with them!
Ada
I love this kitchen remodel! The open shelves are so beautiful. Thank you for sharing these great tips!
Liz
Thanks so much!