
DIY Beaded Letter Gift Tags
It’s the Christmas season, and along with it comes all the gift shopping and wrapping. Wrapping gifts can be an art form on its own, and it can be fun to get creative and add some personal touches. One way to do that is with gift tags. I love giving and receiving gifts where the gift tag can be used as an ornament as well. It’s like receiving two gifts in one! These DIY beaded letter gift tags are just like that and fun to make, too.
(This post contains affiliate links. This means I receive a small compensation at no cost to you. For example, as an Amazon Associate I earn from qualifying purchases. You can read more about it here. Thank you for your support!)
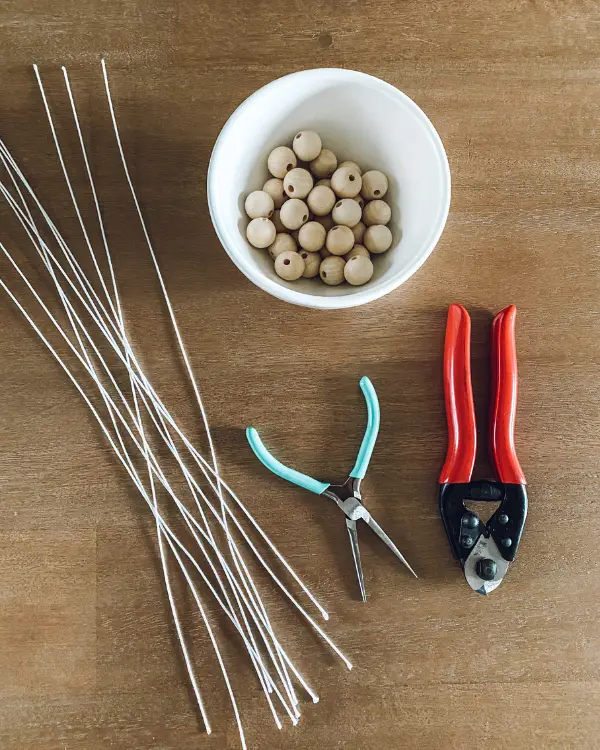
Materials
- floral wire- I like to use the white since it’s not as noticeable with the wooden beads. Also, 18 gauge seems strong enough to hold the shape but still easy enough to maneuver. These are also 18 inches.
- wooden beads- I used 20 mm, but 16 mm would work or even smaller if desired. I don’t think larger ones would work as well.
- wire cutters- These are my favorite! (linked below)
- needle nose pliers- Sometimes you’ll find you can just use your fingers, but other times they really come in handy!
- glue gun- This is only needed for some of the more complicated letters.
- twine or string for hanging
Instructions

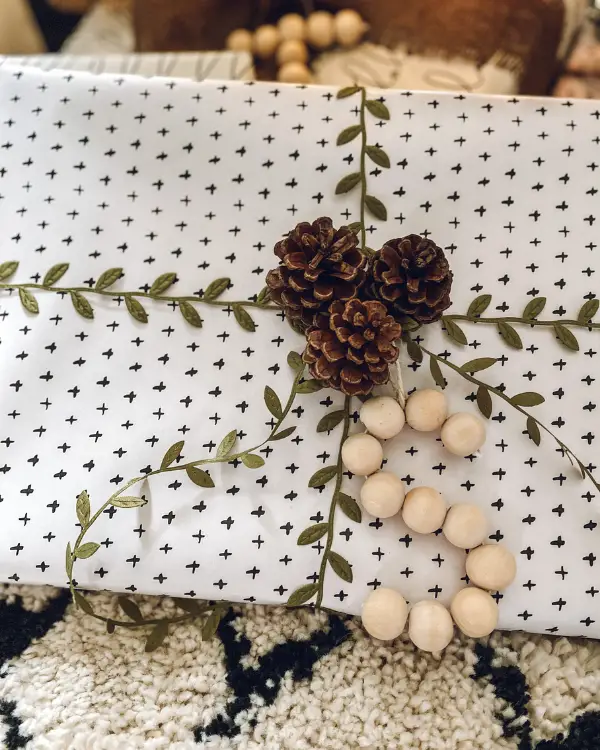
- Decide on what letters you are going to need for your gift tags. Keep in mind that some letters are easier to make than others! Some you can just make one straight line of beads and then bend and shape into your letter like C, I, J, S, and so on. The others may involve some straight lines and some loose beads that need to be attached with hot glue. See the examples of M and T below before they were glued to completion.
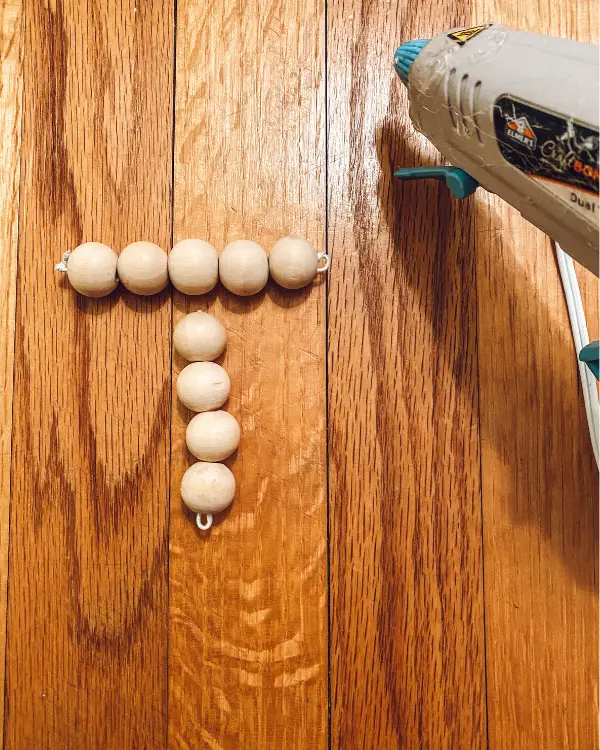
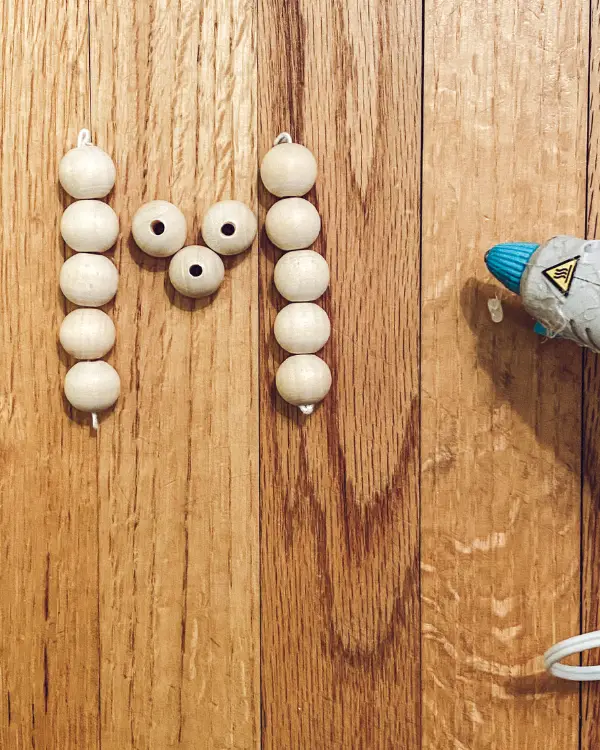


To help with the mapping of the beads to create the more complicated letters, use the chart below as a guide.
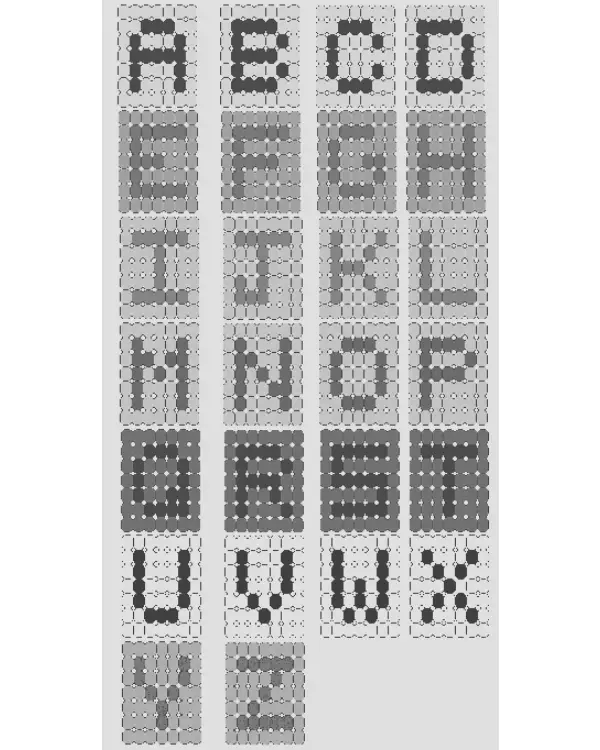
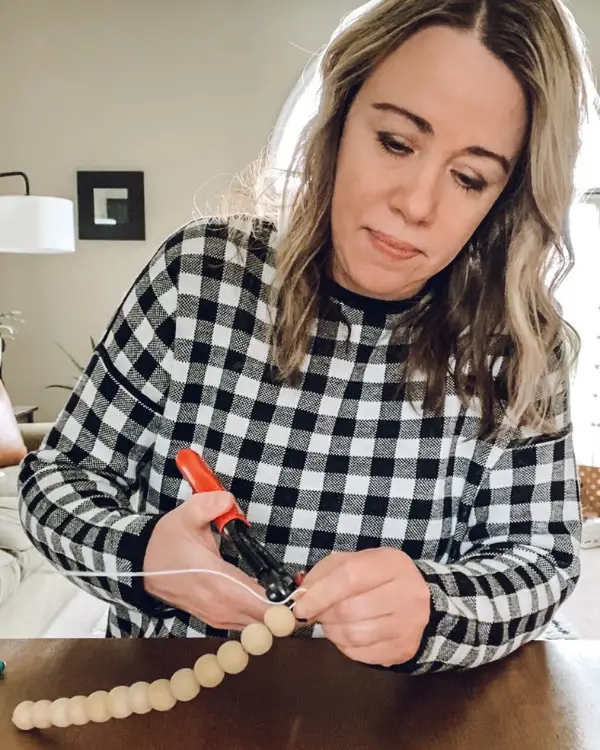
2. To start, take your floral wire and bend the tip down. Use your fingers or the needle nose pliers. Then add your beads. Use the chart to help you figure out how many you need, or bend it into the letter you need to judge as you go. When finished, start to bend the tip down like you did at first. Cut off the excess and bend the tip all the way down.

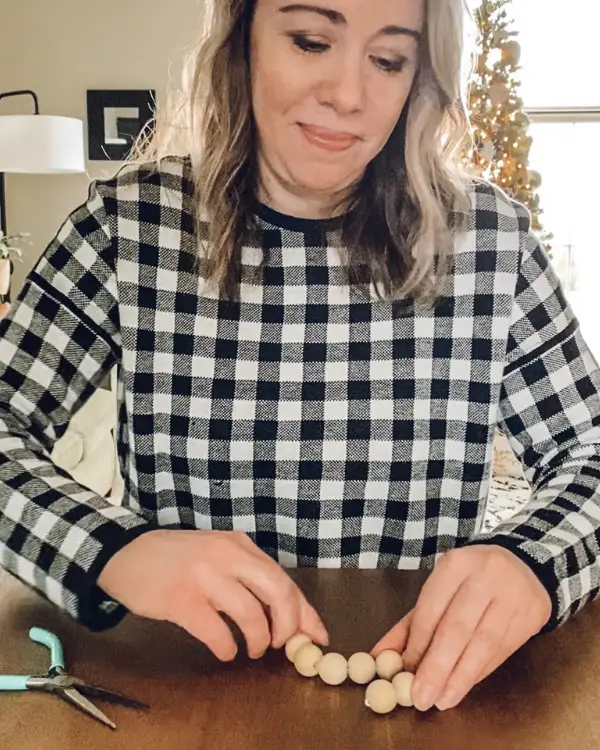
3. Shape it into the letter or refer to the chart and create all the pieces you need and then glue them together accordingly.
4. Add some string or twine for hanging on the gift/tree.



So festive and fun! Merry Christmas! 🙂


10 Comments
Brittany
These are adorable! I love how they can be used as ornaments too! Your gift wrapping is serious GOALS!
Liz
Thanks so much!
Jana Morris
I love it! Great tutorial- inspiring and easy to do! Thank you!
Liz
So glad you like it!
Kim
I love this idea! What a perfect to personalize gifts and add that handmade touch.. Your photography is beautiful! I really enjoyed reading your post!
Liz
Really appreciate that, thank you!!
megan
I love this idea so much. It’s beautiful, versatile and eco-friendly!
Liz
I’m so glad you like it! Merry Christmas!
Adrienne
LOVE this idea so much that I’m going to use it with my kiddos teacher gifts this year! What do you think about including a quick note that lets them know the tag can actually be used as an ornament?
Liz
Oh I love that! Yes, adding a little note about it sounds great!