DIY Banner
This cute banner is just the perfect little something to add to a wreath, basket, frame, a gift or anywhere you want to add a little message. Here’s how you make this DIY banner. It’s so easy!
(This post contains affiliate links. This means I receive a small compensation at no cost to you. For example, as an Amazon Associate I earn from qualifying purchases. You can read more about it here. Thank you for your support!)
How do I make a burlap banner?
Materials
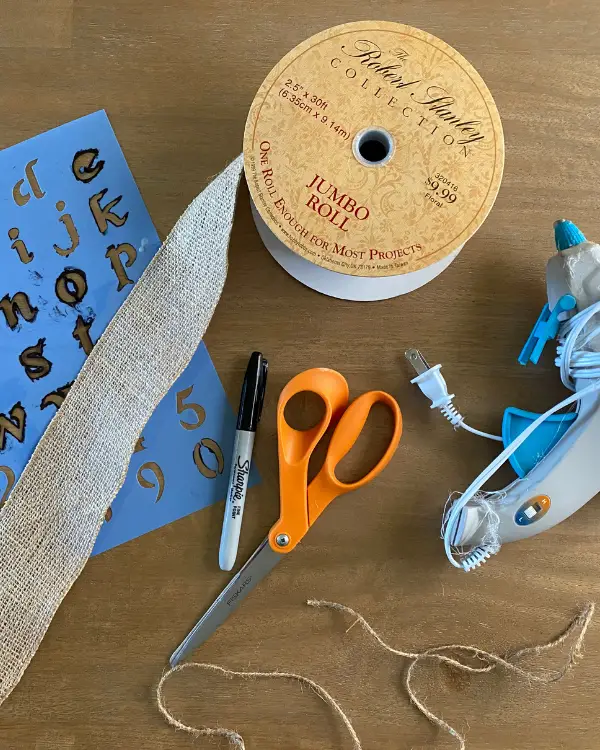
- burlap ribbon (I used this one from Hobby Lobby: https://www.hobbylobby.com/Floral-Wedding/Ribbon/Natural-Burlap-Wired-Edge-Ribbon—2-1-2/p/95132) You can use regular burlap, but I use ribbon because it doesn’t fray like actual burlap does when cut.
- twine
- scissors
- Sharpie marker
- glue gun
- letter stencils (I used one similar to this one from Hobby Lobby: https://www.hobbylobby.com/Crafts-Hobbies/Stencils-Craft-Paints/Stenciling/Script-Lowercase-Letter-Alphabet-Stencil—1%22/p/80983279)
Instructions
- Cut a piece of ribbon twice as big as the size you want your triangle to be. Fold it in half. Cutting against the fold, cut a triangle.
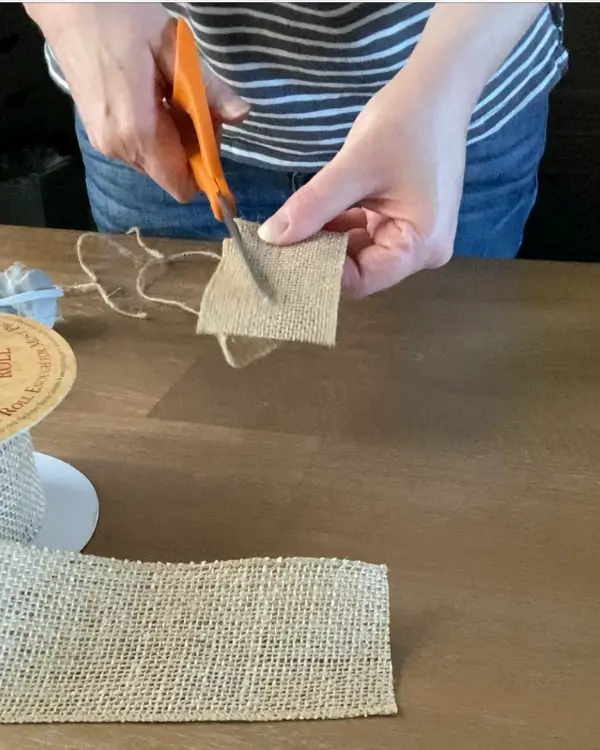
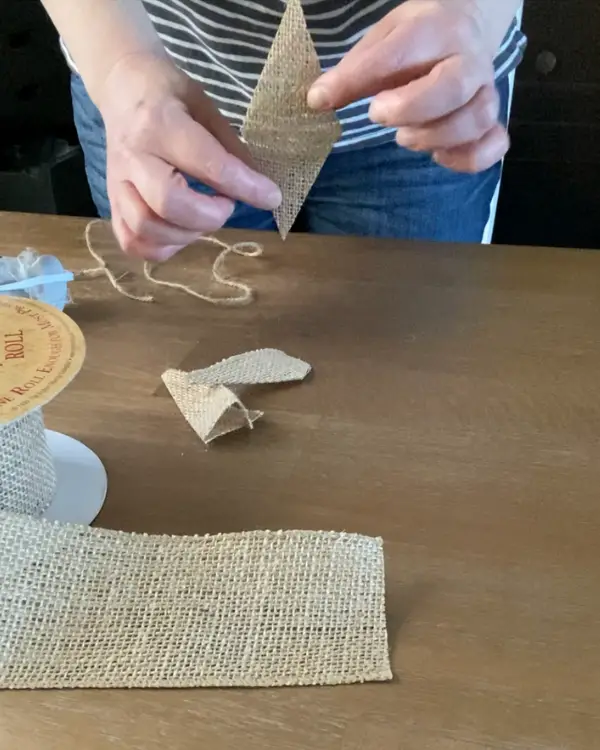
2. Now you have a diamond that you can use as a template to cut out the rest. Cut out as many diamonds as you need to spell out the word(s) for your DIY banner.

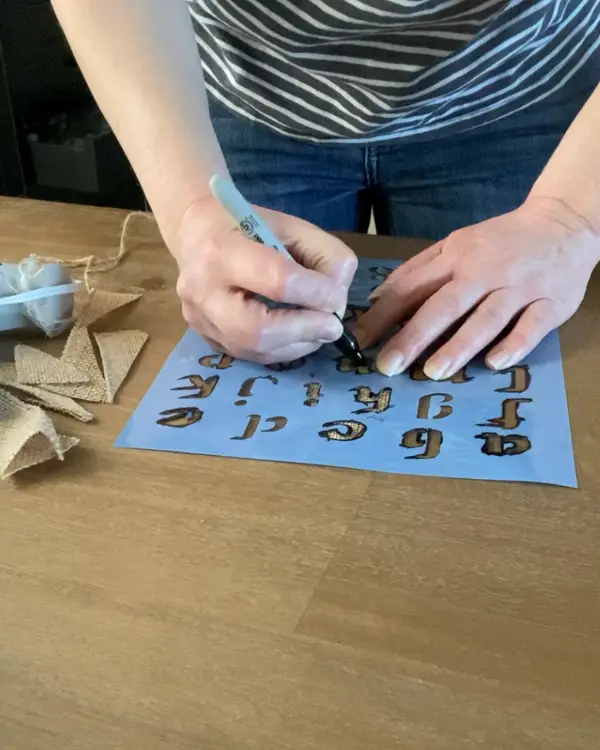
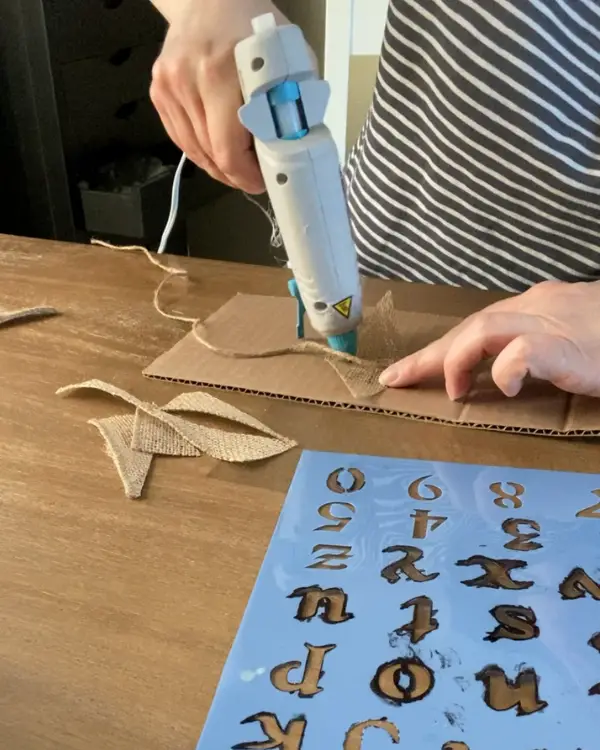
3. Take your first diamond and lay it down. Place the stencil on the bottom triangle and fill it in with the Sharpie. Make sure to hold it well in place the whole time.
4. Cut a piece of twine long enough to fit your banner, and make sure to leave extra on the ends for tying. Extra is best, you can always trim it off later!
5. Lay out your first diamond and place the twine in the fold. Using a glue gun, put glue around the edge of the bottom triangle. Fold the top triangle down and press down around the edges. making sure the twine is in the fold.

6. Continue until your entire message is complete.
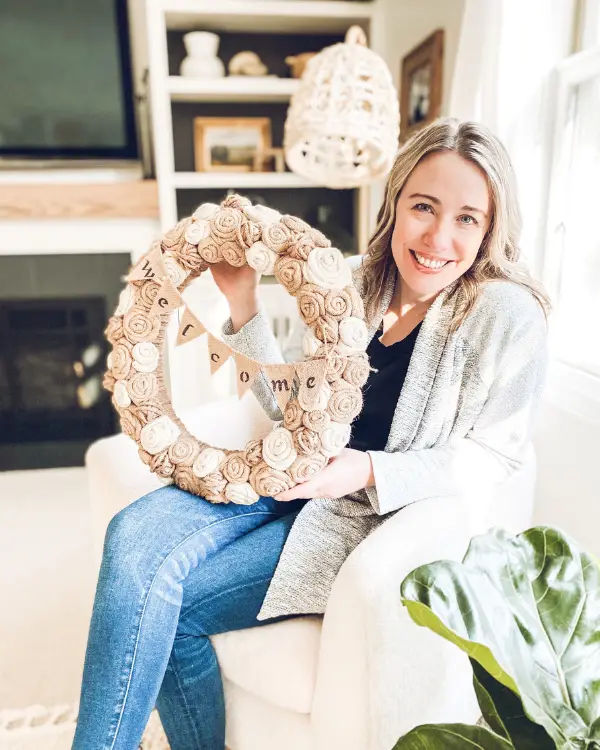
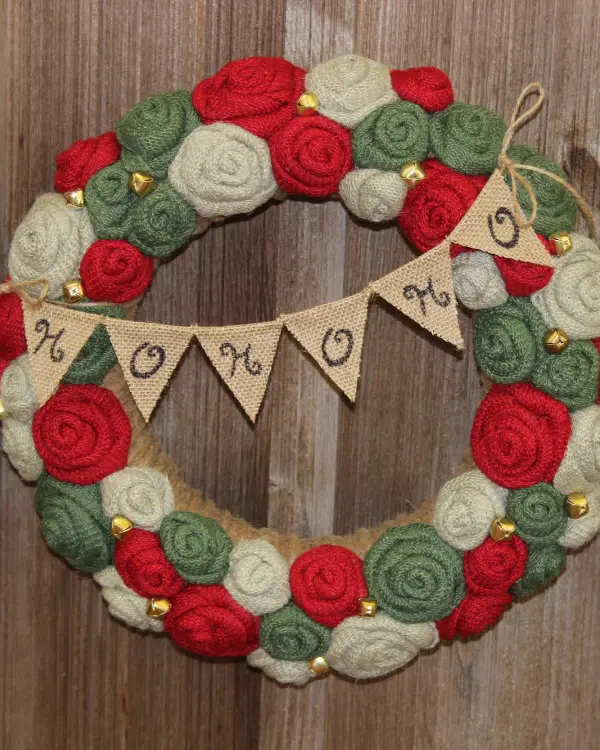
One way to use this DIY banner is on a wreath! When I had an Etsy shop, this was a best seller. You can see how to make a burlap rose wreath here: https://lizzydesignsblog.com/diy-burlap-rose-wreath/
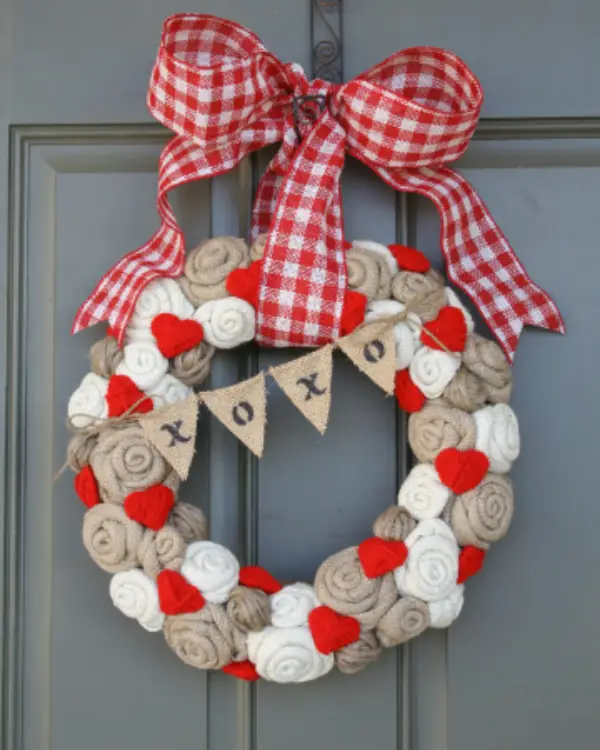
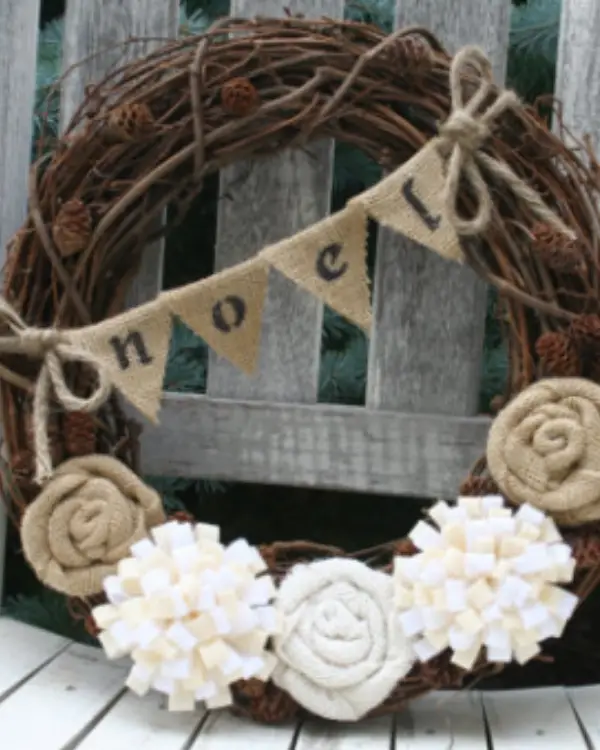
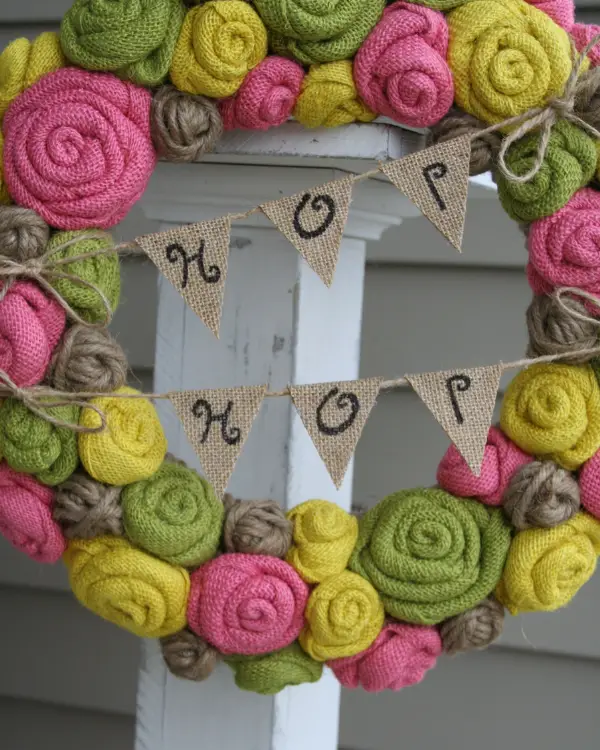
Here are some more examples from my shop:
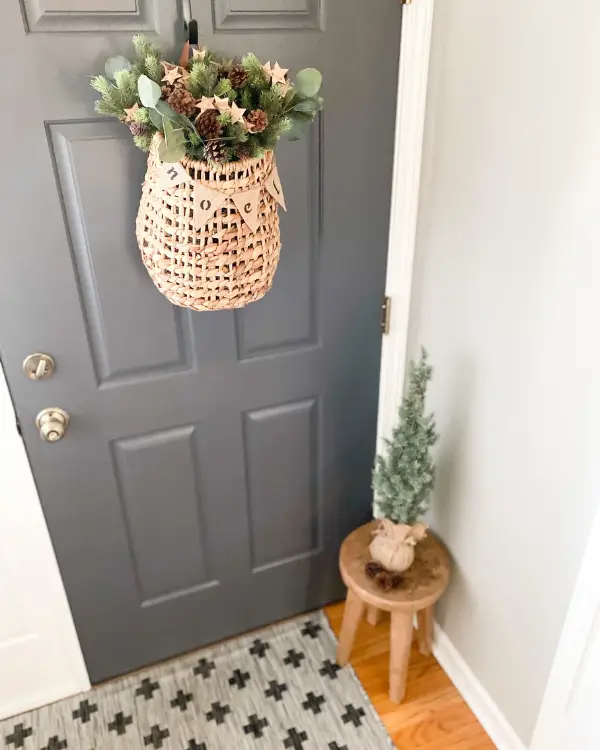
Here’s a banner on a basket. They are a cute addition that can go anywhere!